A gas strut can be the right force and the right length and still perform poorly if the mounting points are wrong. That is why understanding gas strut bracket types matters. The bracket determines how the strut pivots, how load transfers into the panel or frame, and whether the lid, hatch or access door opens smoothly or fights you all the way.
For trade users, repairers and anyone replacing failed hardware, the bracket is not just an accessory. It is part of the working geometry. Get it wrong and you can end up with binding, weak mounting, distorted panels or a lid that will not stay open in wind, vibration or daily use.
Why gas strut bracket types matter
Most gas strut issues blamed on the strut itself actually start at the ends. A bracket that sits too high, too low or at the wrong angle changes the leverage through the stroke. That affects opening effort, closing speed and the point at which the strut takes over the lift.
Bracket choice also affects service life. If the mount does not allow clean articulation, side load is pushed into the rod and seals. In practical terms, that can mean premature wear, bent fittings or oil leakage. On a toolbox, canopy, engine cover or machine guard, those small errors add up quickly.
There is also a structural side to it. Thin sheet metal may need a wider fixing footprint. Aluminium lids, fibreglass hatches and light cabinet panels often need careful load spreading to avoid cracking or pull-through. A bracket suited to heavy steel plant equipment may be the wrong choice on a caravan locker or marine seat base.
The main gas strut bracket types
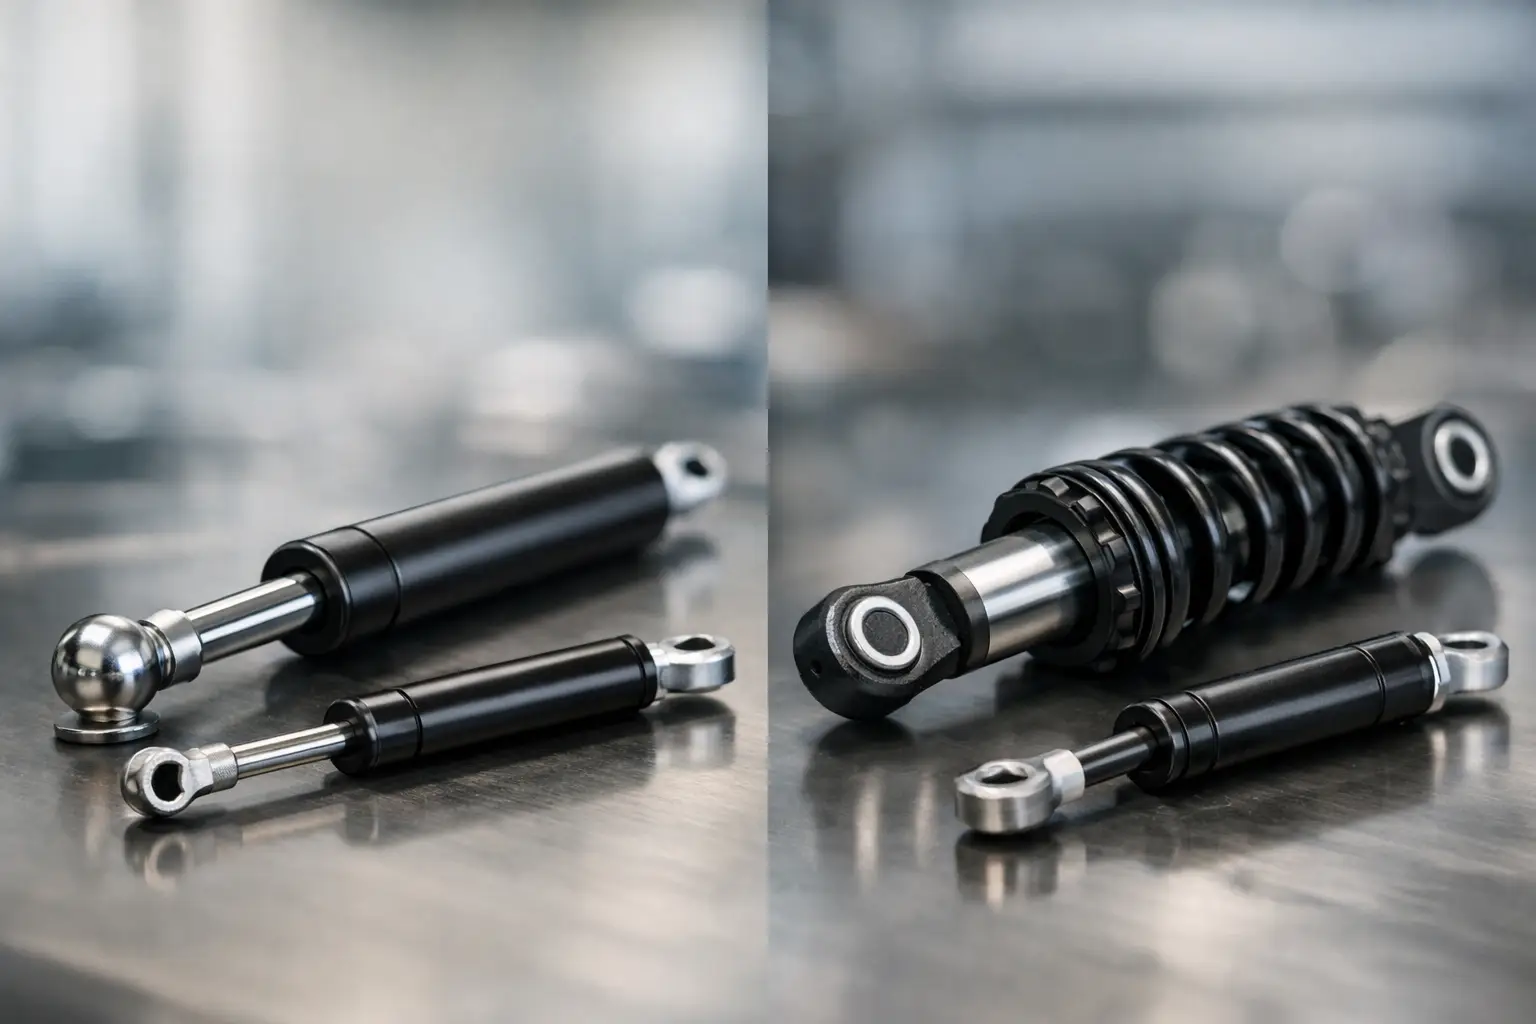
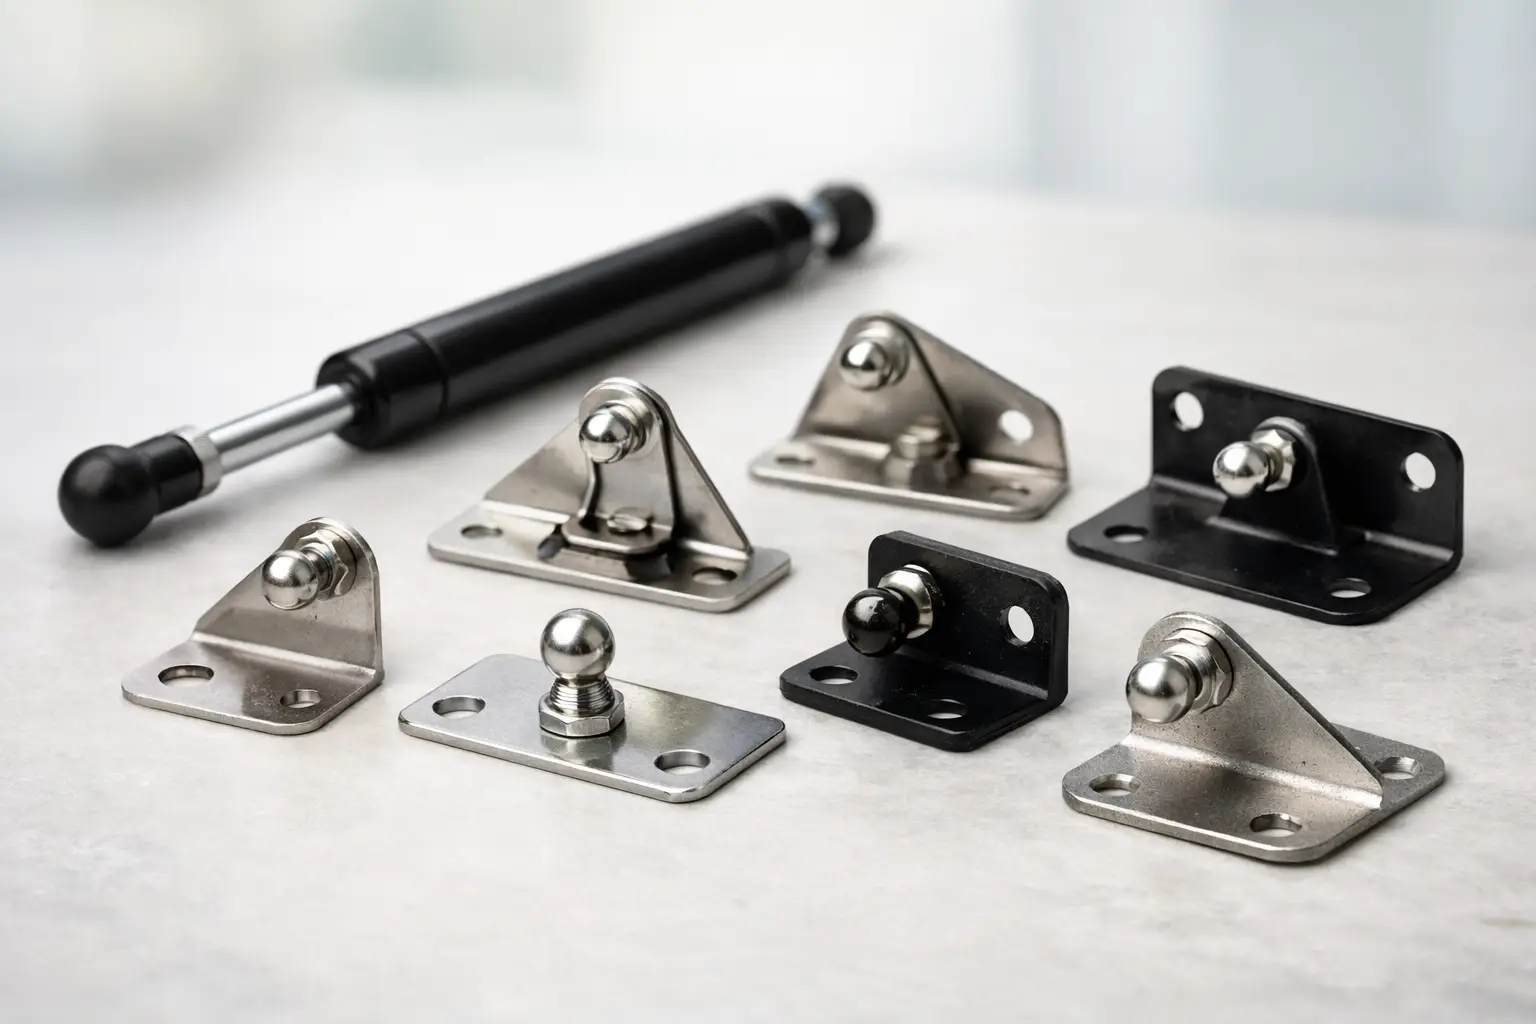
In most applications, bracket types are defined by the end fitting they accept and the way they mount to the structure. The most common are ball stud brackets, clevis brackets, eyelet mounts and flat or angle mounting plates.
Ball stud brackets
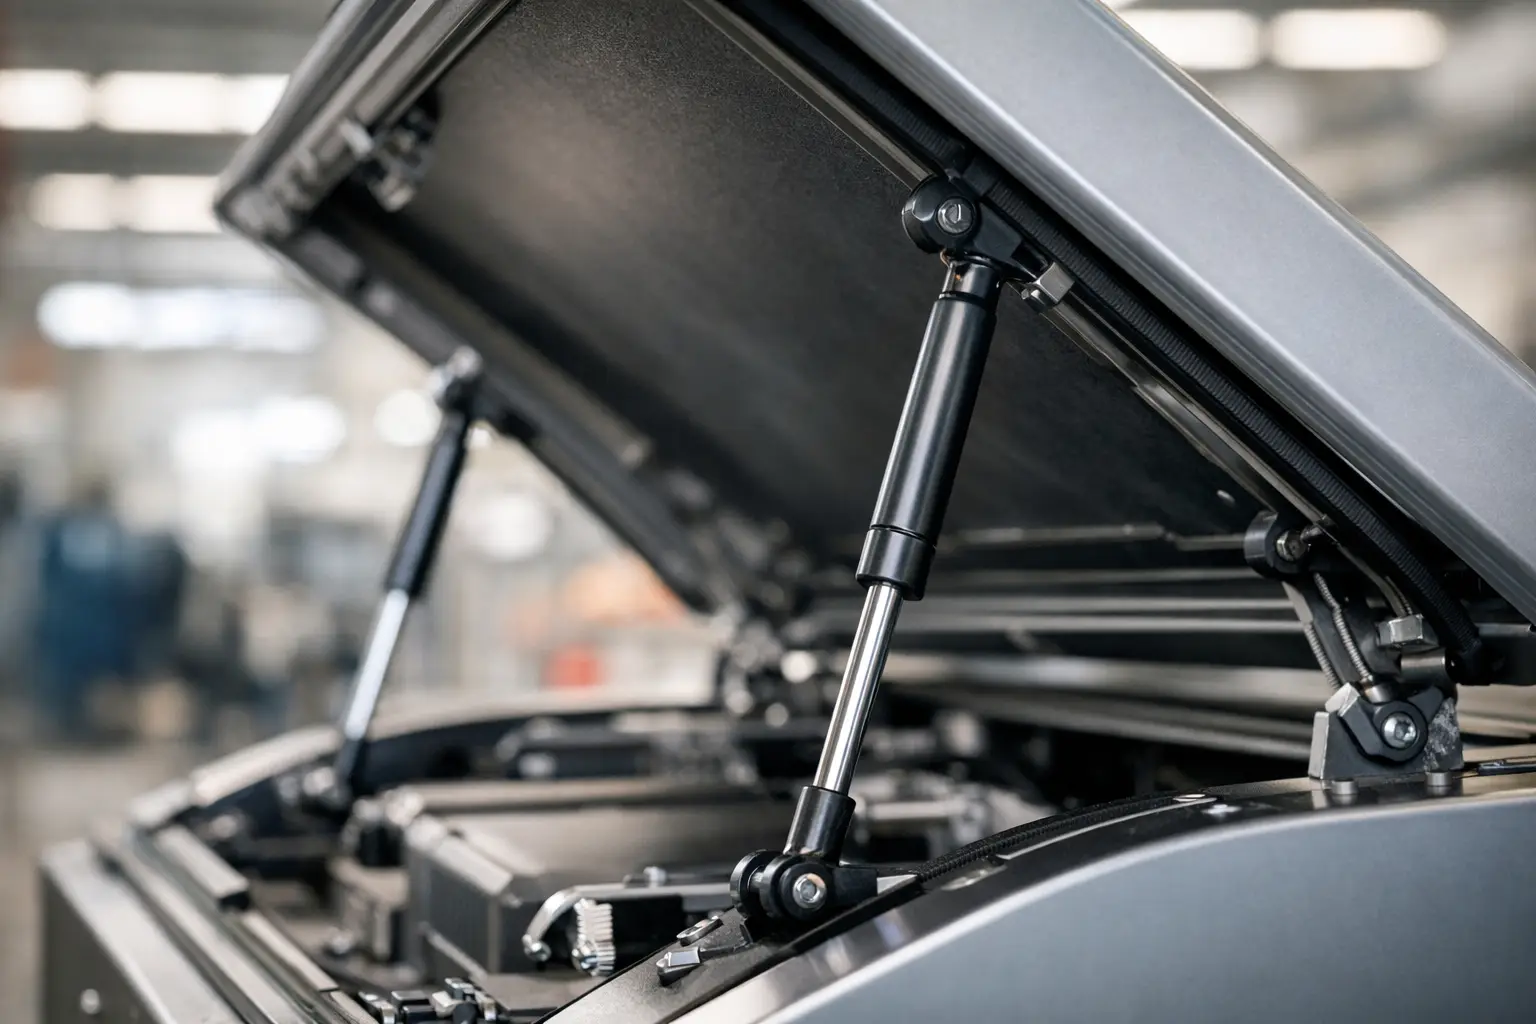
Ball stud brackets are widely used because they are simple, compact and allow good angular movement. The strut end clips over a ball stud, which lets the strut pivot as the lid or panel moves through its arc. This style is common on automotive bonnets, canopies, toolboxes, cabinets and general industrial covers.
The main advantage is ease of fitment and removal. If the strut has socket ends, ball studs are often the cleanest option. They also handle slight changes in angle well. The catch is that the ball size and socket type must match. A mismatch creates looseness or prevents secure engagement.
Ball stud brackets come in several forms, including flat base plates, offset brackets and angle brackets. The base style matters because it changes stand-off from the mounting surface and can alter clearance near hinges, seals or frame sections.
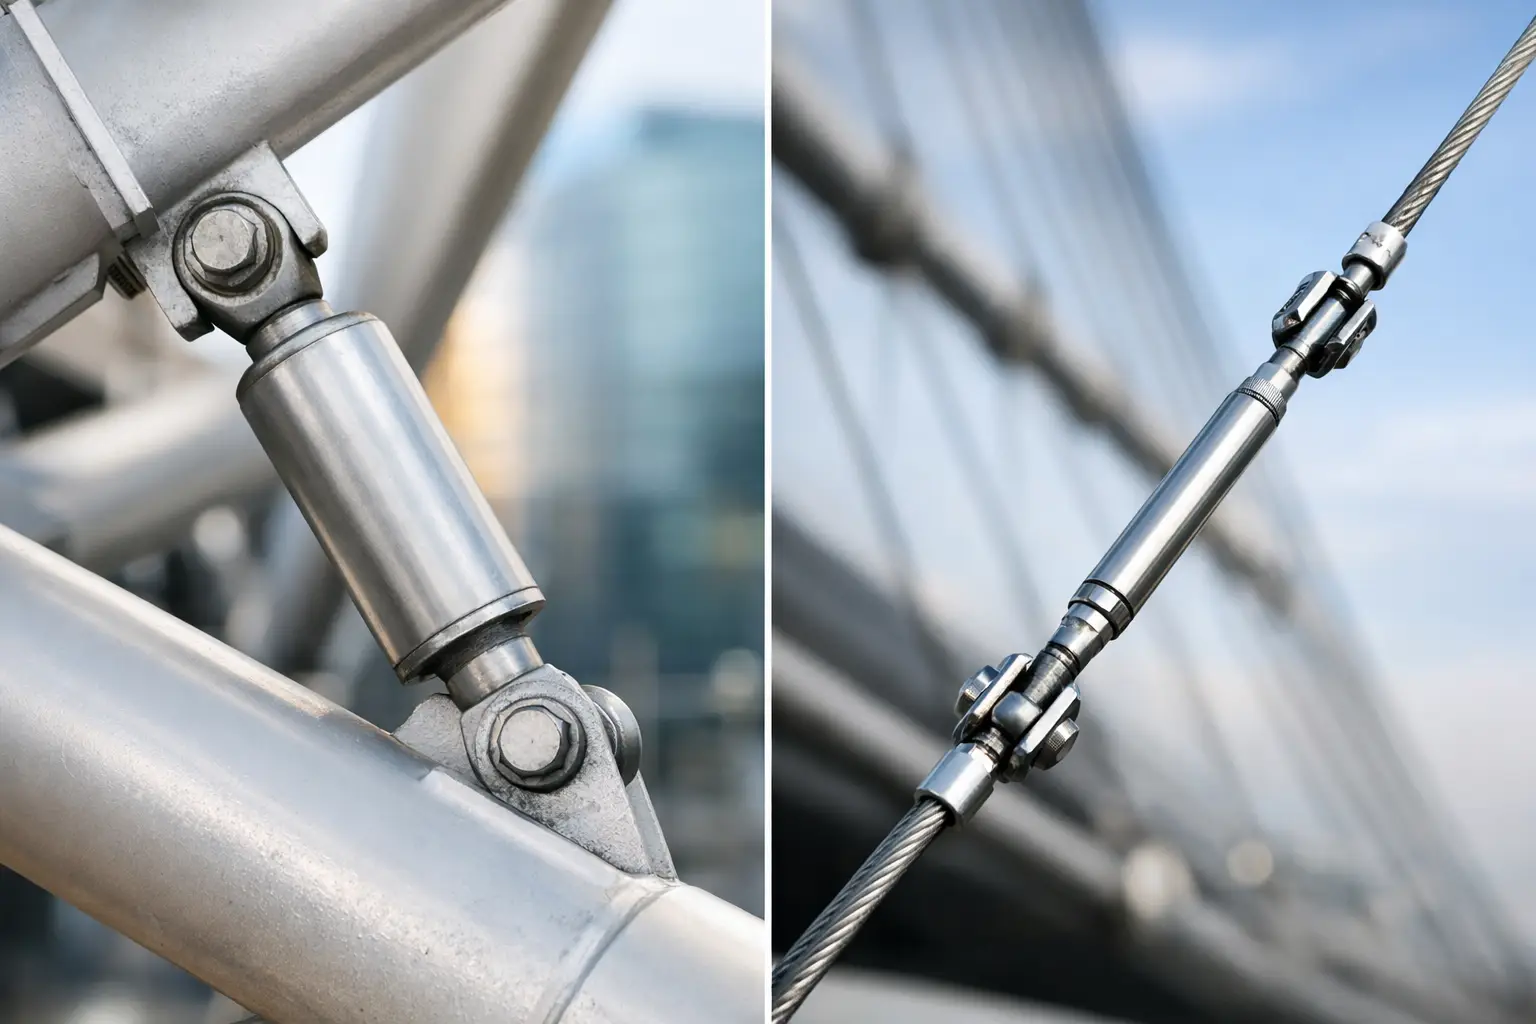
Clevis brackets
Clevis brackets use a forked end and a pin through the strut fitting. They are common where a more positive mechanical connection is preferred or where the application has heavier loads and less frequent removal. You will often see them on machinery, industrial access panels and some agricultural equipment.
A clevis arrangement can be very secure, but alignment matters more than with a ball fitting. If the strut needs to rotate through more than one plane, a rigid clevis setup may introduce side load unless the bracket geometry is spot on. For straight-line motion or controlled hinge paths, though, clevis brackets are a solid option.
Eyelet and pin mounts
Some struts use eyelet ends that mount over a pin or bolt. This style is straightforward and can suit both replacement work and custom fabrication. It is often found where standard hardware is preferred or where the installer wants flexibility in pin sizing and bracket fabrication.
The benefit is simplicity. The limitation is movement. Depending on the eyelet and spacer arrangement, angular travel can be more restricted than with a ball socket. That makes careful bracket positioning even more important.
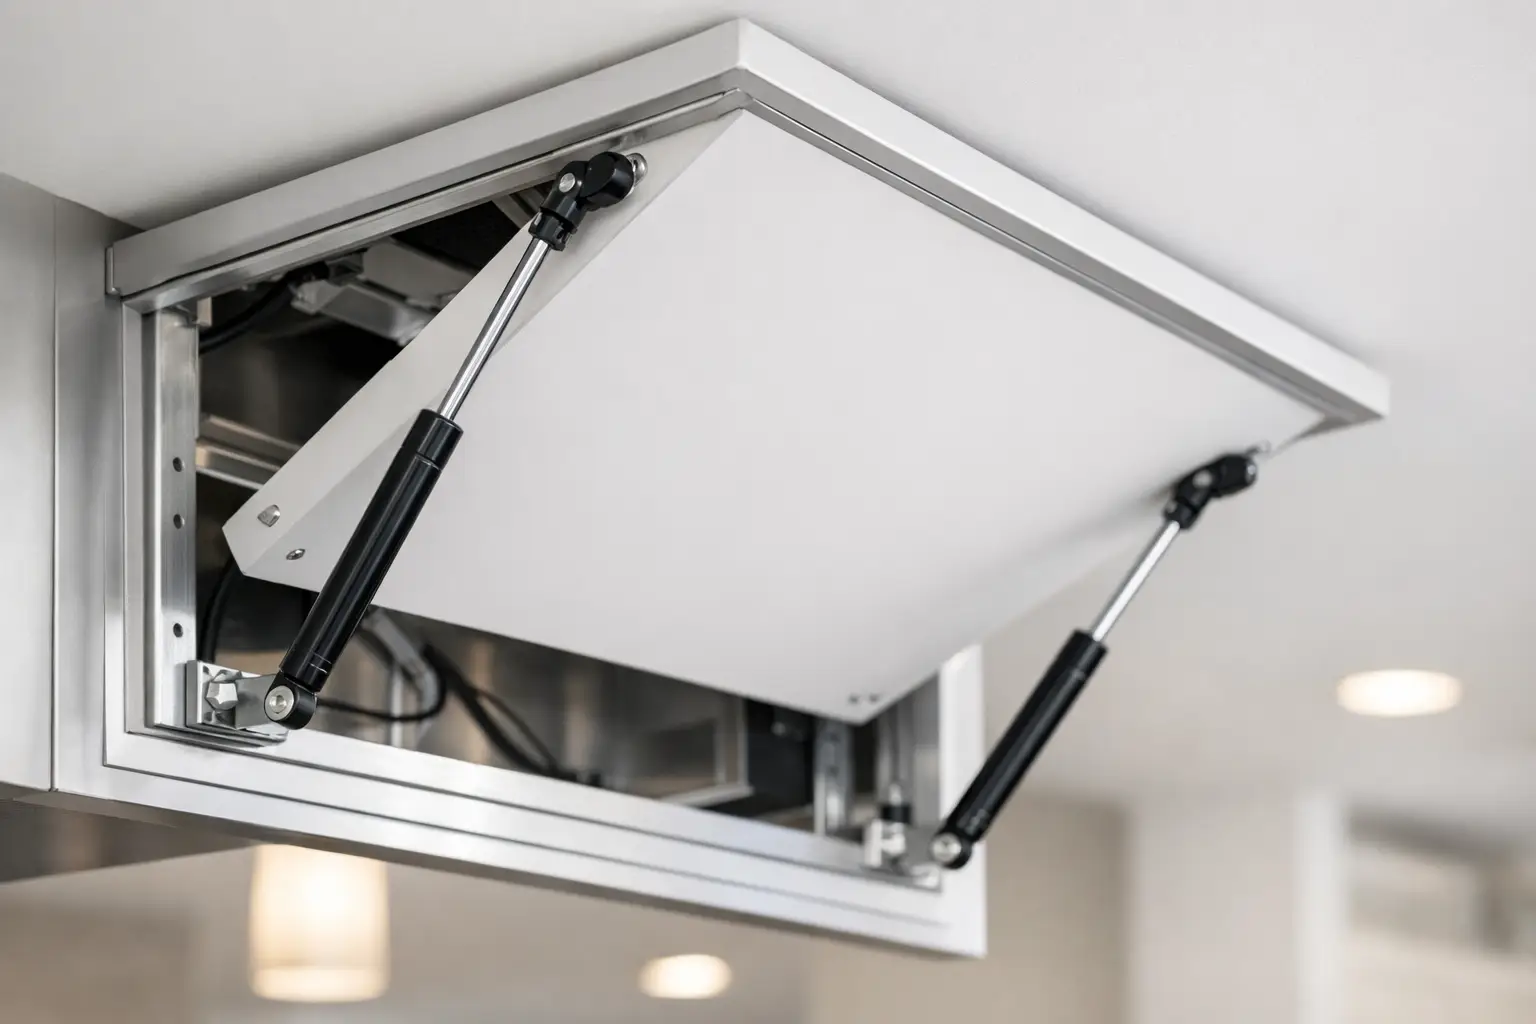
Flat, angle and offset brackets
These are not end types so much as bracket body styles, but they are often what makes the installation work. A flat bracket mounts flush to a surface and suits applications with clear space around the strut end. An angle bracket is useful where the mounting face is perpendicular to the strut line or where space is limited. An offset bracket pushes the mounting point away from the surface to clear lips, frames or recessed panels.
This is where many installations succeed or fail. The right offset can stop the strut fouling on a frame member. The wrong one can shift the line of force enough to over-stress the panel.
Choosing bracket types by application
There is no single best bracket across all jobs. The right choice depends on load, movement, material thickness, environment and how often the strut will be serviced.
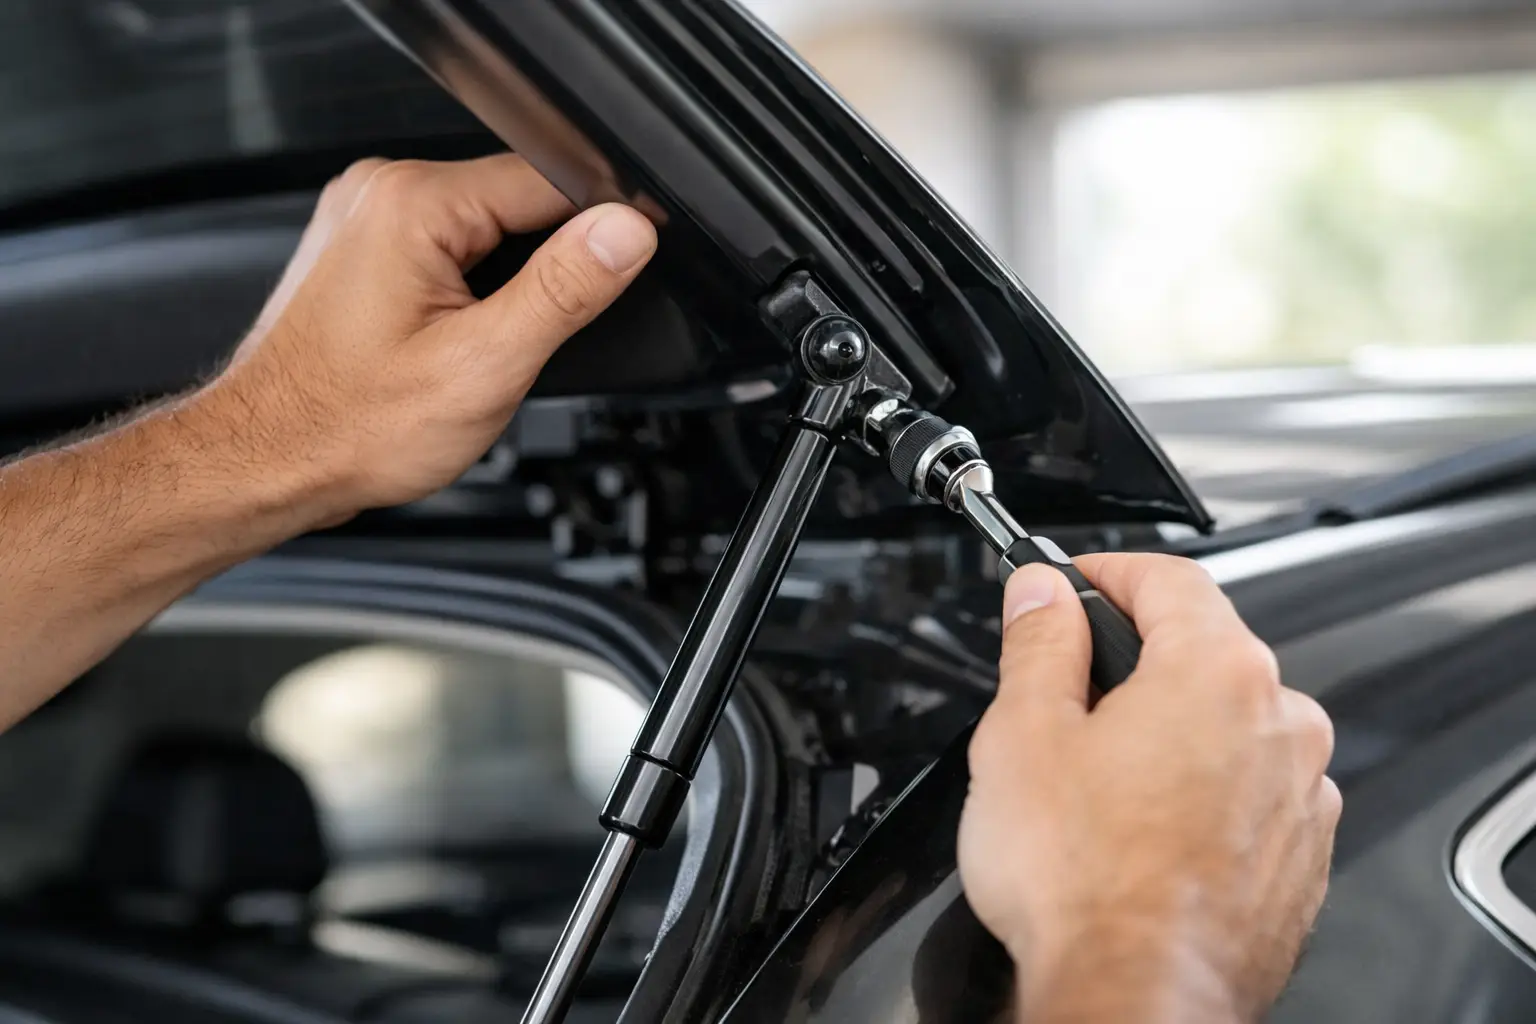
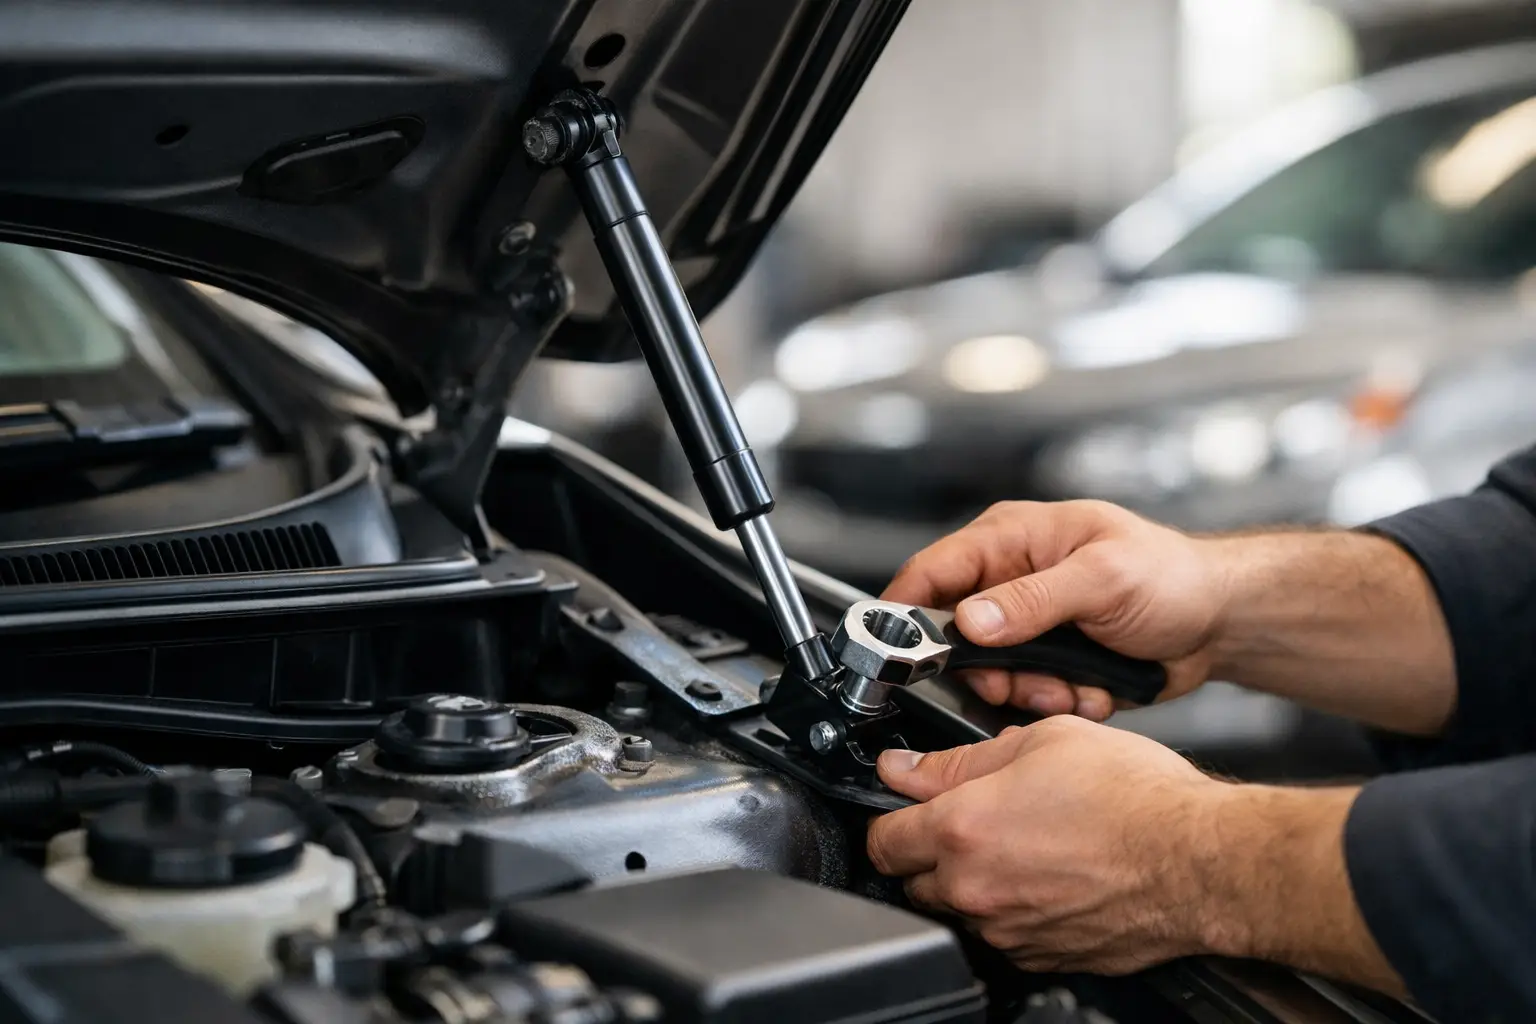
Vehicle and canopy applications
On bonnets, ute canopies, boots and service bodies, ball stud brackets are often the preferred choice because they cope well with changing angles during opening. Compact brackets also help where space is tight near inner guards or body reinforcement.
The main consideration here is panel strength. Vehicle sheet metal and aluminium canopy skins may need backing plates or reinforced mounting areas. Fitting a strong strut to a weak bracket location is asking for fatigue cracks.
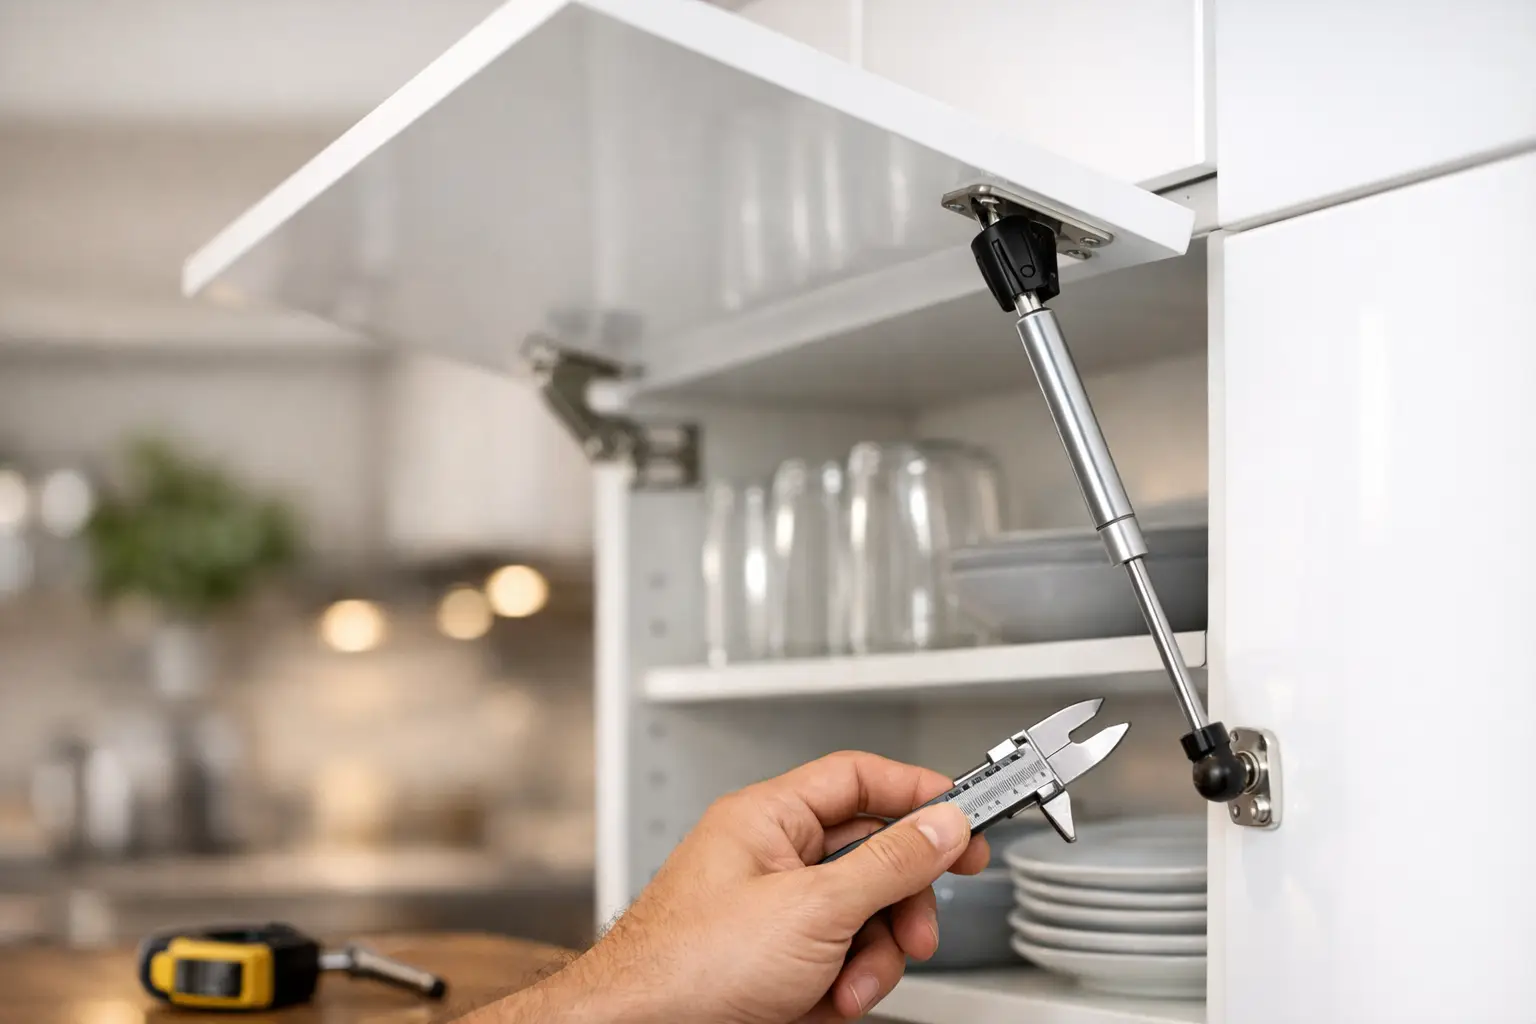
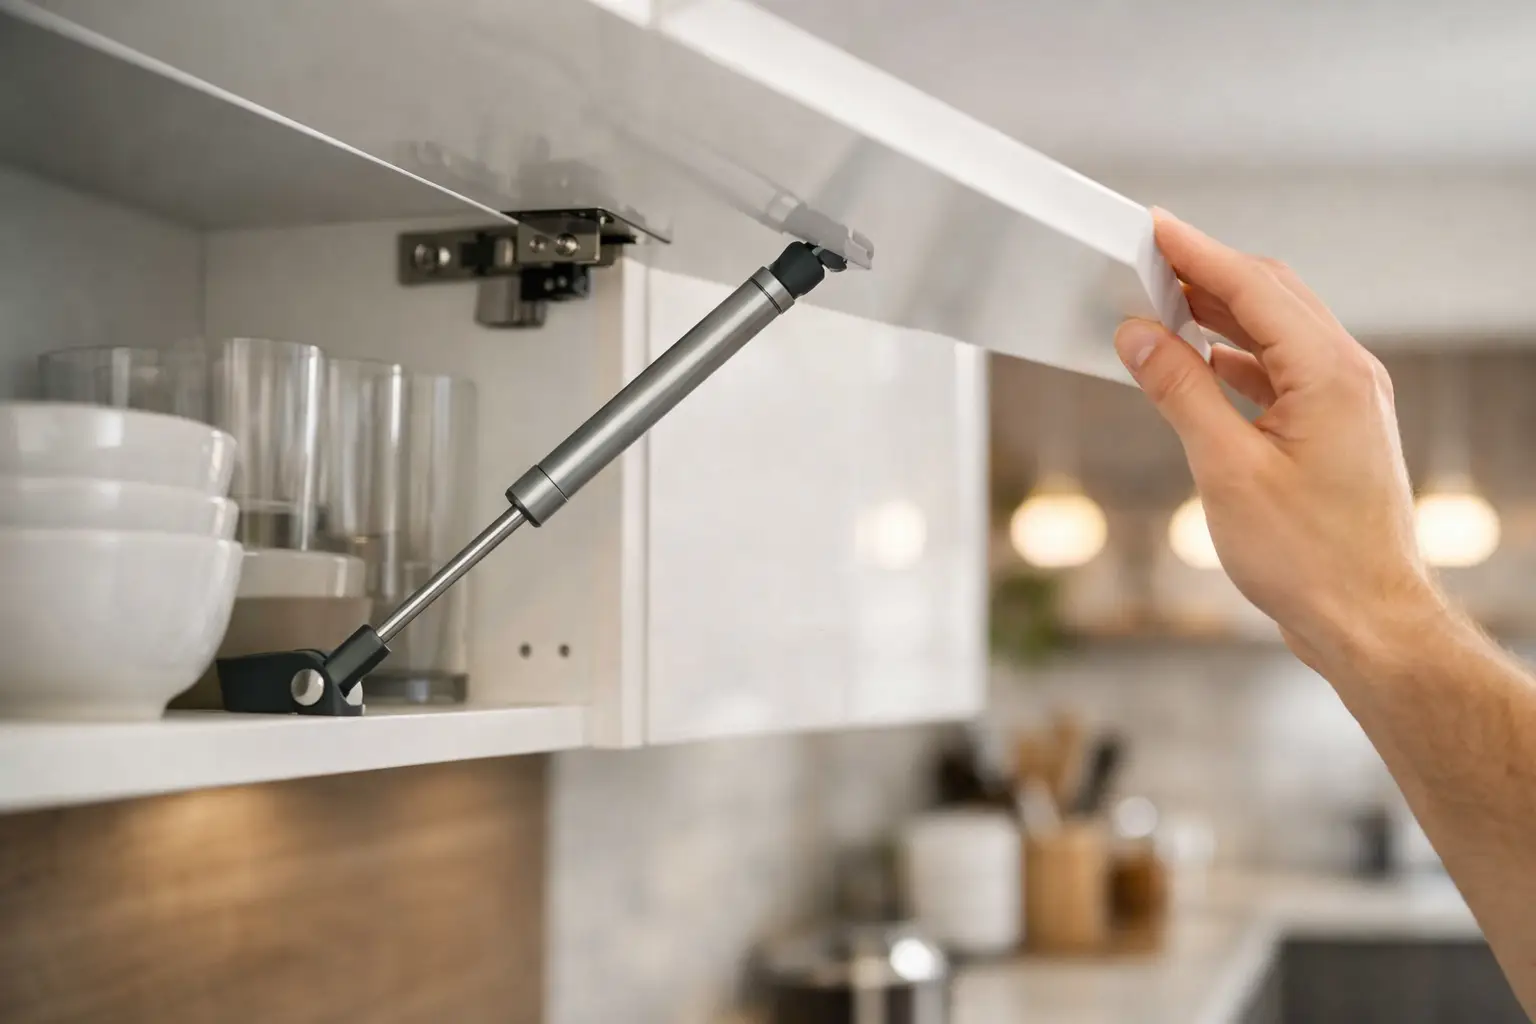
Toolboxes, cabinets and access doors
For metal toolboxes and cabinet lids, ball stud or simple pin mount brackets usually work well. The loads are moderate, and ease of replacement is often a priority. If the lid opens frequently, smooth articulation matters because any binding quickly shows up in user effort and hinge wear.
On lighter boxes, low-profile brackets with a broad fixing area are often a better choice than tall narrow mounts. That spreads the load and reduces local distortion around the fasteners.
Marine, caravan and trailer fit-outs
These applications often involve aluminium, composite panels or mixed materials, so corrosion resistance and load spreading deserve more attention. Stainless hardware may be worth specifying in exposed environments. Offset brackets are common where hatch frames, seals or trim create clearance problems.
In caravans and trailers, it also pays to think about vibration. A bracket that looks adequate in the shed may loosen over corrugations if the mount is undersized or poorly supported.
Industrial and machinery use
On plant guards, machine covers and heavy access panels, clevis or heavy-duty pin-style mounts can be a better fit, especially where larger struts and higher forces are involved. These setups can provide very secure mounting, but the bracket and base structure need to be engineered together.
If the application sees dirt, washdown or constant vibration, hardware retention matters as much as the bracket itself. Pins, clips and fasteners should be chosen with maintenance conditions in mind.
What to check before selecting a bracket
Bracket selection should start with the strut end fitting, but it should not stop there. You also need the open and closed mounting centres, the available swing clearance, the hinge position and the material you are fixing into.
The direction of load is another big factor. Some mounts mainly carry shear load through the fasteners, while others place more peel or pull-out force on the panel. On thin lids and doors, that difference is significant.
It is also worth checking whether the bracket gives enough articulation through the full stroke. A strut should move freely without the end fitting reaching its angular limit before the lid reaches full open or closed position. If that happens, the bracket may technically fit but the installation will still fail in service.
Common mistakes with gas strut brackets
One common mistake is reusing old brackets without checking wear, distortion or hole elongation. If the previous strut failed after years of vibration, the bracket may already be compromised.
Another is selecting brackets by appearance alone. Two brackets can look similar but have different ball sizes, offsets or material thickness. Those small differences affect fit and durability.
Poor fastener choice also causes trouble. Self-drilling screws into thin sheet can work on some light jobs, but higher loads usually need through-bolting, rivnuts or reinforced mounts. On fibreglass and composite panels, backing plates are often the safer option.
Finally, many installers focus on force and ignore geometry. A stronger strut will not compensate for a badly placed bracket. In some cases it makes the problem worse by increasing stress at the mount.
When standard brackets are not enough
Standard bracket types cover a lot of common applications, but not every job is standard. Custom canopies, retrofitted machinery guards, marine hatches, horse floats and specialised industrial equipment often need a more considered mounting solution.
That might mean changing bracket style, adjusting the stand-off, adding reinforcement or specifying a different end fitting altogether. In those cases, measurements and photos are usually more useful than part-by-part guessing. A supplier that understands strut geometry can often save a lot of time by identifying the right bracket and strut combination from the start.
If you are replacing an existing setup, measure both the strut and the mount. If you are designing a new one, work backwards from the lid weight, hinge position and opening angle rather than choosing brackets first and hoping the strut will suit.
The bracket is a small component, but it does a big job. Choose one that matches the strut, the movement and the structure, and the whole system will feel right from the first lift.