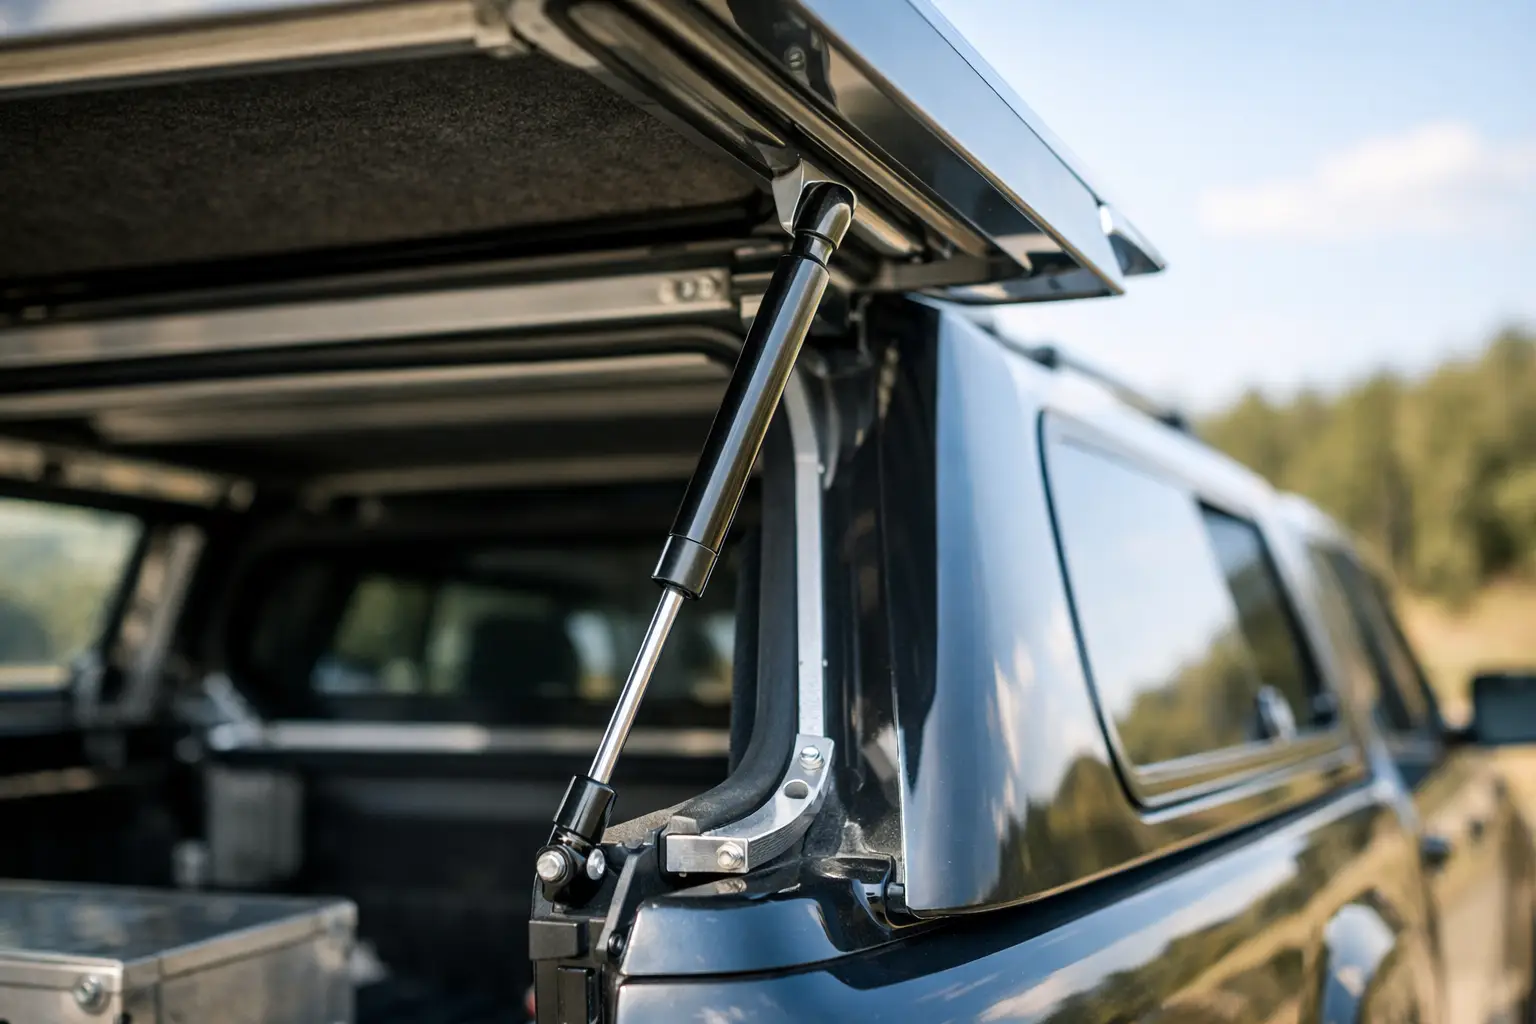
A lift support that is 10 mm too long, 50N too strong or mounted on the wrong angle can turn a simple lid into a daily nuisance. This lift support specifications guide is built for the jobs where fit, force and reliability matter – from ute canopies and toolboxes to engine covers, cabinets and industrial access panels.
Most replacement problems come back to the same issue: the old strut was measured incorrectly, the original part number was ignored, or the application changed over time. A box lid that once carried no lining may now have extra weight. A caravan hatch may have different hinges after a repair. A machine guard may need slower, more controlled movement than the factory setup. Getting the specification right means looking at the whole setup, not just the cylinder.
What a lift support specification actually includes
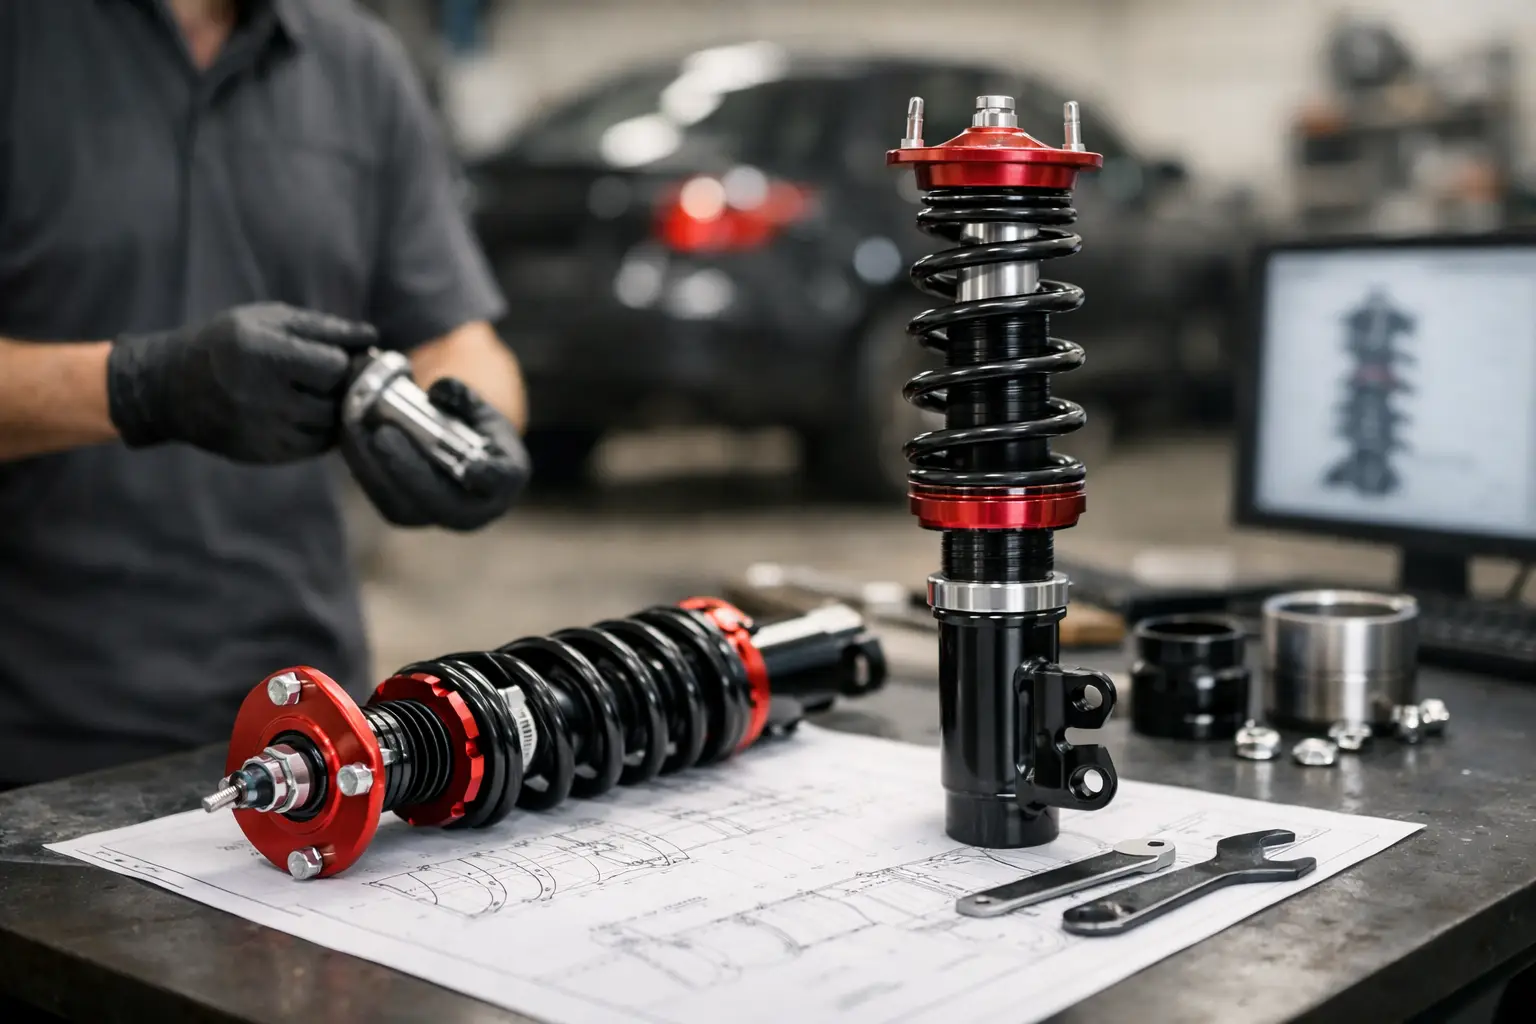
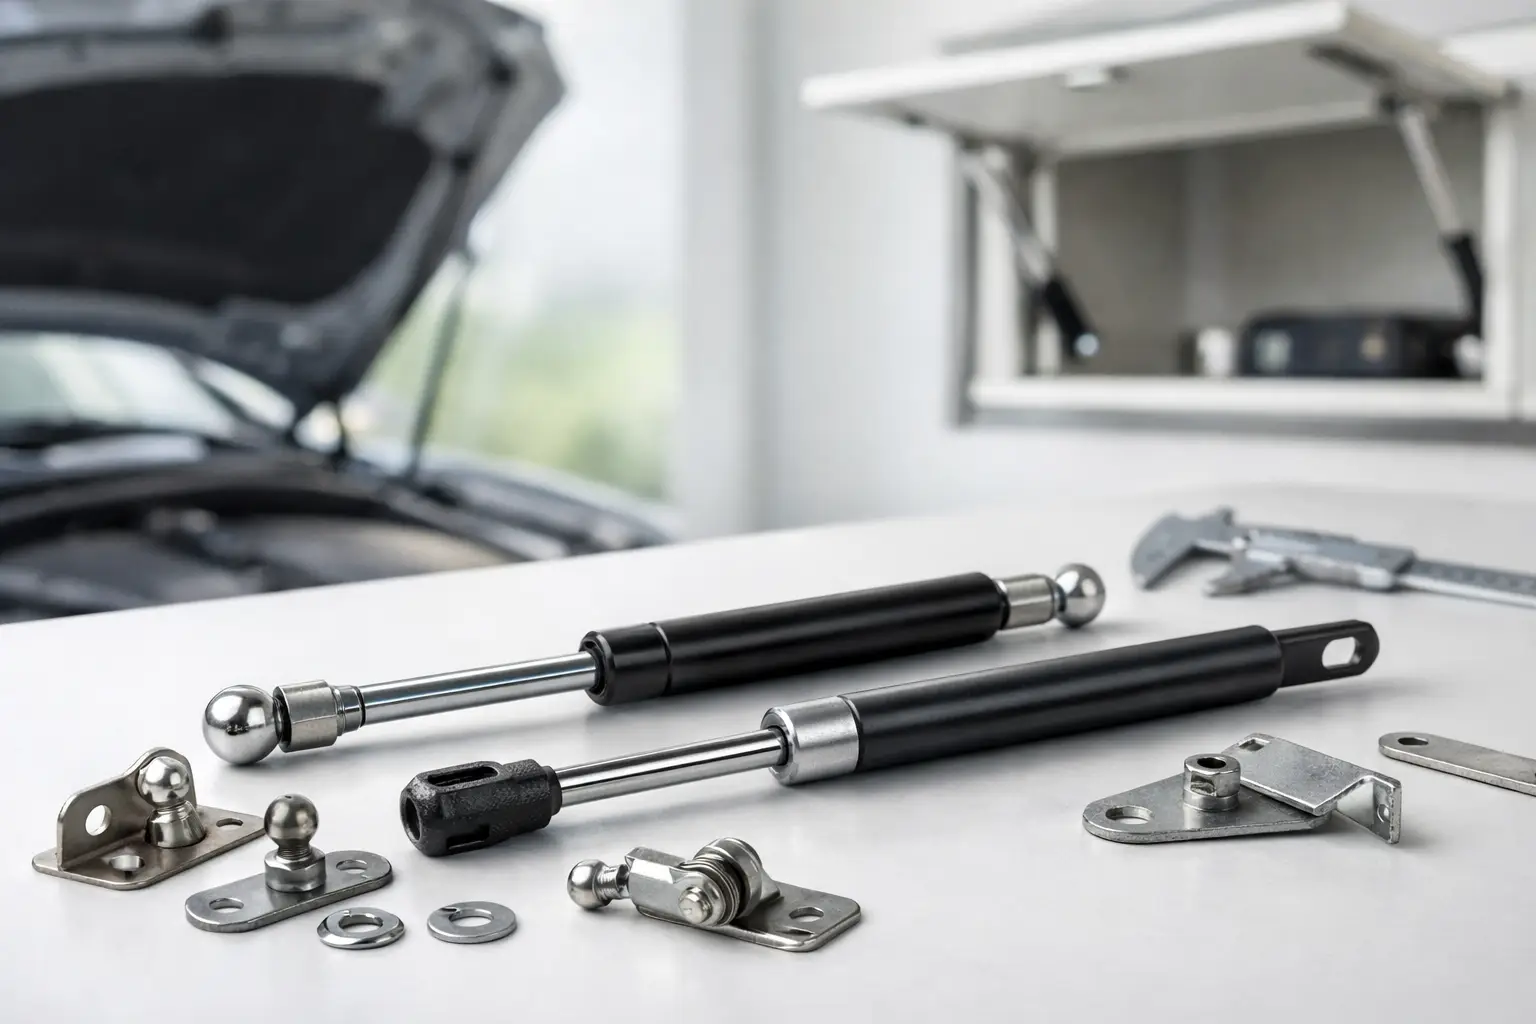
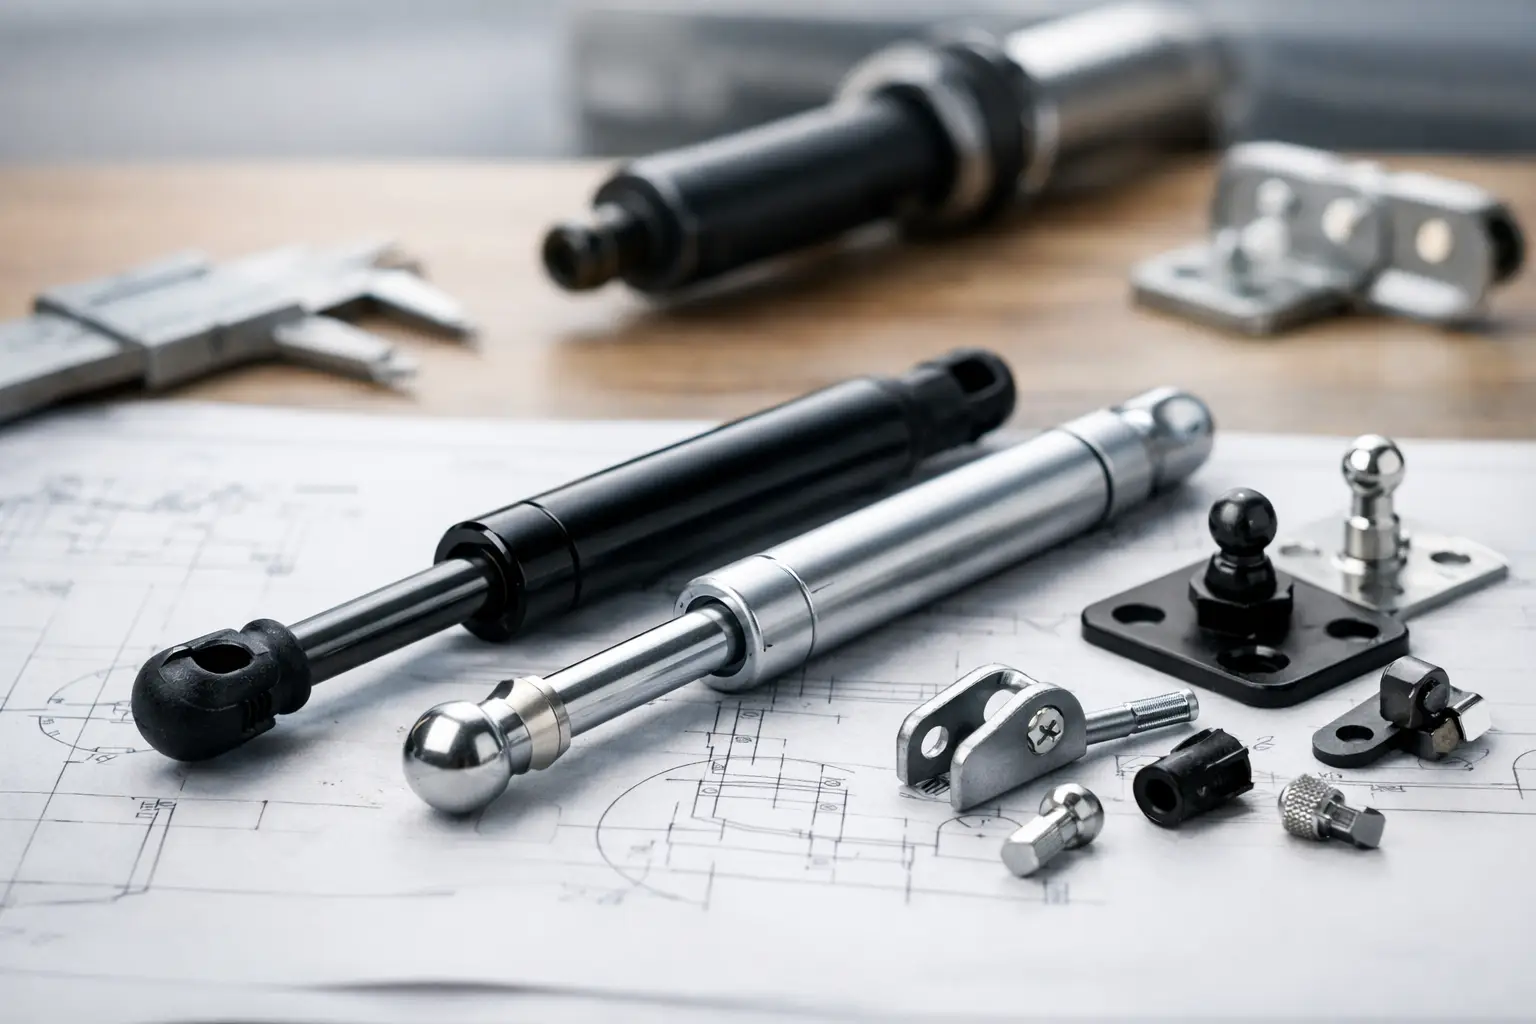
When people ask for a petrol strut, they often start with force. Force matters, but it is only one part of the specification. A proper lift support specification includes the extended length, compressed length, stroke, end fittings, rod and tube diameter, mounting orientation, and the force rating in Newtons.
The application also matters. A lift support for a front opening toolbox behaves differently from one used on a side-hinged window, marine hatch or plant enclosure. The same nominal force can feel completely different depending on hinge position, mounting points and the weight distribution of the panel.
If you are replacing an existing unit, the fastest path is usually the part number stamped on the strut body. If that is missing or unreadable, measurements and application details become the next best reference.
Lift support specifications guide: the key measurements
The first measurement is extended length. This is usually taken centre-to-centre between the mounting points when the strut is fully open. In practical terms, it tells you how far the lid or panel will travel and whether the strut can reach the open position without overextending the hardware.
Compressed length is the centre-to-centre measurement when the strut is fully closed. If the compressed length is too long, the panel may not shut properly. If it is too short, you may create poor geometry or leave travel unused.
Stroke is the difference between extended and compressed length. It affects how much movement the strut can support. In many replacement jobs, stroke is overlooked because people assume matching the open length is enough. It is not. A mismatch here can cause binding, limited opening or premature wear.
End fittings are just as important. Ball sockets, eyelets, forks and brackets are not interchangeable unless the mounting hardware suits them. Even when the strut body dimensions are correct, the wrong fitting style can throw out alignment or place side load on the rod. Side load is one of the quickest ways to shorten service life.
Rod and tube diameter should also be checked, especially in heavy-use applications. Larger diameters generally indicate a strut built for higher loads or more demanding cycles, but bigger is not automatically better. The strut still needs to suit the available space and the mounting arrangement.
Force rating: where many replacements go wrong
Petrol strut force is rated in Newtons. This number tells you how much push force the strut produces, but it does not directly equal the weight of the lid. A 400N strut is not simply for a 40 kg panel. Geometry changes the effective lifting force at different points in the opening arc.
That is why two lids of similar weight can need different force ratings. One might have hinges close to the centre of mass, while another has a long overhang or uneven load from fitted accessories. A steel toolbox lid with internal racks can need a different force from a plain aluminium lid of the same size.
If the force is too low, the panel will drop, feel heavy or fail to stay open safely. If it is too high, the lid may spring open aggressively, resist closing or stress the hinges and mounts. Overpowered struts are not a safety upgrade. They can make operation worse and create long-term damage.
For paired struts, the total lifting force is shared across both units, but only if the installation is symmetrical and the lid is balanced. In the field, that is not always the case. Worn hinges, twisted frames and uneven mounting can shift more load onto one side.
Why mounting position changes everything
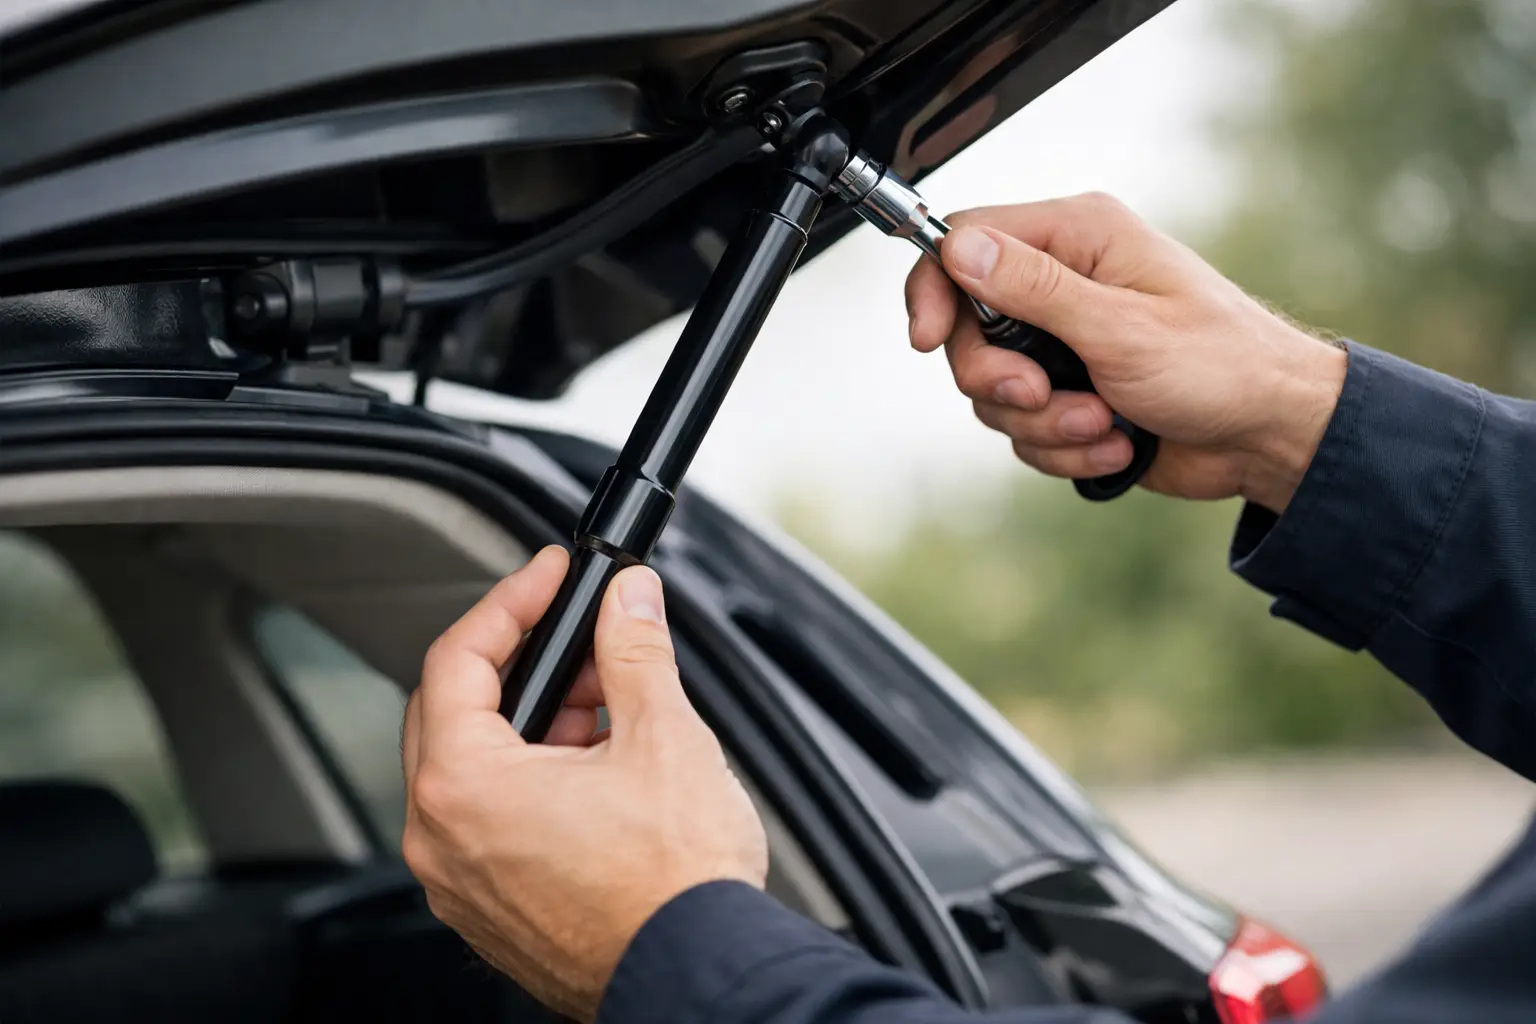
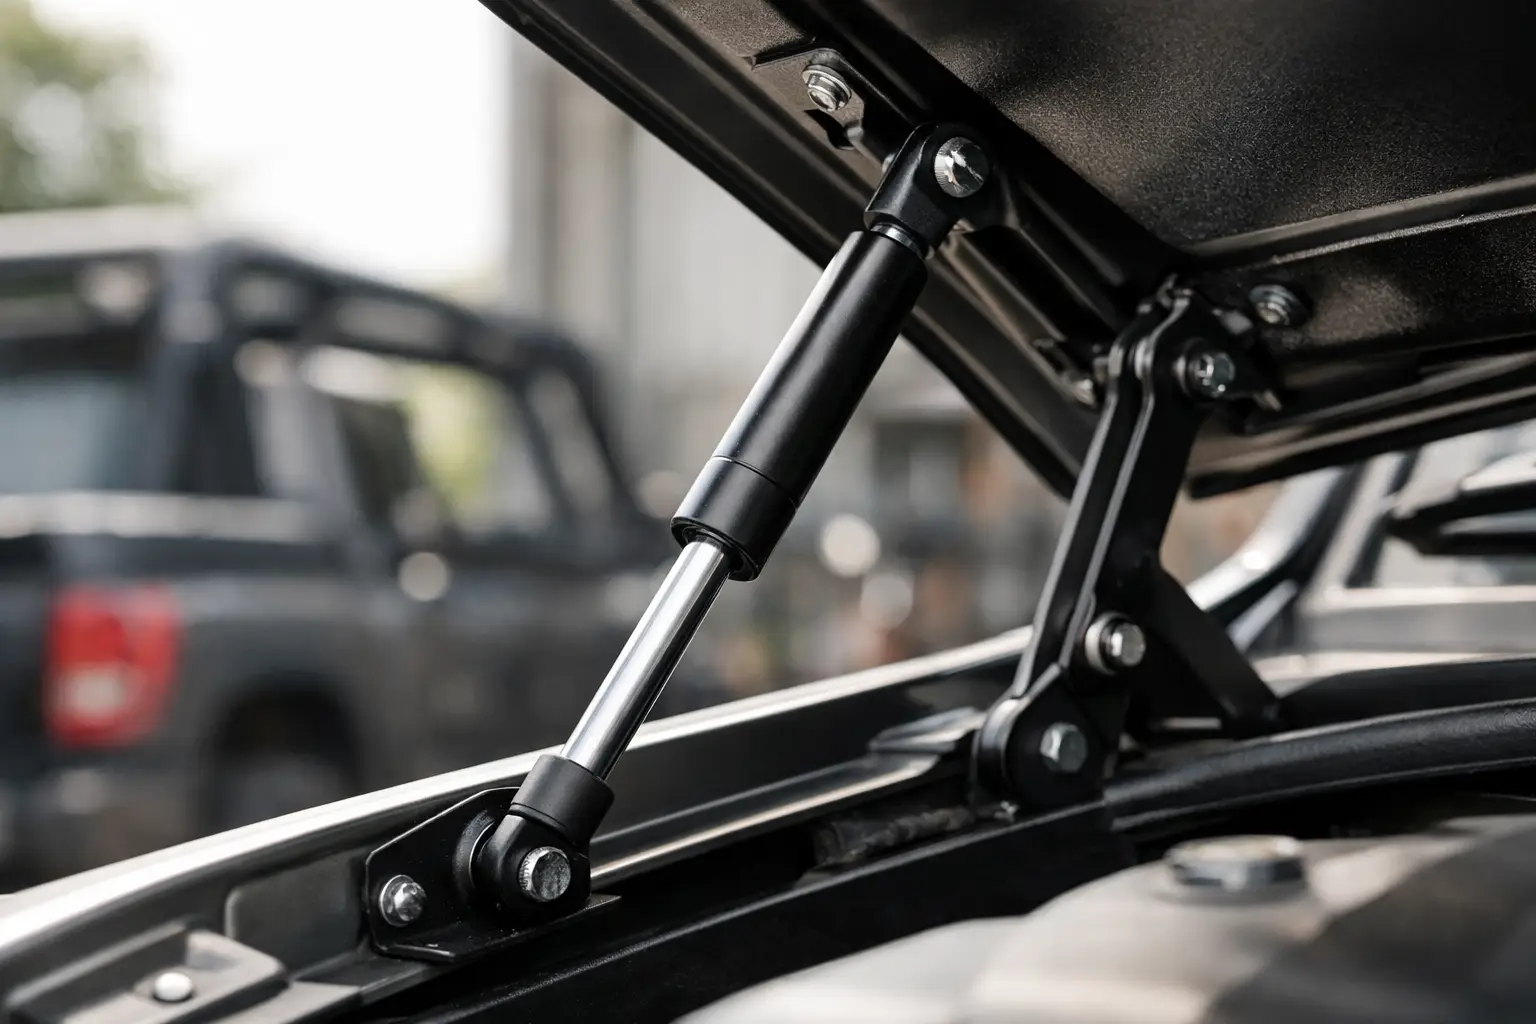
Strut placement affects leverage, opening angle and user effort. Moving the body bracket by a small amount can change how the lid behaves through the entire travel range. This is why copying the original mounting points is usually the safest option for a straight replacement.
On a new design, bracket position needs more thought. Mounting the strut closer to the hinge generally requires higher force because the strut has less leverage. Mounting it further away may reduce required force but can increase space demands or affect how far the panel opens.
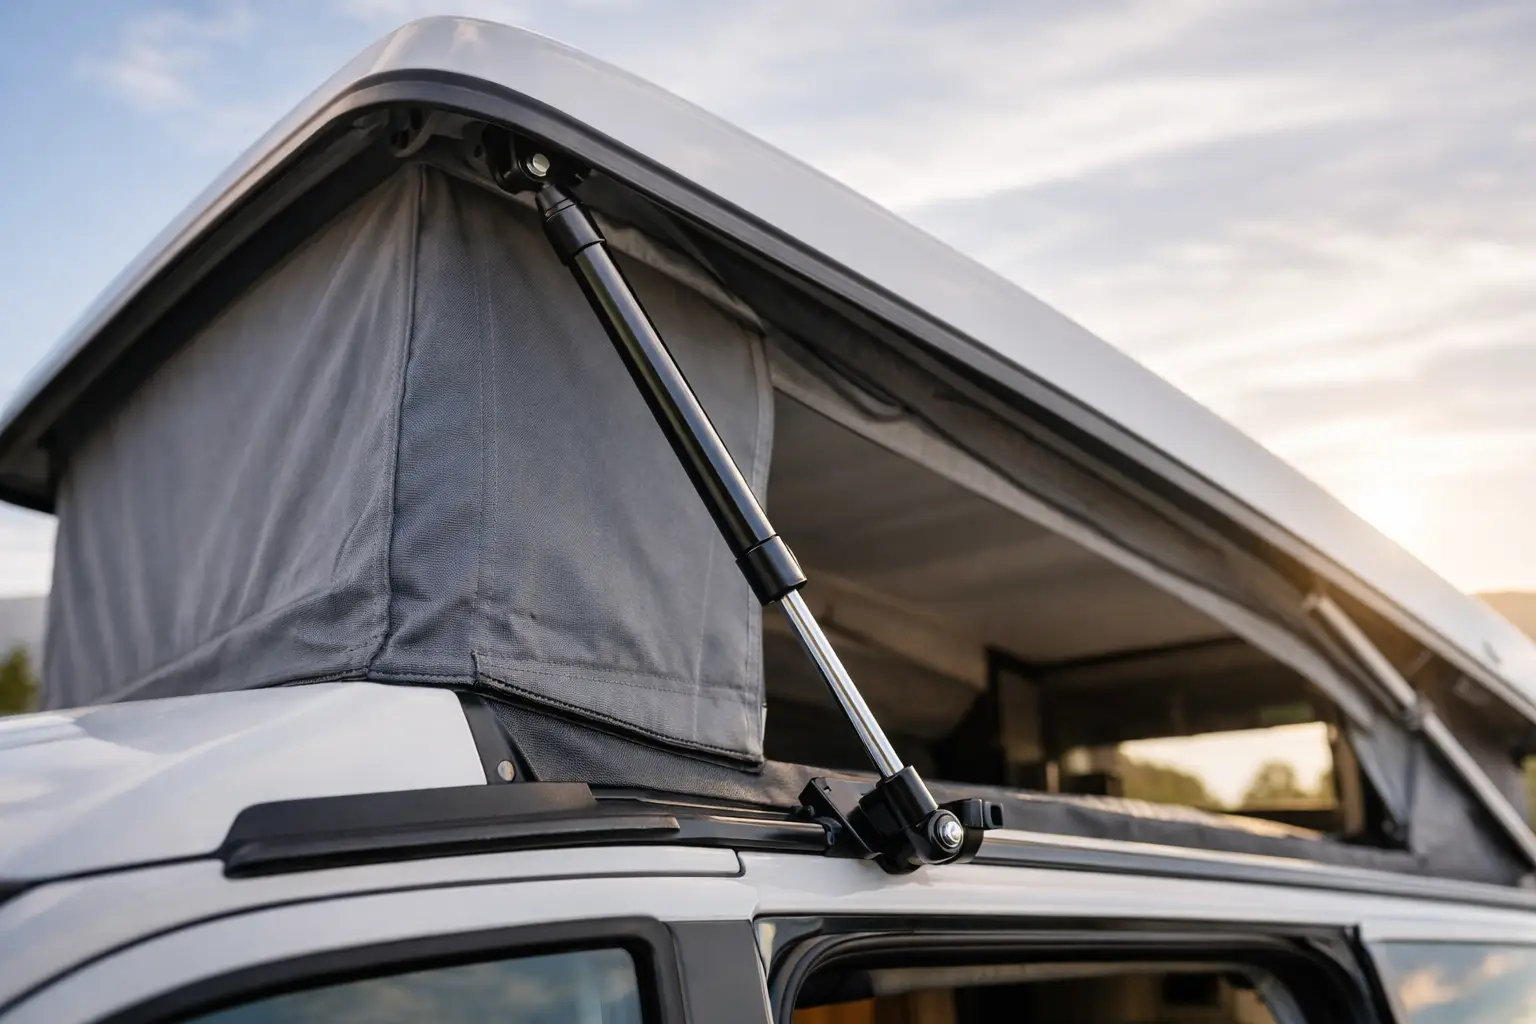
Opening angle matters too. A canopy window that only needs to crack open for ventilation will use different geometry from a service hatch that needs full access. If the specification is built around the wrong open angle, the result may be a strut that reaches full extension too early or never gives the access you need.
Orientation is another detail worth getting right. In most standard applications, petrol struts are best installed with the rod pointing down when closed. This helps keep the internal seal lubricated and supports service life. There are exceptions, especially in tight spaces or specialised motion-control setups, but the default orientation exists for a reason.
Replacement versus new design
A replacement job is usually about matching what worked before, provided the old setup actually worked well. If the original strut gave reliable opening, held the load safely and did not overstress the hardware, you want to replicate the critical specifications as closely as possible.
If the old setup was poor from the start, simply matching it can repeat the same problem. Common examples include lids that never stayed open in wind, hatches that slammed shut when cold, or machine covers that were too heavy for one-person operation. In these cases, the better approach is to treat the job as a fresh specification rather than a like-for-like replacement.
For new builds, there is no shortcut around proper application data. You need the panel weight, dimensions, hinge location, desired opening angle and available mounting space. Without that, force selection becomes guesswork.
Environmental and duty considerations
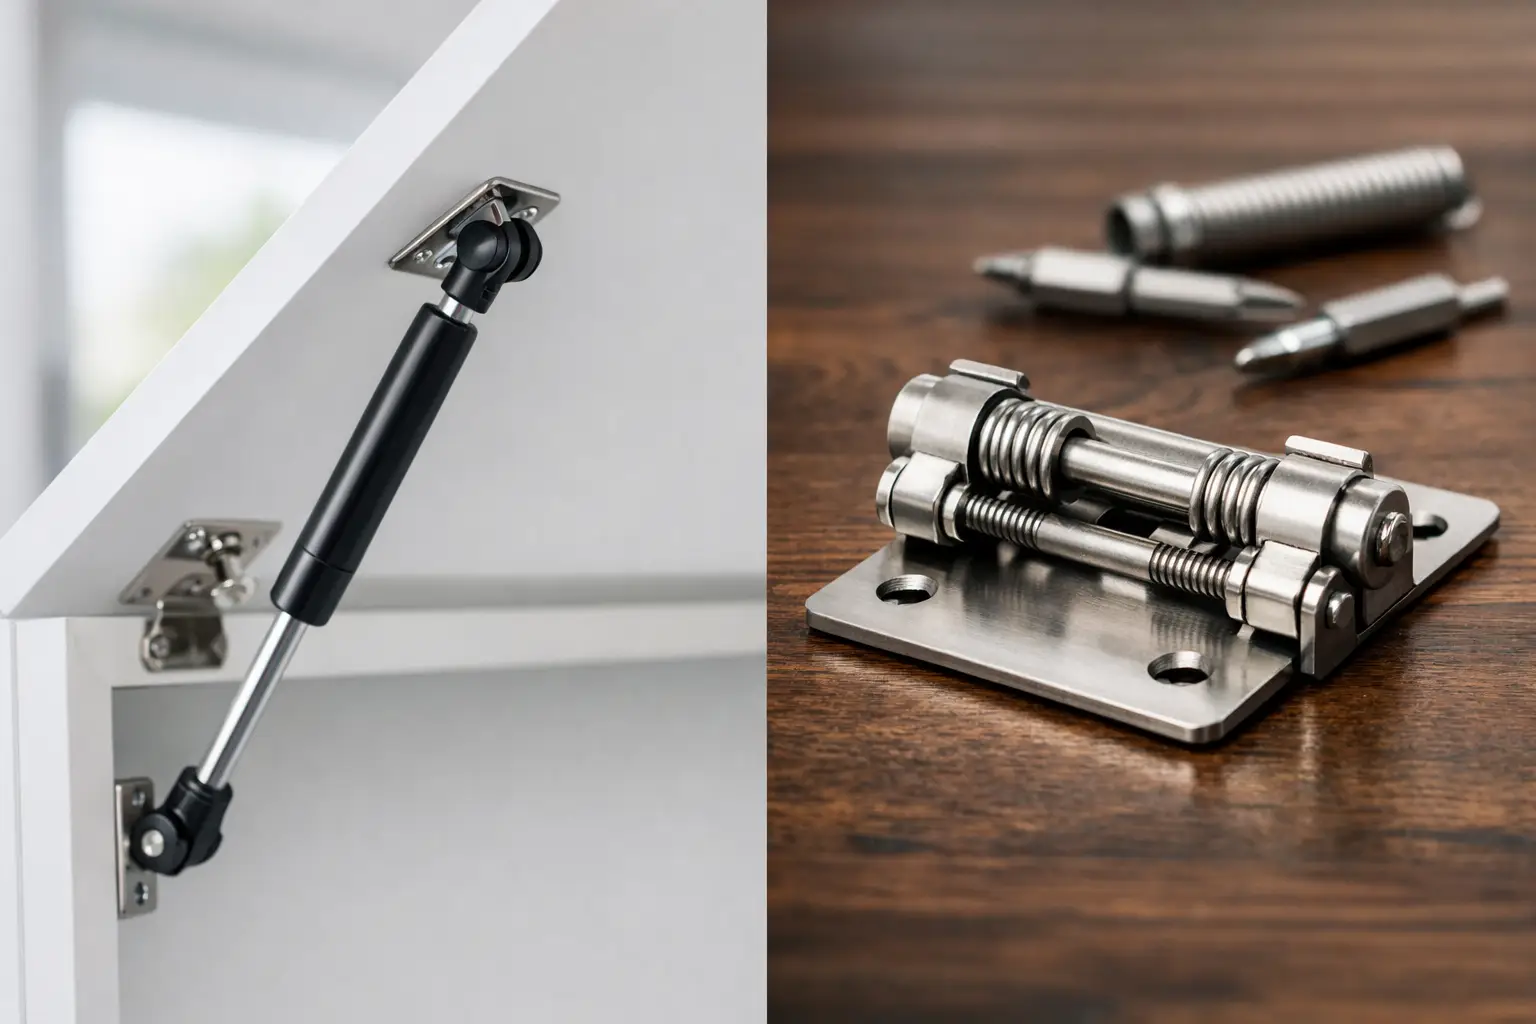
Not every lift support lives an easy life. A strut on a kitchen cabinet has different demands from one on a boat hatch, horse float door or mining enclosure. Temperature swings, vibration, salt exposure, dust and frequent cycling all affect performance and longevity.
Cold conditions can make a strut feel weaker. Heat can increase internal pressure and change behaviour. Corrosive environments call for materials and finishes suited to the job, not just a standard unit that happens to fit. If the equipment is exposed to washdowns, marine spray or site contamination, that needs to be part of the specification from the start.
Duty cycle matters as well. A strut opened a few times a week is one thing. A machine guard cycled multiple times per shift is another. The right specification is not only about making it work on day one. It is about how it will keep working under real service conditions.
The details to have ready before ordering
If you want accurate supply advice or a faster quote, gather the basics first. The most useful starting points are the original part number, extended and compressed lengths, end fitting type, force rating if marked, and clear photos of the strut installed and removed.
For applications where the original spec is unknown or unsuitable, it helps to provide the panel dimensions, estimated weight, hinge position, intended opening angle and where the brackets mount relative to the hinge. If there are restrictions such as limited clearance, unusual bracketry or a harsh environment, mention those early. Those details often change the recommendation.
For trade and maintenance teams managing fleets or repeated plant applications, standardising the right specification can save time later. Once a proven setup is established, reordering becomes much simpler and less prone to error.
When custom lift support specifications make more sense
Standard stocked struts solve a lot of replacement jobs, but not all of them. Custom specification becomes more valuable when the application is unusual, the space is tight, the load is variable or the original hardware is no longer available.
This is common in older vehicles, modified canopies, specialised machinery, marine fit-outs and fabricated access systems. In those cases, trying to force a near match can cost more time than specifying the correct unit from the beginning. A proper custom setup can also improve safety and day-to-day usability, especially where operators rely on controlled opening and dependable hold-open performance.
A good lift support specification is not about chasing the highest force or the closest-looking part. It is about matching the strut to the way the panel actually moves, the environment it works in and the service life you expect. Get those details right, and the hardware stops being a problem and gets on with the job.