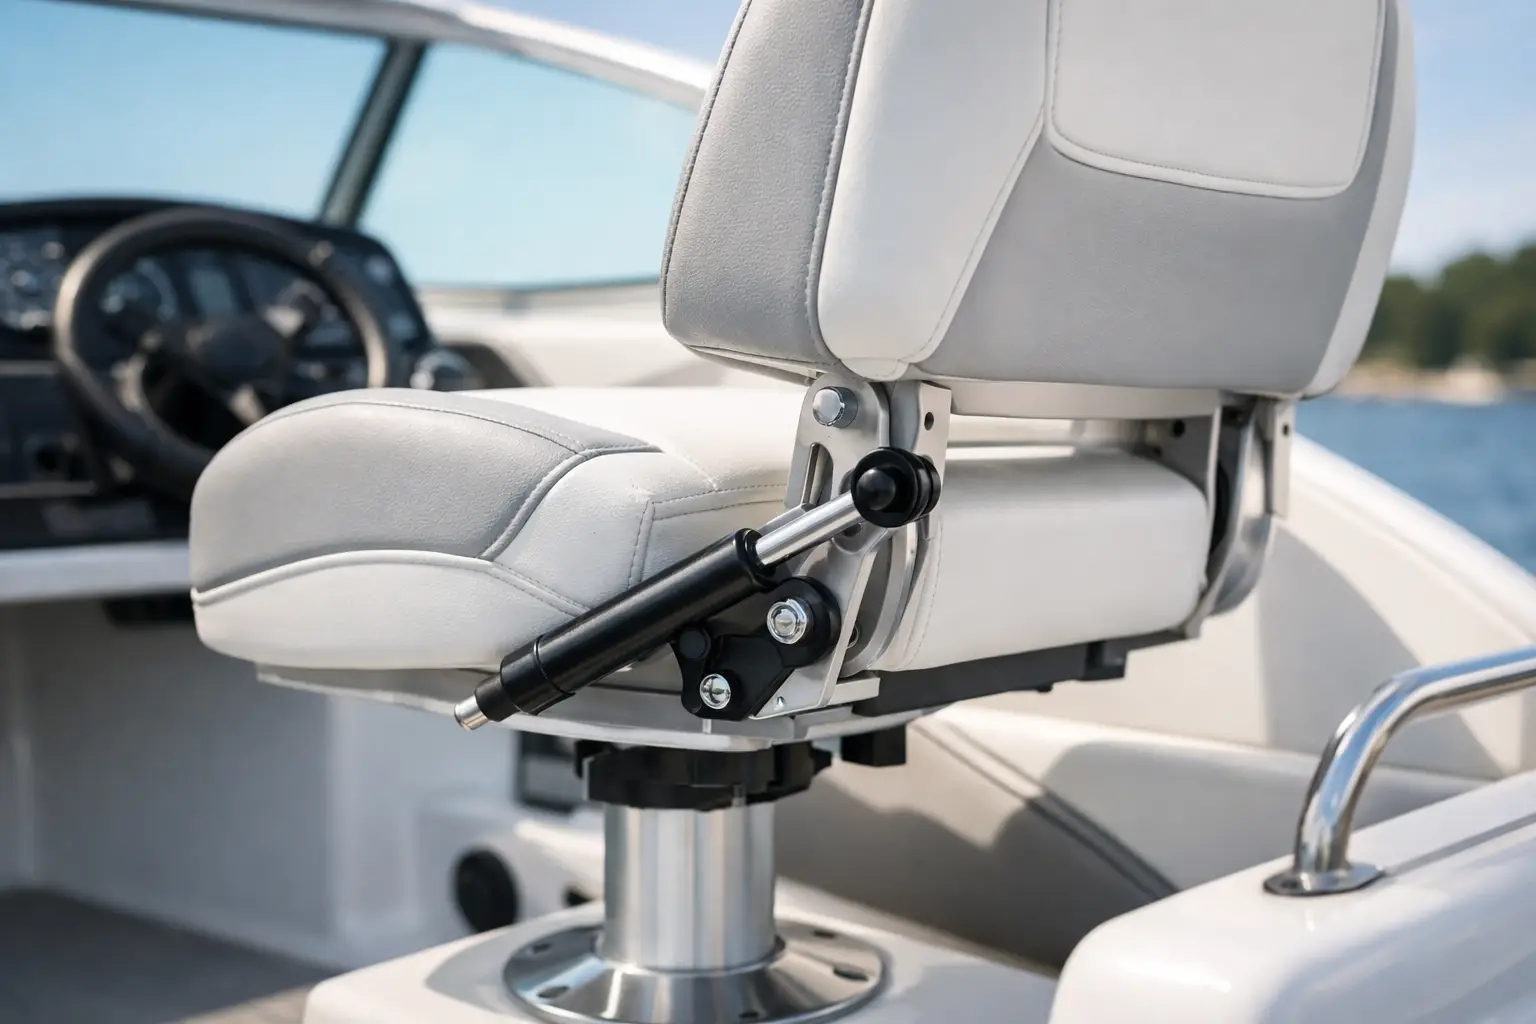
A strut that works well on a caravan boot, ute canopy or workshop cabinet can fail early when fitted to a boat, wash-down area or exposed plant. Choosing stainless steel or standard gas struts comes down to the environment as much as the load. Both types can provide controlled lifting and support, but the wrong material can turn a routine replacement into repeat maintenance.
For most sheltered automotive, cabinet and machinery applications, a quality standard gas strut is the practical and cost-effective choice. Where salt, moisture, chemicals or frequent wash-down are part of normal operation, stainless steel is usually worth the additional upfront cost.
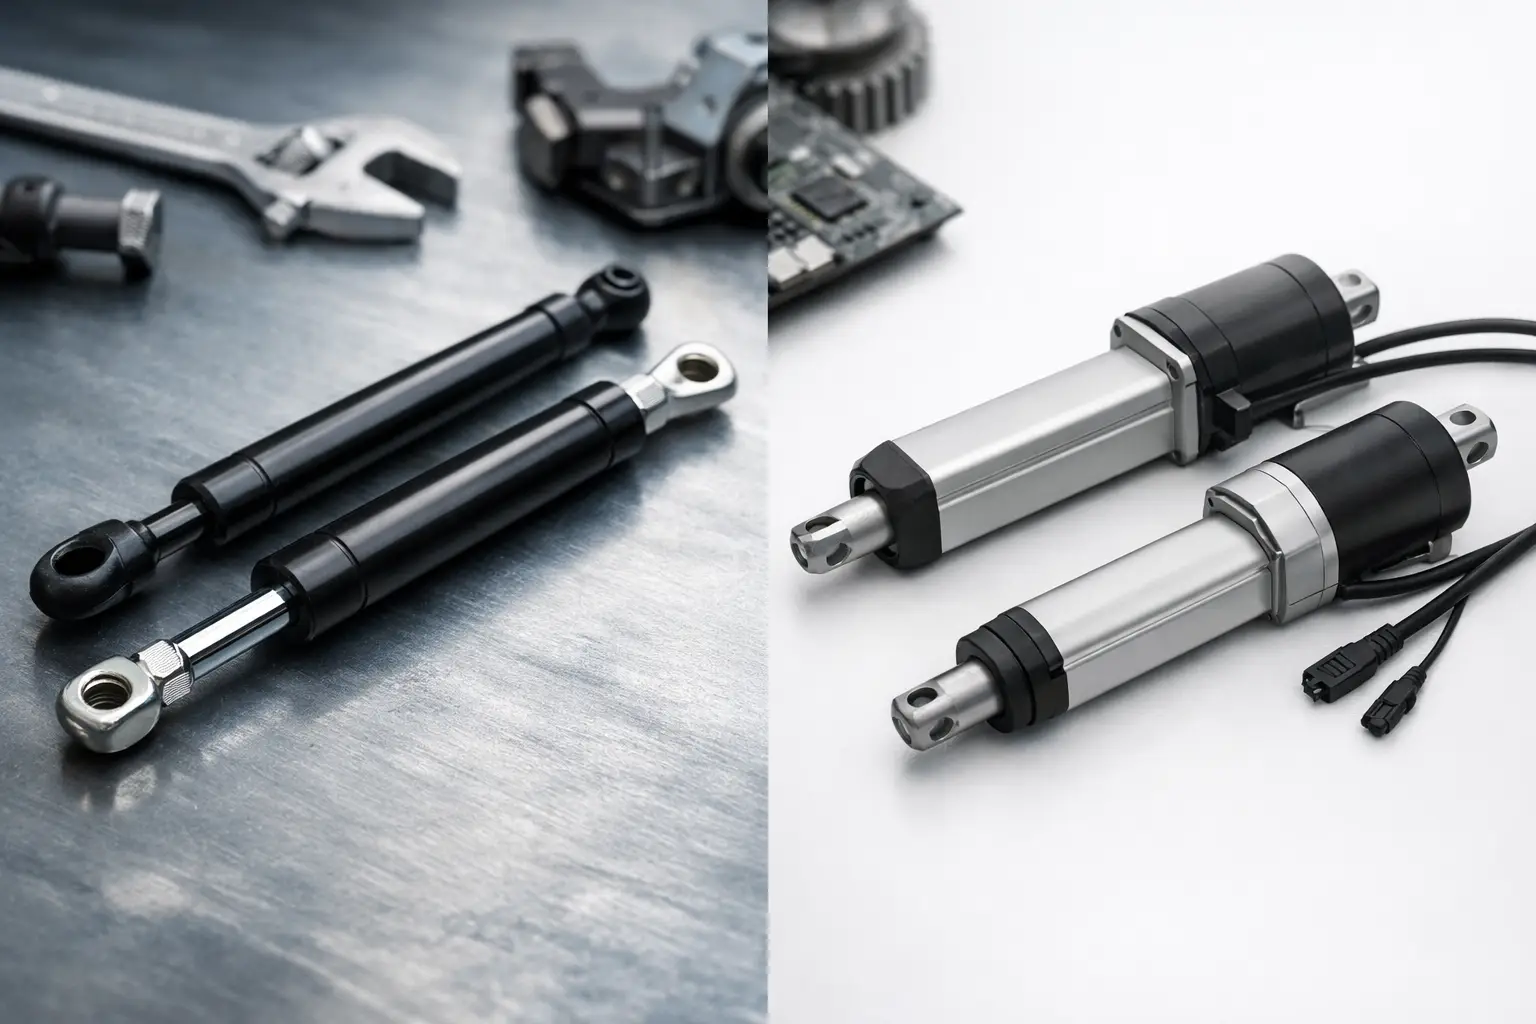
What changes between stainless steel and standard gas struts?
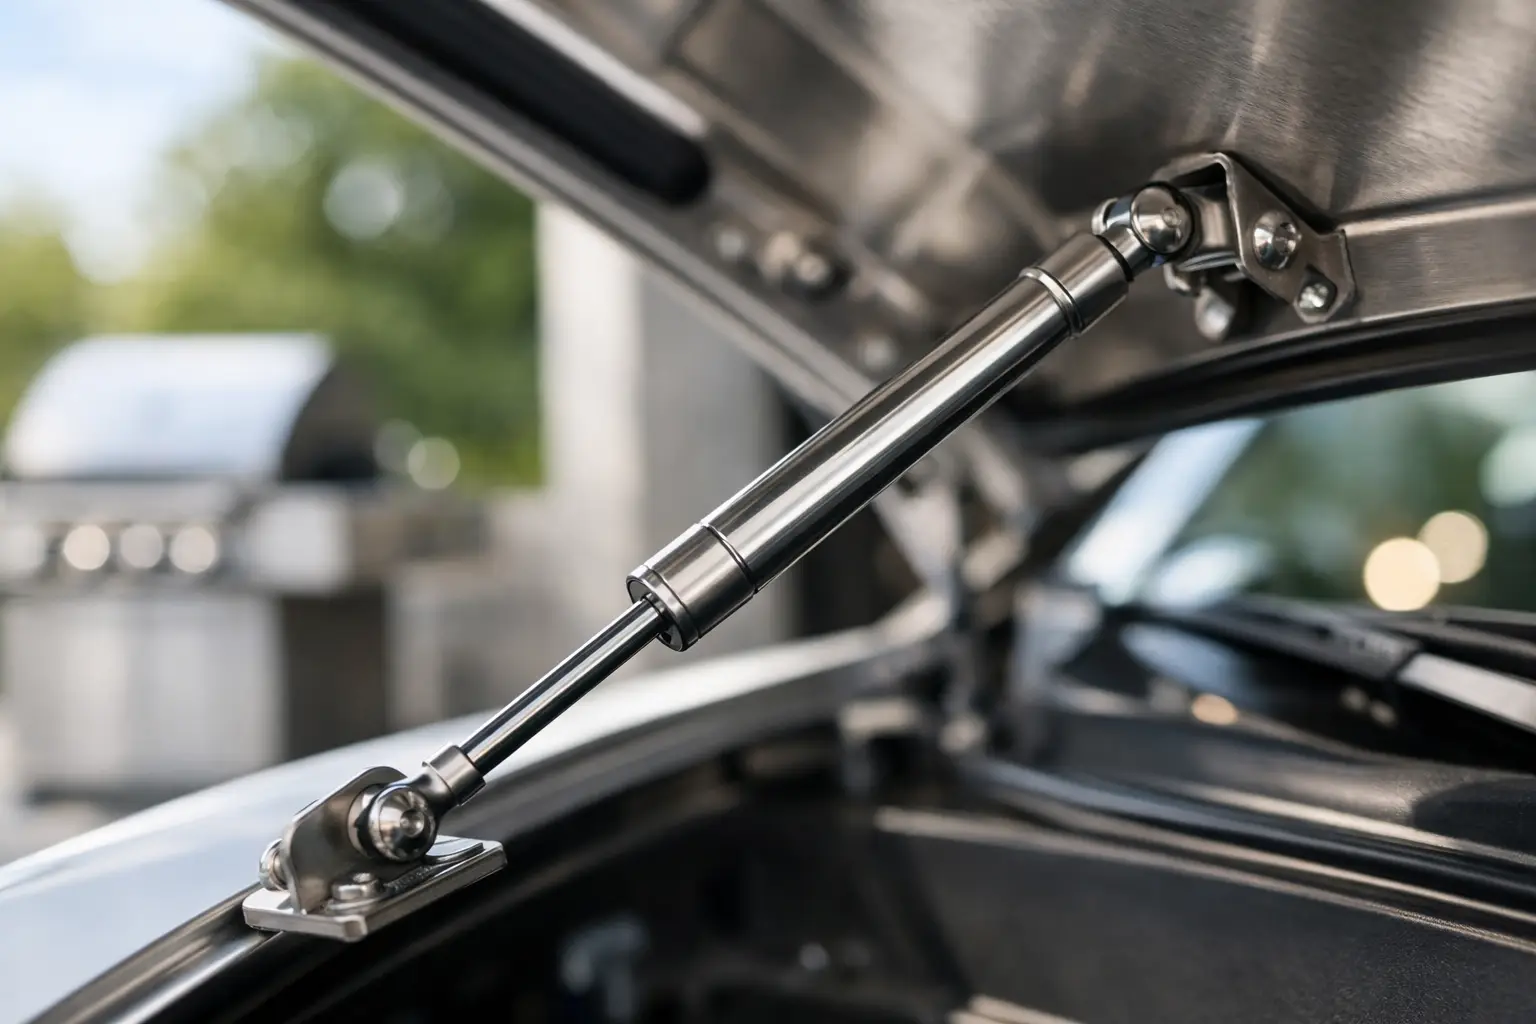
The core function is the same. A gas strut uses pressurised nitrogen and oil to extend in a controlled way, helping lift and hold a lid, hatch, panel or door. Correct force, stroke, mounting geometry and end fittings remain critical regardless of the material selected.
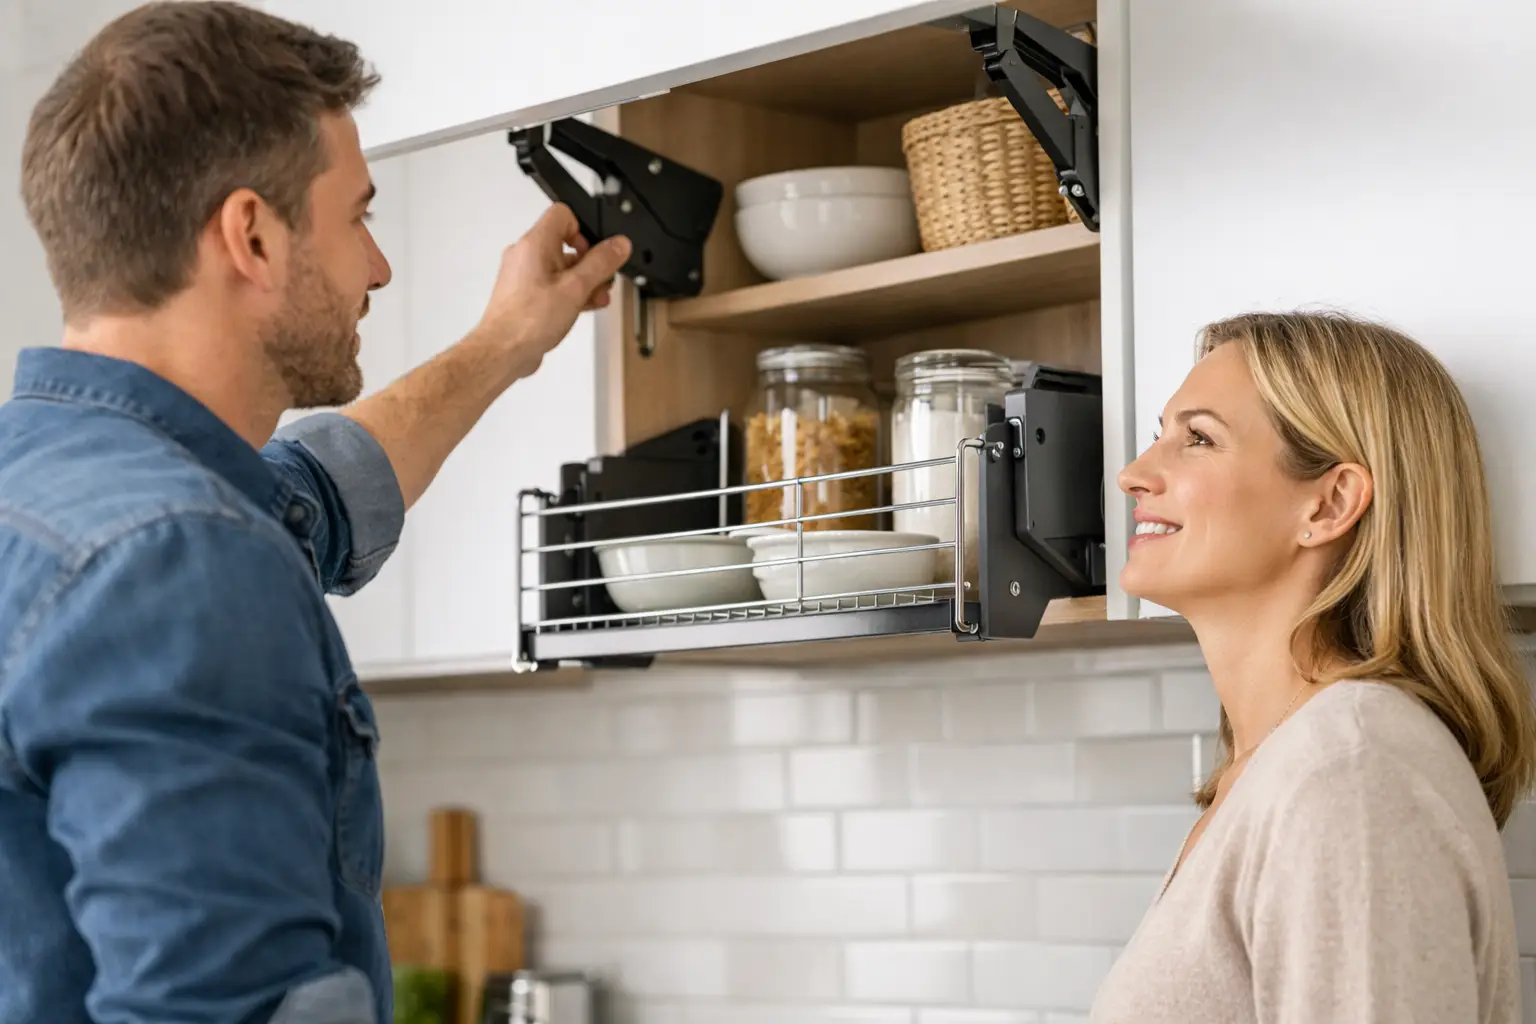
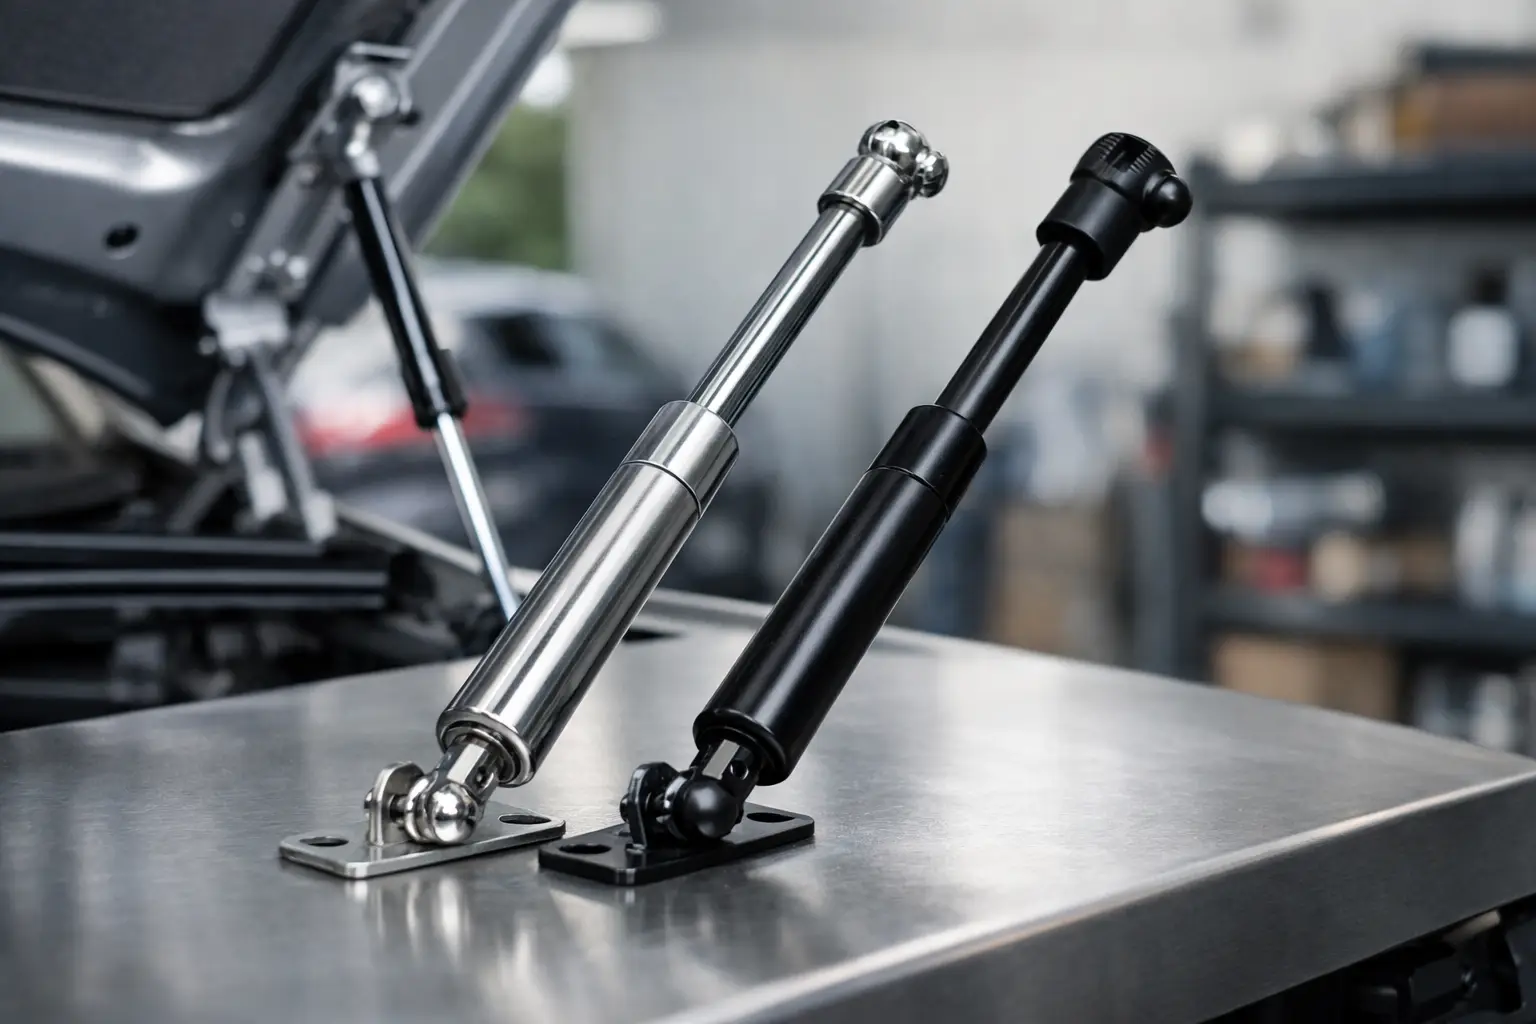
The main difference is corrosion resistance. Standard gas struts commonly use a painted, powder-coated or treated steel cylinder with a plated rod. They are suited to dry or reasonably protected conditions, including vehicle boots and bonnets, toolboxes, internal cabinets, machinery guards, camper fit-outs and enclosed trailer compartments.
Stainless steel gas struts use stainless components for improved resistance to rust and staining. They are designed for conditions where ordinary coatings can be damaged, worn away or repeatedly exposed to corrosive contaminants. Marine installations are the obvious example, but stainless struts also suit food-processing equipment, medical or laboratory furniture, coastal vehicles, aquaculture equipment and outdoor machinery.
Stainless does not mean maintenance-free. Surface deposits, especially salt, can still cause tea staining or corrosion on some grades if left in place. The grade of stainless steel, the quality of the rod finish and the surrounding hardware all affect service life.
When standard gas struts are the right choice
A standard strut is not an inferior strut. It is the sensible choice where the installation is protected and the expected exposure is low. A quality unit with the correct force rating will generally provide dependable service at a lower purchase cost than a stainless equivalent.
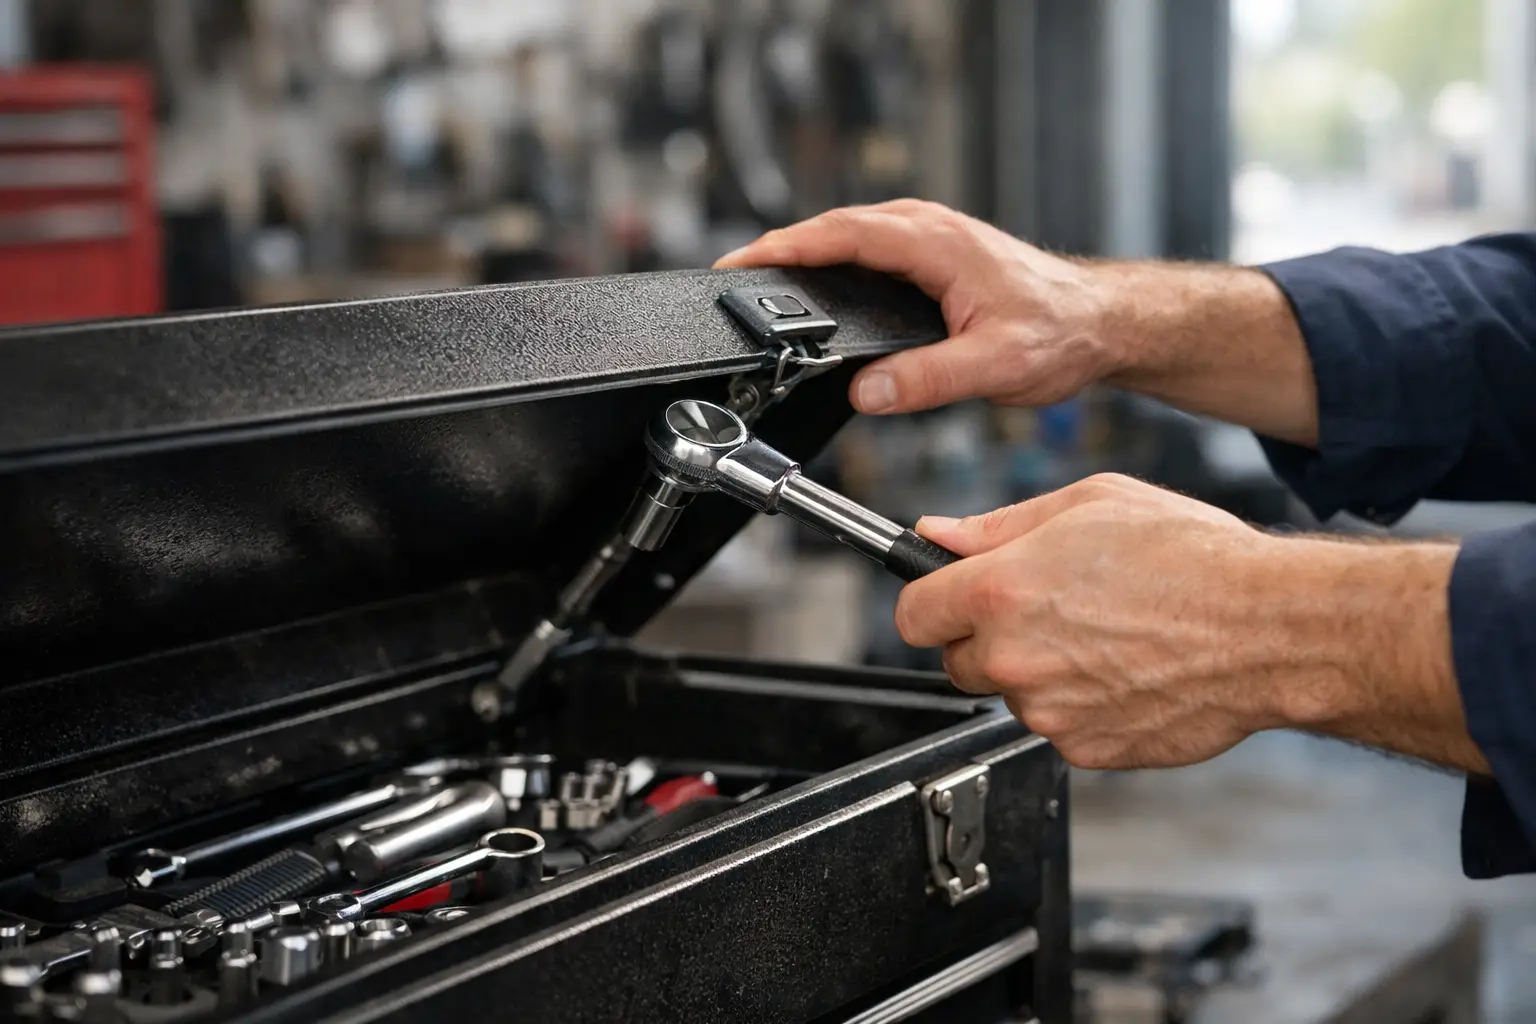
Consider standard gas struts for a ute canopy that is normally sheltered from direct salt spray, a caravan bed base, a toolbox used in general trade work, an enclosed machine cover or an indoor storage cabinet. In these jobs, the bigger risk is usually incorrect sizing rather than corrosion.
Pay attention to rod protection. The polished rod must not be scratched, dented or coated in paint, dust or abrasive residue. Damage to the rod can harm the internal seal and allow gas pressure to escape. Mounting the strut rod-down where the application allows also helps keep the internal seal lubricated.
For fleet, workshop or production use, standard gas struts can offer good value when replacements are expected to be readily available and the operating conditions are controlled. Specify a suitable finish and quality level rather than selecting only on price.
Standard struts have limits in exposed work
A coated steel strut can look fine when first installed on a boat trailer, outdoor toolbox or coastal service vehicle. The problem often appears later, when chips in the finish or constant salt exposure create corrosion around the body, end fittings or mounting brackets. Once corrosion reaches moving or sealing surfaces, performance and safety can be affected.
If a strut is likely to be wet, salty or chemically exposed most weeks, upgrading at the start is often cheaper than replacing standard units prematurely.
When stainless steel gas struts earn their cost
Stainless steel is best treated as an environmental upgrade. It is useful when corrosion resistance directly affects reliability, hygiene, appearance or maintenance intervals.
Boat hatches, livewell lids, marine lockers, jet ski storage, coastal caravan accessories and equipment working near saltwater are strong candidates. Salt spray settles into joints and crevices, and a strut cycles through that contamination each time the hatch opens. Stainless units provide a better defence than standard painted or plated components.
They are also well suited to food, beverage and pharmaceutical settings where equipment is cleaned regularly. Wash-down water, cleaning chemicals and strict hygiene requirements can quickly expose weaknesses in standard finishes. In agricultural processing, aquaculture and some mining environments, contaminants can be just as demanding as seawater.
A stainless strut may be worthwhile for an outdoor toolbox or equipment enclosure even away from the coast if it is exposed to rain, fertiliser, road grime or frequent pressure washing. The decision depends on how costly a failure would be. A failed hatch strut on a storage box is inconvenient. A failed support on access equipment may create a safety issue or stop work.
Check the whole installation, not just the strut
A stainless body alone cannot protect mild-steel brackets, screws or ball studs. Mixed materials can introduce galvanic corrosion, particularly in marine service. Use compatible mounting hardware where practical, isolate dissimilar metals when required and inspect the attachment points as part of normal maintenance.
Also confirm that the selected stainless grade suits the exposure. General stainless grades perform well in many applications, but higher chloride exposure may require a more suitable marine-grade specification. This is a detail worth raising before ordering, especially for commercial vessels, coastal plant and continuously exposed equipment.
Stainless steel or standard gas struts: the buying checks
Material selection is only one part of correct fitment. A stainless strut with the wrong force can make a lid difficult to close or overload hinges. A standard strut with the right force but insufficient corrosion protection may fail before its expected service life.
Before sourcing a replacement or requesting a custom solution, record these details:
- extended length, measured centre-to-centre between mounting points
- compressed length and available clearance when closed
- stroke, being the difference between extended and compressed length
- force rating in Newtons, usually marked on the existing strut
- end fittings, thread sizes, bracket type and ball-stud size
- the lid or panel weight, mounting position and opening angle
Do not assume two struts with the same length are interchangeable. Force ratings vary, end fittings differ and mounting geometry changes the lifting assistance delivered through the opening arc. If the original strut is not marked or has lost pressure, accurate measurements and photos of the mounting arrangement help identify the correct specification.
For a new installation, calculate the required force from the panel weight, centre of gravity, hinge position and desired opening angle. Heavy lids may need two struts, while long or awkward panels can require different mounting points rather than simply higher-force units. Excessive force can bend mounts, distort lightweight doors and make closing unsafe.
Cost, lifespan and practical value
Standard gas struts generally cost less and make sense when exposure is limited. Stainless steel costs more because of the material and construction, but can reduce replacement frequency in hostile environments. The right decision is not always the longest-lasting product on paper. It is the unit that gives acceptable service life for the application without introducing unnecessary cost.
For example, standard struts are often appropriate for a privately used caravan bed lift that stays dry inside. On the same caravan, a stainless pair may be the better option for an external storage hatch that sees coastal trips, rain and dusty roads. Different locations on the same vehicle can justify different specifications.
Maintenance practices matter too. Wipe dirt and salt from the rod, check for oil leakage, inspect ball joints and brackets, and replace weak struts before they no longer hold the load. Never drill, heat, dismantle or refill a gas strut. It is a pressurised component and should be replaced as a complete unit.
If the application involves a marine hatch, wash-down environment, corrosive material or hard-to-access equipment, provide those conditions when requesting a quote. Gas Struts can match the material, force, length and fittings to the job, rather than supplying a close-looking part that may not last.
Before ordering, look at where the strut spends its working life, not just where it is fitted today. That one check usually makes the choice between standard and stainless clear.