A hatch that drops without warning is more than annoying. On a vehicle, canopy, toolbox or cabinet, failed struts turn a simple lift-up panel into a safety issue. If you need to know how to replace hatch struts, the job is usually straightforward, but only if you match the right strut and fit it the right way.
The mistake most people make is treating all petrol struts as interchangeable. They are not. Two struts can look almost identical and still differ in force, extended length, compressed length, end fittings or mounting geometry. Get one of those wrong and the hatch may not open fully, may be hard to close, or may overload the mounts and fail early.
How to Replace Hatch Struts Without Guesswork
Start by checking whether the existing struts are actually the problem. If the hatch slowly sags, will not stay open, or needs extra effort to lift, the struts are likely worn out. If the hatch is twisted, binds on one side, or the brackets are bent, replacing the struts alone may not fix it. A new strut cannot compensate for poor alignment or damaged hardware.
Before removal, support the hatch securely. Use a prop, have a second person hold it, or secure it with suitable bracing. Never rely on one weak strut while removing the other. On larger hatches, lids and access doors, the load can shift quickly once one side is disconnected.
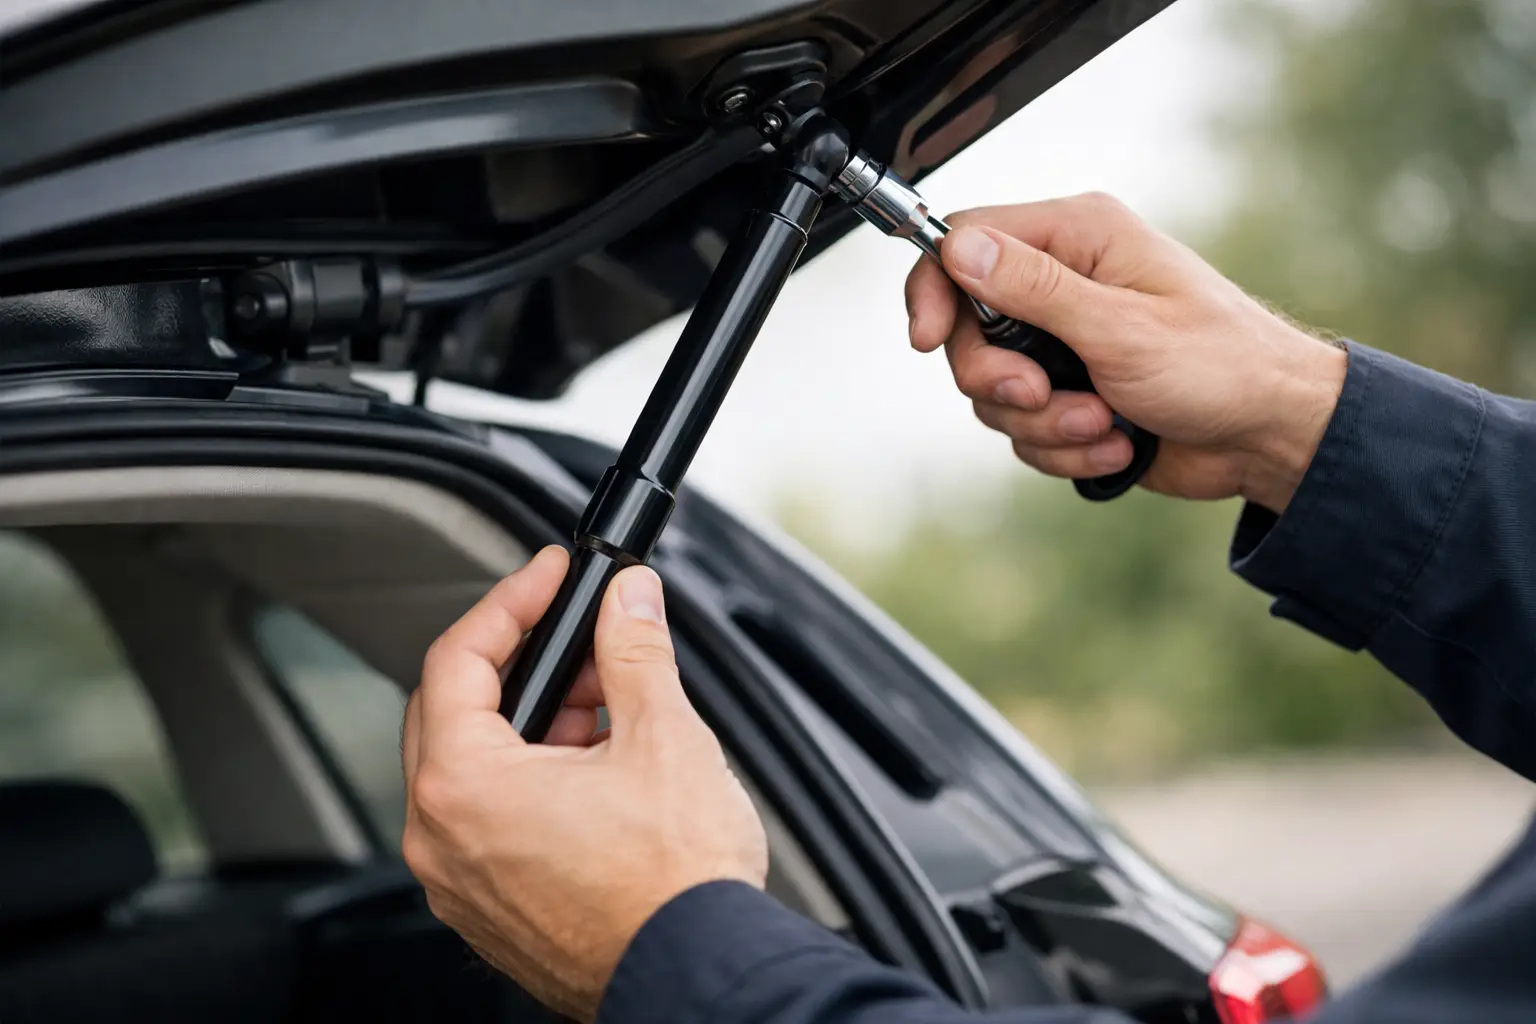
Most hatch struts are fitted with either ball socket ends, eyelets or specialised brackets. In many automotive and light industrial applications, ball sockets are retained by a small metal clip. You do not usually need to remove the clip completely. A small flat screwdriver can be used to lift it slightly, just enough to release the socket from the ball stud. Once the clip is eased back, pull the strut off the fitting.
Remove one strut at a time if possible. That helps keep the hatch aligned and reduces the chance of mixing up orientation or hardware. If both struts need to come off together, take a few photos first and note which end faces up and which fitting goes where.
Measure Before You Order
If there is a part number on the old strut, that is the best place to start. It can speed up identification and may confirm force rating and dimensions. If the label is missing or unreadable, measure the strut manually.
The key measurements are extended length, compressed length and stroke. Extended length is measured centre-to-centre between the mounting points when the strut is fully open. Compressed length is the same measurement when fully closed. Stroke is the difference between those two figures. You also need to identify the end fittings and bracket types.
Force matters just as much as size. Petrol strut force is usually marked in Newtons, often shown as N on the body. If the old strut says 250N, 400N or 800N, that number is critical. Fitting a stronger strut is not automatically better. Too much force can make the hatch difficult to shut, place stress on hinges and brackets, or cause the panel to spring open too aggressively. Too little force and it simply will not hold safely.
There are cases where matching the old force exactly is not ideal. If the hatch has been modified with added weight, such as internal lining, racks or accessories, the original rating may no longer be correct. Likewise, if a canopy door or toolbox lid has always felt marginal, it may need a revised specification rather than a like-for-like swap. That is where application details matter.
Choosing the Correct Replacement Strut
When working out how to replace hatch struts properly, the replacement process starts well before installation. You need the right combination of dimensions, force and end fittings for the application.
For a rear hatch on a wagon or SUV, the safest option is usually a direct replacement based on original specification. Vehicle hatches are designed around a set opening angle, hinge position and closing effort. Changing those values too far can affect operation.
For canopies, camper trailers, toolboxes, cabinets and industrial access panels, there is often more variation. In these applications, the strut may have been selected by size and force rather than a vehicle-specific part number. If that is the case, details such as lid weight, hinge location, opening angle and mounting point position become important. A strut specialist can use those details to confirm whether you need a stocked replacement or a custom setup.
Material and finish also matter in harsh conditions. Marine use, washdown environments and exposed outdoor applications may require corrosion-resistant components rather than a basic painted steel unit. In trade and industrial settings, durability is not just about the tube and rod. End fittings, brackets and seal quality all affect service life.
Fitting the New Struts
Once you have the correct replacement, compare it side by side with the old unit before fitting. Check the length, fitting style and orientation. In most cases, the rod should be mounted facing down when the hatch is closed. That helps keep the internal seal lubricated and can extend service life. There are exceptions depending on the application, but rod-down is a common rule for standard fitments.
Snap or press the new strut onto the ball studs or attach it to the existing hardware as required. If the socket feels too tight, check the retaining clip position rather than forcing it. If the replacement is slightly too long or too short to fit easily, stop there. Do not lever the hatch into place or force the strut onto misaligned mounts. That usually means the dimensions or fittings are wrong.
After fitting one side, move to the other. Once both struts are installed, cycle the hatch carefully through its full range. It should open smoothly, hold reliably, and close without excessive resistance. Watch for twisting, uneven travel or contact with surrounding panels.
If the hatch now opens too quickly or feels difficult to pull down, the struts may be overpowered. If it still drops or struggles near full extension, they may be underpowered or incorrectly positioned. In either case, the issue is usually specification, not installation technique.
Common Problems After Replacement
A hatch that still does not work properly after new struts are fitted usually points to one of a few common issues. The wrong Newton rating is one. Incorrect length is another. Worn hinges, loose brackets and cracked mounting points are also common, especially on older vehicles, canopies and heavily used equipment.
Temperature can affect performance as well. Petrol struts generally feel firmer in warmer conditions and softer in colder weather. A small change is normal. A major change usually means the strut was already marginal for the application.
Another issue is replacing only one strut when the hatch uses a pair. That can leave uneven force across the panel and create twisting loads. In most cases, paired struts should be replaced together, especially when one has already failed.
When DIY Is Fine and When to Ask for Help
For a standard rear hatch, toolbox lid or access panel with clearly matched replacement struts, DIY replacement is usually well within reach. Basic hand tools, careful measurement and safe support of the hatch are often all that is needed.
Where it gets more technical is on custom applications. If the hatch is oversized, unusually heavy, fitted with non-standard brackets, or part of machinery or industrial equipment, correct strut selection becomes more than a simple parts swap. The mounting geometry determines how the strut behaves through the full opening arc. A strut that looks right on paper can still perform poorly if the mounting points are wrong.
That is also why measurements alone do not always tell the full story. If you are replacing struts on a caravan bed, plant enclosure, marine hatch or fabricated toolbox, it helps to provide photos, dimensions, fitting type and any markings from the old strut. The more complete the information, the better the chance of getting a replacement that works first time.
A specialist supplier such as Petrol Struts can usually help identify whether you need a direct replacement, different end fittings, or a custom-rated option for the way the hatch is actually used.
Replacing hatch struts is not a complicated job, but it is a precise one. Support the hatch properly, match the dimensions and force accurately, and do not ignore worn brackets or alignment issues. Get those basics right and the result is simple – a hatch that lifts smoothly, stays where it should, and gets back to doing its job safely.