A petrol spring that lifts smoothly and holds where it should usually comes down to mounting, not luck. If you need to know how to mount petrol springs on a toolbox lid, canopy window, cabinet, trailer hatch or machinery guard, the key is getting the position, angle and end fittings right before you drill anything.
Why mounting position matters
Petrol springs are simple parts, but they are not forgiving when mounted badly. A strut that is too long, too short, mounted on the wrong angle or fixed to weak material can twist brackets, bind through the stroke or put too much load into the lid and hinge line.
The other issue is performance over time. Correct mounting helps the internal seal stay lubricated, reduces side loading and gives more controlled opening and closing. Poor mounting can make even a quality strut feel wrong from day one.
In practical terms, the mounting points decide four things – how much force is needed to start the lift, how far the panel opens, whether it stays open safely, and how much stress goes into the hardware.
Before you mount petrol springs, check the basics
Start with the application itself. The size and weight of the panel matter, but so does where the panel’s centre of gravity sits in relation to the hinge. A short, heavy steel hatch behaves differently from a long aluminium canopy door, even if the total weight is similar.
You also need to confirm the strut specification. That means the extended length, compressed length, stroke, force rating and end fitting type. If any one of those is off, mounting becomes guesswork.
Measure the lid or door in its closed and fully open positions. Check available clearance around hinges, seals, frames and nearby hardware. On vehicles and machinery, also look for vibration, dust, washdown exposure and whether the panel may be opened on uneven ground.
If you are replacing an existing unit, do not assume the old setup was correct. Failed brackets, bent ball studs and doors that spring open too hard are all signs the original geometry may have been wrong.
How to mount petrol springs for reliable operation
The usual goal is straightforward. You want the petrol spring to assist early in the lift, support the load through the middle of travel and hold the panel open at the required angle without topping or bottoming out.
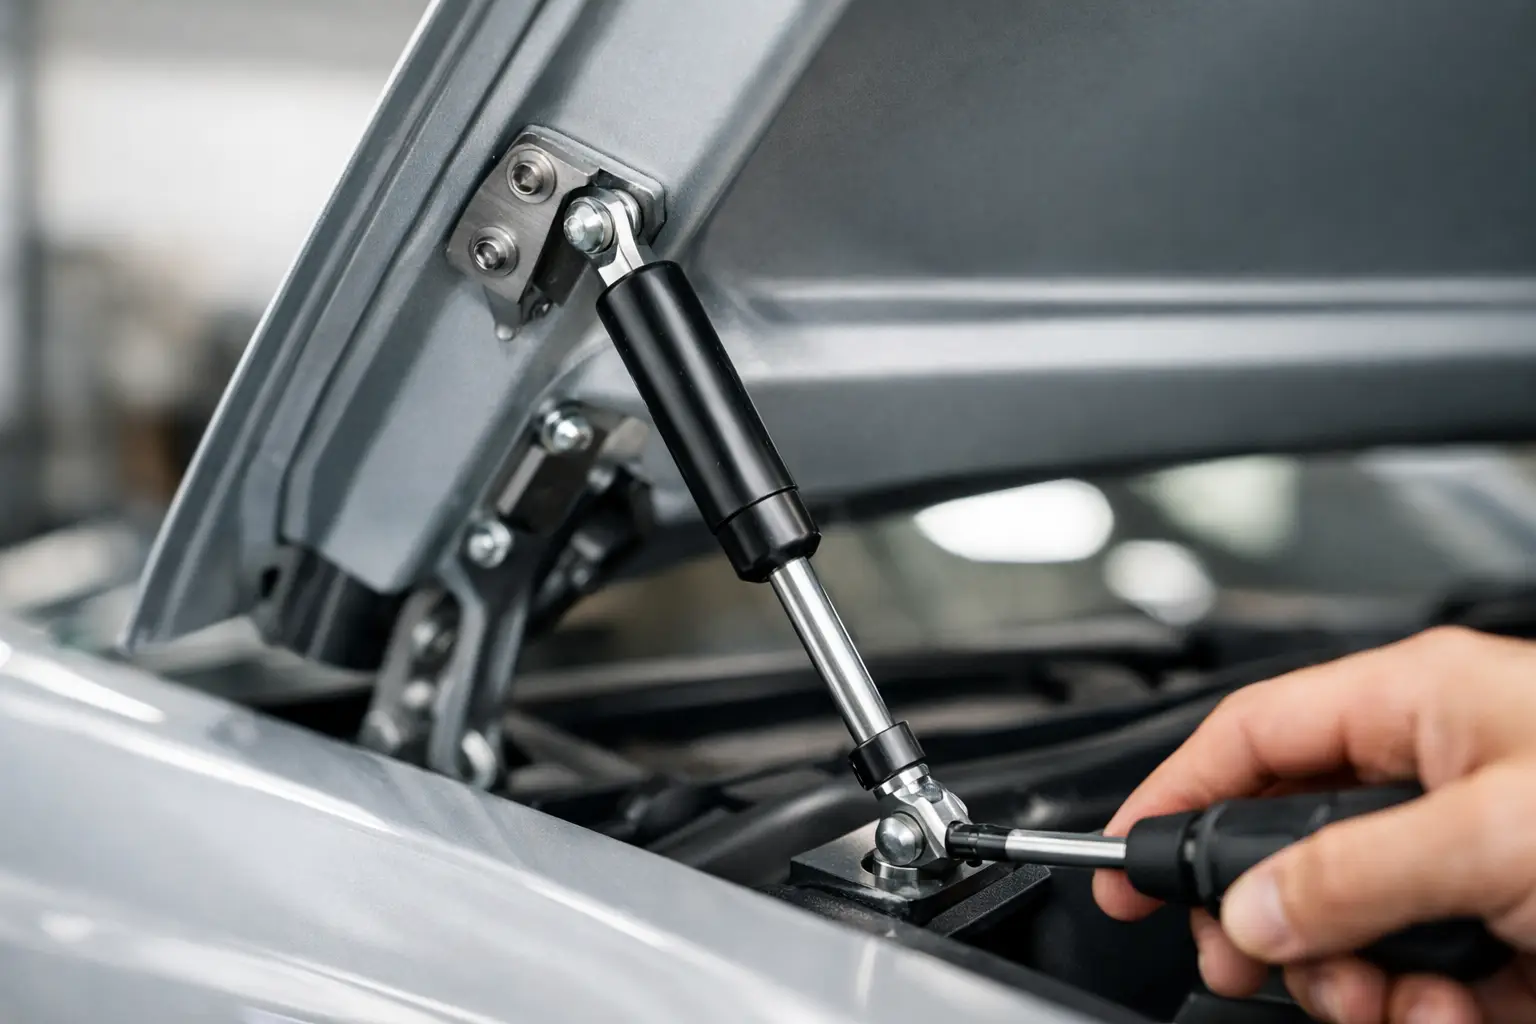
In most applications, petrol springs are mounted with the rod pointing downward when the panel is closed. That orientation helps keep the internal seal lubricated and generally improves service life. There are exceptions, especially in special damped or lockable units, but for standard petrol struts this is the normal starting point.
Mounting near the hinge reduces leverage and usually means you need a higher force strut. Mounting further from the hinge increases leverage and can reduce force requirements, but it also changes the travel arc and available clearance. There is always a trade-off between force, stroke and mounting space.
For side-hinged doors and top-hinged lids, the opening angle matters just as much as weight. If the strut reaches full extension before the door reaches the desired open position, the setup will stop short or overload the brackets. If it does not extend far enough to support the panel near full open, the door may drop unexpectedly.
Choosing mounting points
The body end and rod end positions need to be considered together. One point on the fixed frame and one on the moving panel create the strut arc. Small changes in either location can noticeably change lift effort.
As a starting principle, the fixed end is mounted to solid structure, not just thin skin or sheet metal. The moving end should also be attached to a reinforced section of the lid or door where the load can be spread properly. On toolboxes, canopies and marine hatches, this often means backing plates or reinforced brackets rather than direct fixing into light panel material.
Try to avoid side loading. Petrol springs are designed to work in line through their stroke. If the mounting points force the strut to twist, flex sideways or run out of alignment during opening, wear increases quickly and operation becomes rough.
It is also worth checking symmetry. If you are fitting a pair of struts, they should be mounted evenly on both sides wherever possible. Uneven mounting can rack the panel, stress hinges and make closing awkward.
Closed position clearance
With the panel shut, the strut must not bottom out internally. You need some safety margin so the compressed length of the petrol spring is shorter than the installed length in the closed position. If not, the strut becomes the stop, which can damage the seals, brackets or the lid itself.
Open position clearance
With the panel fully open, the strut should still have suitable extension margin unless the design intentionally uses the strut as the open stop and the hardware is rated for that load. In most cases, a mechanical stop or hinge limit is the better option.
Brackets, ball studs and hardware
Most petrol springs mount using ball studs and socket end fittings, though eyelets, clevis ends and custom brackets are also common. The hardware needs to suit both the load and the environment.
Ball studs make installation and removal straightforward, but they must be mounted squarely and into material with enough pull-out strength. For heavier lids, guards or industrial panels, using proper brackets and reinforcement is not optional. Thin self-drilling screws into sheet metal might hold briefly, but they are not a dependable long-term solution.
Corrosion resistance matters as well. In marine, agricultural and washdown settings, hardware selection affects life just as much as the strut specification.
Common mounting mistakes
One of the most common errors is choosing force first and geometry second. A stronger strut does not fix poor mounting. It often makes the setup harder to close and increases stress on the hinge area.
Another mistake is ignoring the opening arc. A petrol spring works through changing leverage as the panel moves, so a setup that feels acceptable halfway through travel may be too weak at lift-off or too aggressive near closed.
People also run into trouble by copying a similar application without checking dimensions. Two toolbox lids that look alike can still need different strut positions because of frame depth, hinge offset or lid weight.
Finally, weak mounting surfaces cause ongoing failures. If the bracket flexes, the strut will not track cleanly. That leads to noise, uneven wear and repeated hardware issues.
Installation steps that make the job easier
Mark the proposed mounting points before drilling. Then test the strut path by cycling the panel through its movement if possible. On custom jobs, a simple mock-up with temporary clamps can save a lot of rework.
Fit the brackets to solid structure first. Once they are fixed, clip or bolt the petrol spring into place with the correct orientation. Open and close the panel carefully by hand and look for binding, twisting or interference.
If the panel opens too hard from closed, the moving bracket may be too far from the hinge, the force may be too high, or both. If it is heavy to start and only assists late in the stroke, the bracket position may be too close to the hinge or at the wrong angle.
For paired struts, install both only after confirming the geometry on the first side. That avoids doubling up on an error.
When standard mounting rules are not enough
Some applications need more than general fitment advice. Heavy machinery guards, caravan front boots, horse float doors, angled hatches and off-centre loads often require force calculation and layout guidance rather than trial and error.
This is where dimensions matter. If you are trying to source or replace a strut, have the extended length, compressed length, stroke, end fittings, mounting orientation and application details ready. If the original part is missing or failed, lid dimensions, approximate weight, hinge location and desired opening angle will help determine the correct setup.
For unusual applications, custom advice is often faster than repeated test fitting. A supplier that deals with struts every day can usually spot problems in geometry before parts are ordered.
Safety matters during fitment
Petrol springs store force even when they are sitting on the bench. Never puncture, heat, clamp or try to adjust them by force. Support the lid or panel properly during installation and removal, because once a strut is disconnected the load can drop suddenly.
If the application is heavy or overhead, treat the petrol spring as an assist device, not the only safety support during servicing. Mechanical props or lockouts are still good practice.
A well-mounted petrol spring should make the job feel controlled, not unpredictable. If the panel jerks, binds, will not stay open or needs excessive force to shut, stop and reassess the geometry before the hardware pays the price. Getting the mounting right the first time usually means less wear, fewer call-backs and a setup that works the way it should every day.