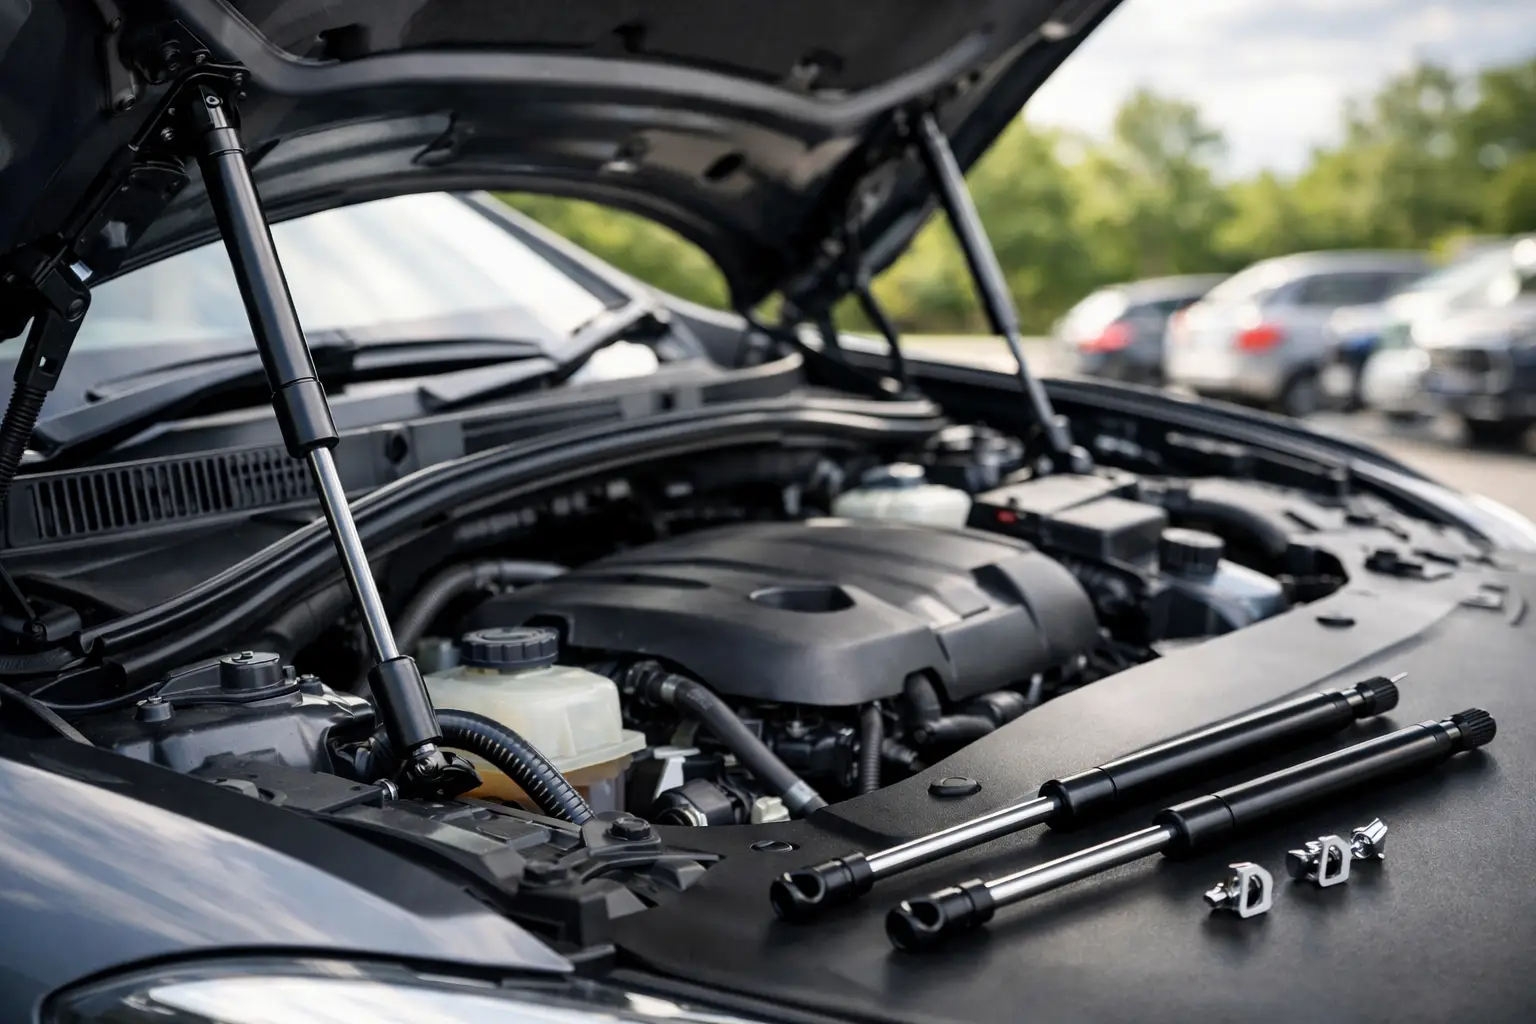
A bonnet that will not stay up is more than an annoyance. It slows down routine checks, creates a safety risk in the workshop or driveway, and usually gets worse quickly once a strut starts losing pressure. If you are looking for bonnet support struts Australia buyers can trust, the main job is not just finding a part that looks similar. It is getting the right extended length, compressed length, end fittings and force rating for the vehicle and the way it is used.
Why bonnet struts fail sooner than expected
Most bonnet struts have a hard working life. They cycle through heat, vibration, dust, road grime and engine bay temperature changes. Over time, seal wear and gradual gas loss reduce lifting force. In some cases, the strut body is still intact and the bonnet seems to hold for a while, but only in mild weather or only when opened fully. That is usually the warning sign before complete failure.
Australian conditions can shorten service life further. High ambient temperatures, corrugated roads, coastal exposure and commercial use all add stress. A ute used on site every day will usually chew through hardware faster than a vehicle used occasionally around town. That is why matching by appearance alone can lead to repeat failure. The wrong force or poor quality internals might work briefly, then drop off under real use.
Choosing bonnet support struts in Australia
When replacing bonnet support struts in Australia, there are four details that matter most. Length, force, fittings and mounting geometry all need to line up. If one is wrong, the bonnet may not open to full height, may be difficult to close, or may place too much load on brackets and hinges.
Length is not negotiable
The extended length determines how high the bonnet opens. The compressed length affects whether the strut closes without bottoming out. If the replacement is even slightly off, the bonnet can bind or sit under constant stress. Measuring from centre to centre of the ball sockets or mounting points is usually the correct starting point, but you also need to confirm how the manufacturer specified the original unit.
Force needs to suit the bonnet weight
Force is usually shown in Newtons. Too little force and the bonnet will sag or fail to lift properly. Too much force can make the bonnet hard to close and may overload brackets, especially on older vehicles where hinges and mounting points are already worn.
This is where many generic replacements fall short. Bonnet weight is not the only factor. Accessories, insulation, vehicle modifications and bonnet geometry all affect the force required. A heavy steel bonnet on a work ute may need a very different strut to a lighter passenger vehicle, even if the units look similar on the bench.
End fittings and mounting style must match
Ball joints, sockets, eyelets and bracket styles vary across vehicle models. Some bonnet struts are simple direct replacements. Others use application-specific ends or brackets that make fitment less forgiving. If the end fitting is wrong, adapting it on the spot often leads to poor alignment and premature wear.
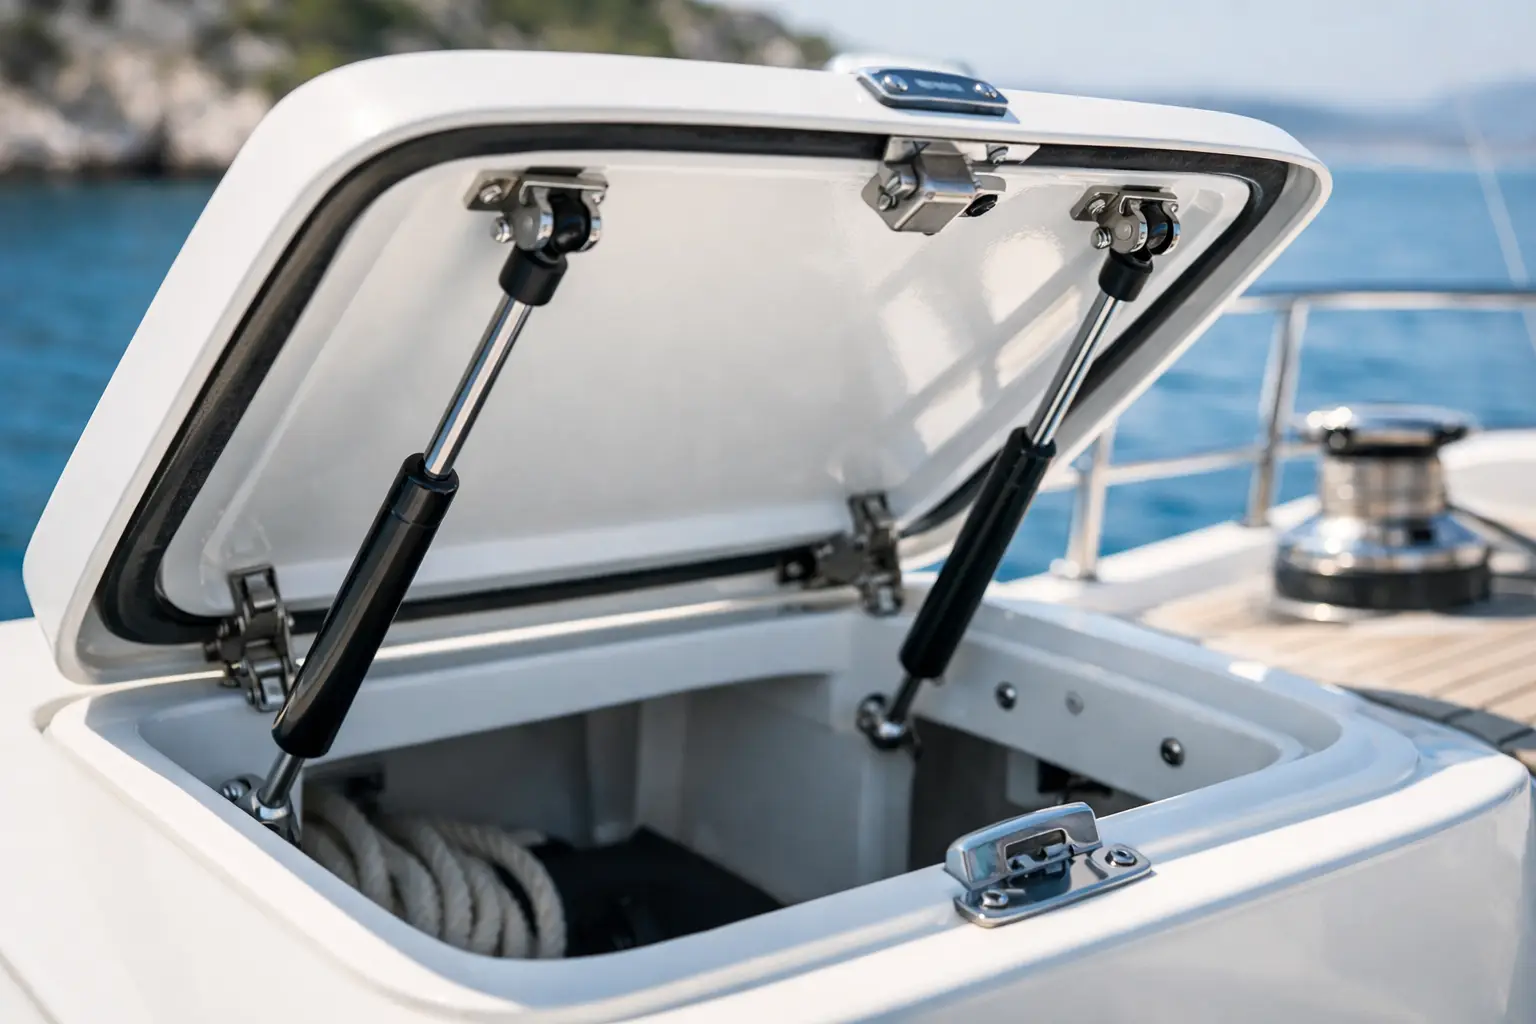
Left and right pairs should usually be replaced together
If one strut has failed, the other is rarely far behind. Replacing only one side can leave uneven support and unbalanced loading. On bonnet applications, changing the pair is normally the sensible option unless you are dealing with a single-strut design.
What buyers should have ready before ordering
The fastest way to source the right part is to provide accurate details upfront. Vehicle make, model, year and series are helpful, but they are not always enough on their own. Running changes happen, aftermarket modifications complicate fitment, and some vehicles have more than one strut option.
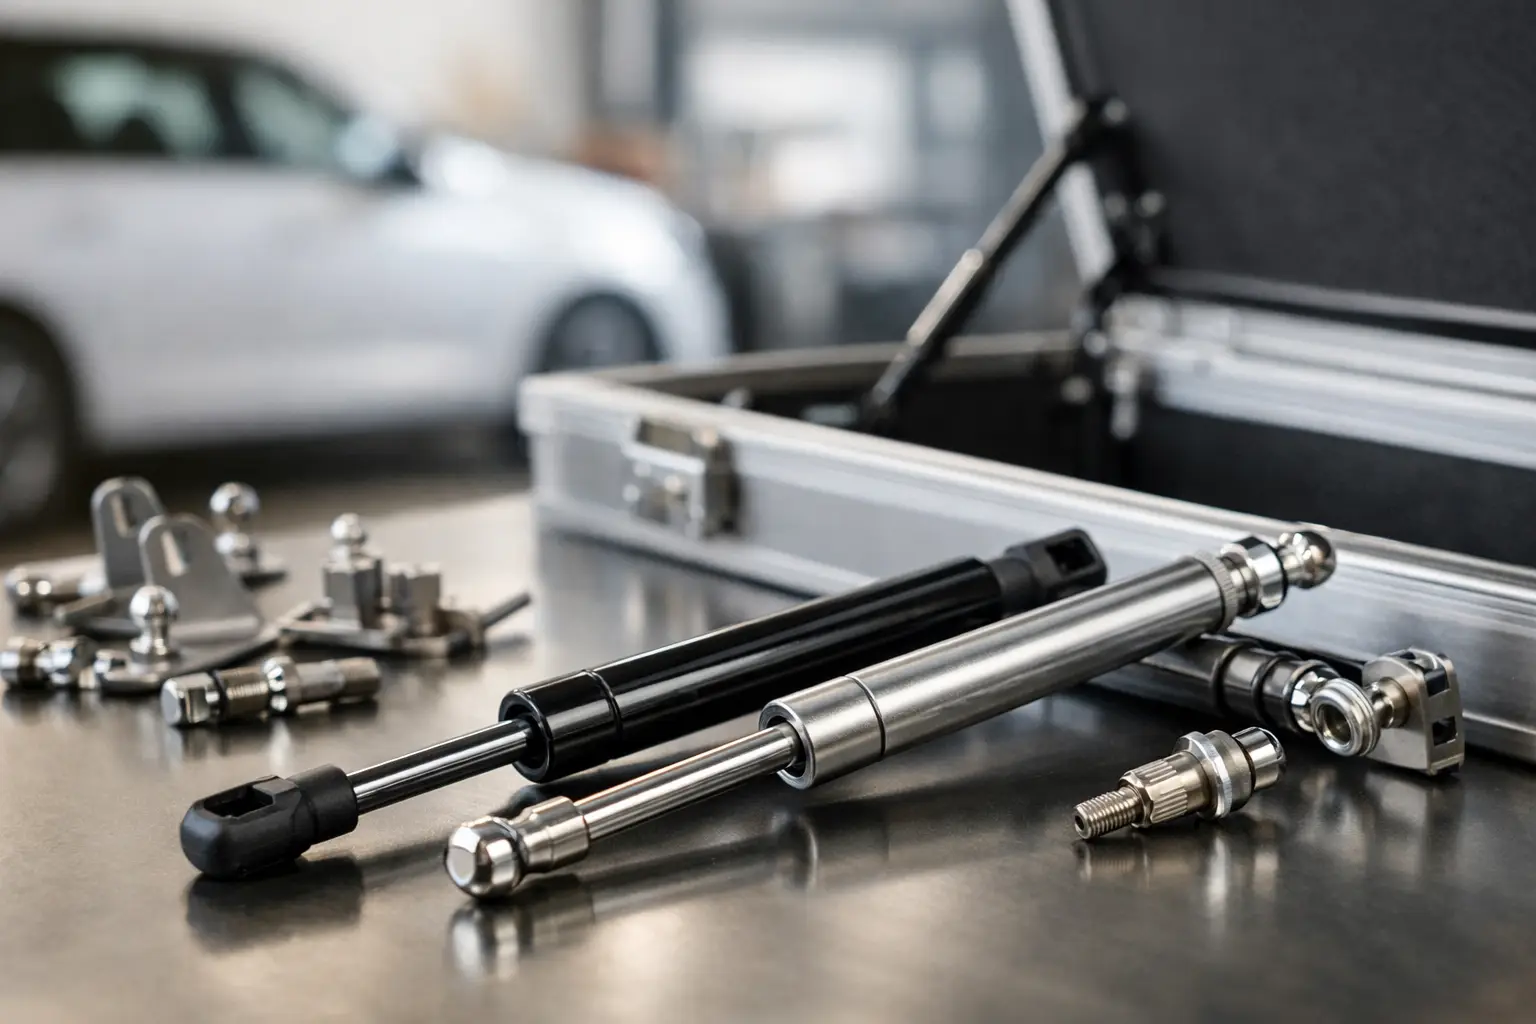
For a clean match, it helps to confirm the extended length, compressed length, shaft and tube diameter, end fitting type and any number printed on the original strut. If the original markings are worn off, clear photos of both ends, the mounted position and the full strut are often enough to identify a replacement. If the vehicle has had bonnet modifications or non-standard hinges fitted, mention that early. It saves time and avoids getting a strut that is technically close but wrong in practice.
Bonnet support struts Australia buyers should avoid
There is a reason cheap replacements often become a false economy. On a bonnet strut, poor sealing, inconsistent gas charge and low grade end hardware usually show up quickly. The bonnet may lift unevenly, lose holding force in warm conditions, or rattle due to sloppy fittings.
Low-cost imports can be acceptable for light, occasional use in some applications, but bonnet support is a safety item. If a strut fails while someone is working in the engine bay, the result is not just inconvenience. For workshops, fleet managers and tradespeople, downtime and risk matter more than shaving a small amount off the purchase price.
A better approach is to buy on specification and support, not just price. Good quality struts backed by technical advice, consistent manufacturing standards and a proper warranty are usually the safer long-term decision.
Standard replacement or custom bonnet strut?
For many passenger vehicles and common utes, a standard replacement is all that is needed. If the original design worked well and the mounting points have not changed, a direct replacement keeps the job simple.
Custom struts become relevant when the application is not standard. That might include engine conversions, modified bonnets, added insulation, custom engine bay setups, motorsport builds or specialist commercial vehicles. In those cases, an off-the-shelf part can be close without being correct. A custom solution allows the force and dimensions to be matched to the real load and mounting geometry.
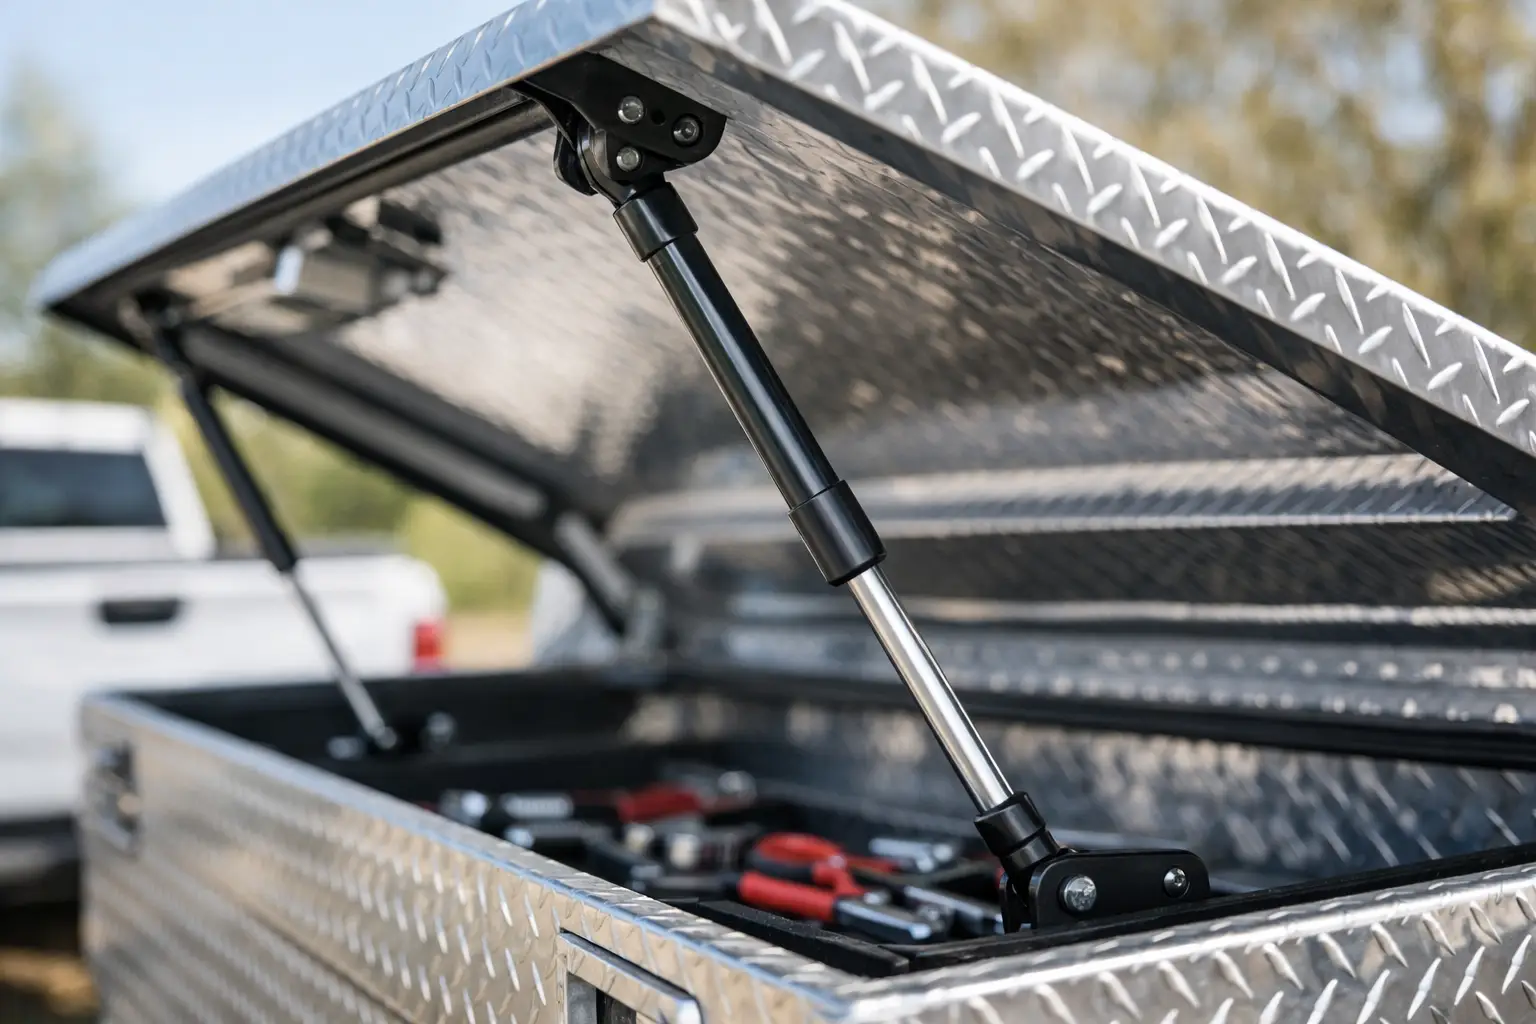
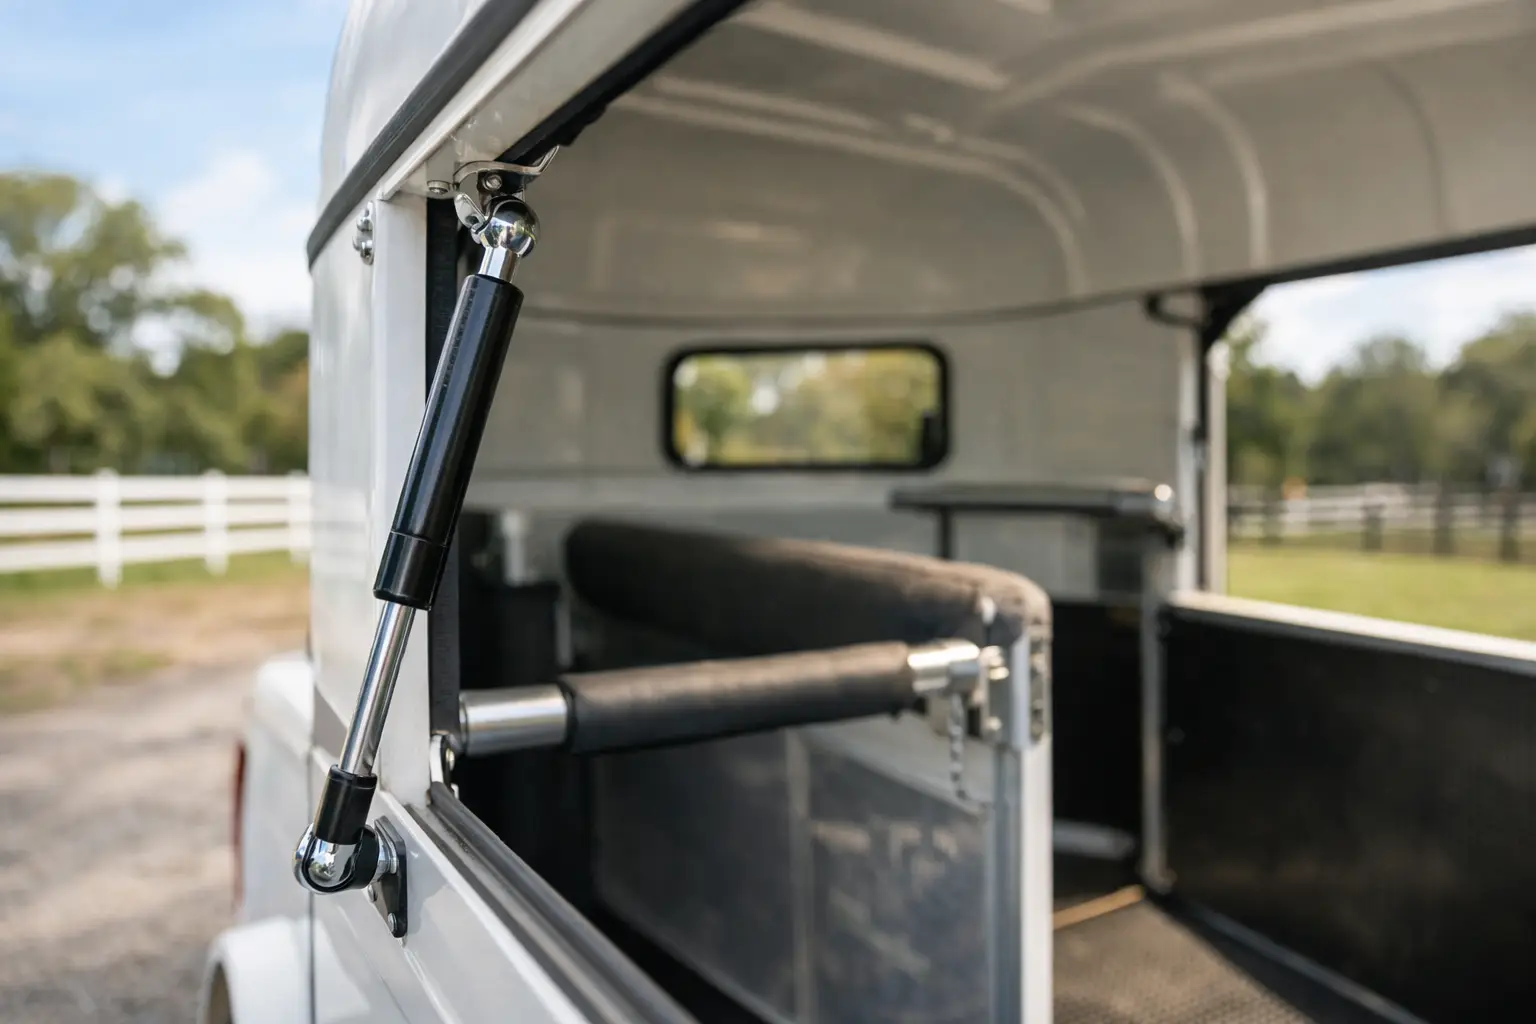
That matters in trade and industrial settings as well. Some buyers start by asking for bonnet support struts and then realise the same requirements apply across service hatches, access lids and machinery covers. A supplier that can handle both stocked replacements and custom specifications is often more useful than one limited to a vehicle lookup table.
Installation issues that catch people out
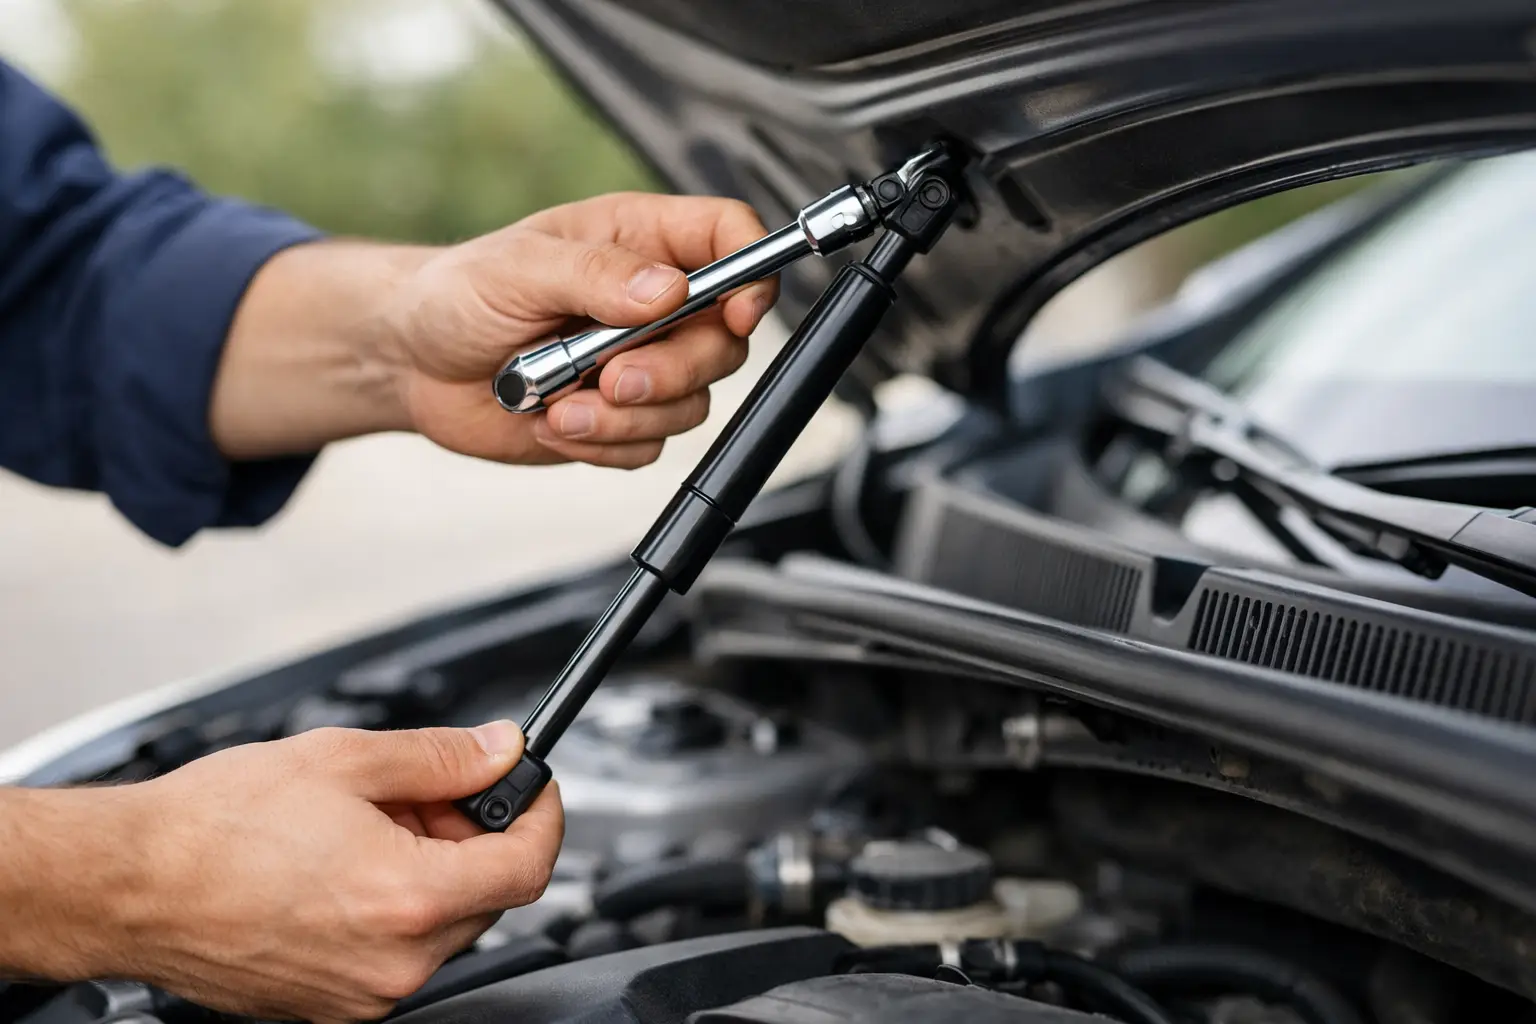
Fitting bonnet struts is usually straightforward, but there are a few common problems. The first is installing a new strut onto worn brackets or damaged ball studs. If the socket fit is loose, the new strut can pop off or wear prematurely. It is worth checking all hardware while the struts are off.
The second is orientation. On many gas struts, correct installation position helps lubrication and seal life. Fitting them upside down can reduce service life depending on the application. The third is forcing the bonnet into alignment to make a strut fit. If the dimensions are right, it should mount cleanly without levering the bonnet into place.
If there is any doubt, ask before fitting. A quick technical check is cheaper than a bent bracket or cracked bonnet mount.
Why local technical support matters
Bonnet struts are not complicated parts, but they are exact parts. That is why local support matters more than most buyers expect. A specialist who can review dimensions, assess photos and confirm force requirements can stop a simple replacement turning into trial and error.
For Australian buyers, availability also matters. When a workshop has a vehicle tied up on a hoist or a fleet vehicle needs to get back on the road, waiting weeks for a questionable part is not a good result. Fast national delivery, clear product matching and direct access to people who deal with strut applications every day makes the process more reliable.
This is where a specialised supplier such as Gas Struts can make the job easier. The advantage is not only stock range. It is being able to check the specification properly, supply replacement hardware if needed, and help with custom requirements where a standard unit will not do.
Getting the right result the first time
The best bonnet strut replacement is the one that works properly from day one and keeps working through heat, vibration and regular use. That means matching the strut to the application, not guessing from a photo or choosing the cheapest option with roughly the same shape.
If you are ordering bonnet support struts in Australia, start with the actual measurements and fittings, then check force, vehicle details and mounting condition. A few extra minutes spent confirming the specification usually saves a second order, a fitment problem or a bonnet that still does not stay where it should. When the part is right, the job is simple, safe and finished properly.