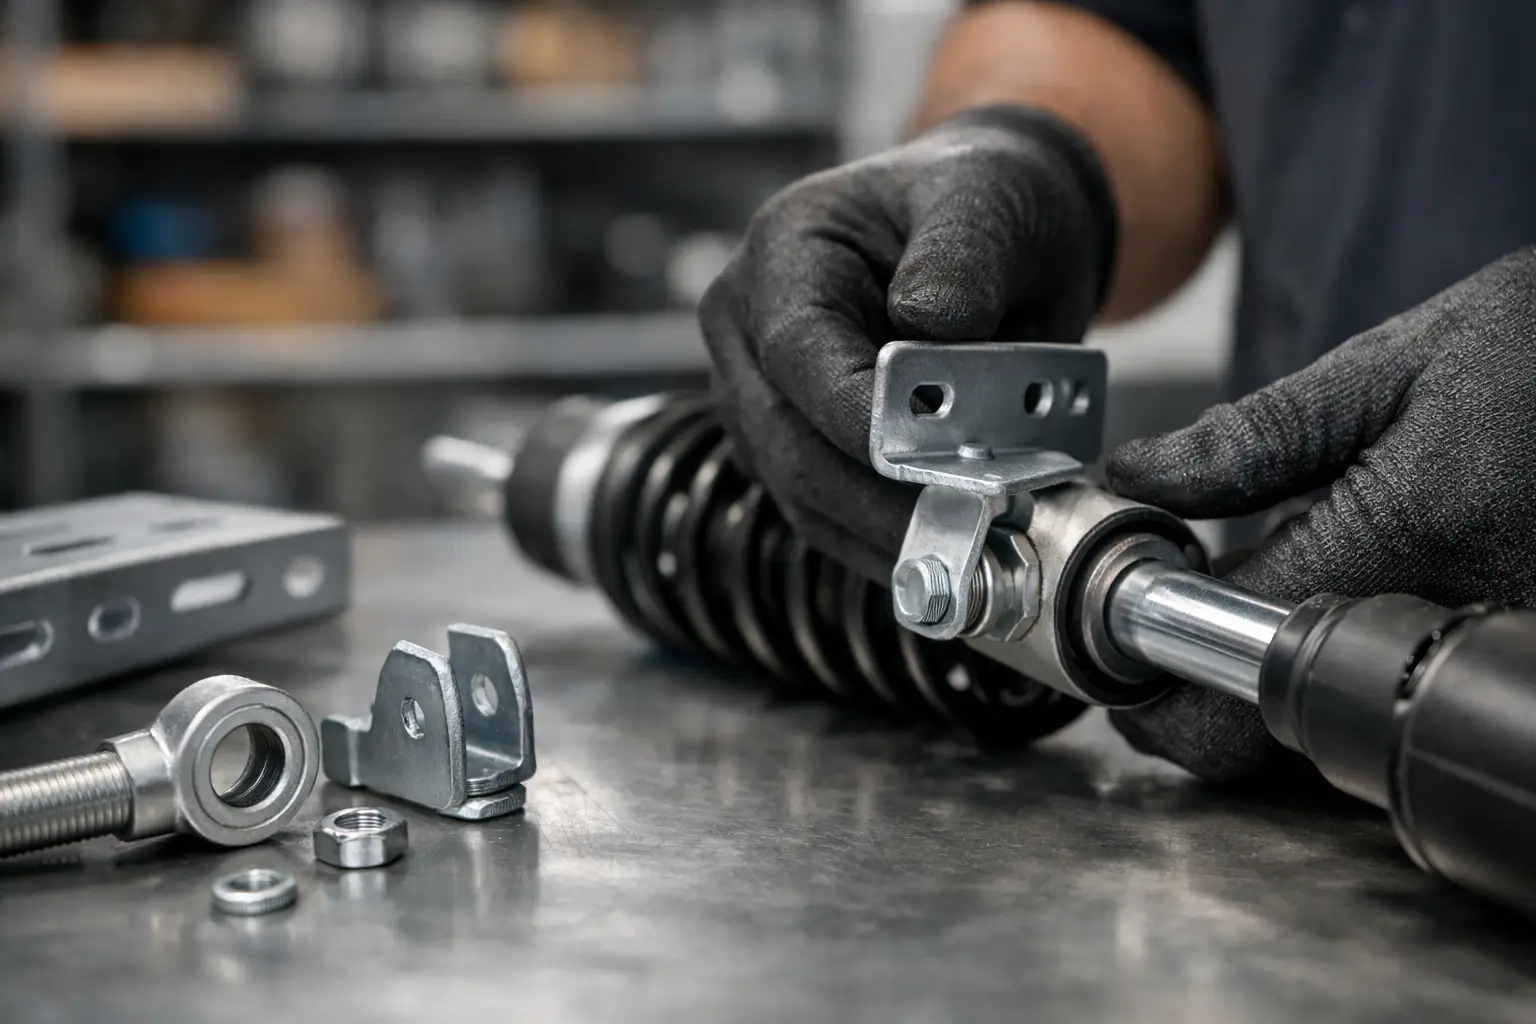
A gas strut can have the correct extended length and force yet still be unusable if the end fittings do not match the mounting points. Knowing how to match strut ends prevents loose connections, limited travel, side loading and hardware failure on vehicle boots, caravan hatches, toolboxes, machinery guards and industrial lids.
The job is not simply finding an end that screws onto the strut. The fitting must suit both the thread on the strut and the bracket, ball stud or mounting plate on the application. It also needs enough clearance to move through the full opening and closing cycle without binding.
What matching strut ends actually involves
A complete gas strut installation has two connection points: the cylinder end and the rod end. Each may use the same fitting, such as a ball socket, or a different fitting to suit the available mounting hardware. For example, a canopy door may use ball sockets at both ends, while a machinery cover may need a ball socket at one end and an eyelet or clevis at the other.
To match the ends correctly, confirm four things: the strut thread, the fitting style, the fitting dimensions and the mounting geometry. A fitting that appears similar can still be wrong if its thread pitch differs, its ball socket suits a different ball diameter, or its body fouls against the bracket as the lid moves.
Do not confuse the gas strut’s thread with the mounting stud. The threaded connection on the strut is where the end fitting attaches. The mounting connection is the point where that fitting joins the vehicle, cabinet, trailer or equipment.
Identify the existing mounting arrangement
Start by inspecting the old strut and the fixed mounting points with the lid, hatch or door safely supported. Look at both ends separately. Wear and corrosion can make an end fitting difficult to identify, so clean off dirt, grease and surface rust before measuring.
The most common arrangements are ball sockets, eyelets, clevis forks and threaded studs. Ball sockets clip over a ball stud and are widely used on automotive boots, bonnets, caravan doors and toolboxes. Eyelets have a round hole for a bolt or pin. Clevis ends are fork-shaped and accept a pin through a bracket. Threaded stud arrangements are more common on purpose-built machinery and custom installations.
If the old fittings are in good condition, they may be reusable. This can be useful where the original fittings are unusual, welded in place or integrated into a bracket. Check that the thread is undamaged and that ball sockets lock firmly onto their studs before transferring any hardware.
Check whether the end fitting is removable
Many gas struts have removable end fittings, but not all do. A removable fitting usually screws onto a threaded rod or cylinder end. Common thread sizes include M6, M8 and M10, though thread pitch can vary even where the diameter looks the same.
Never force a fitting onto a thread. If it does not turn smoothly by hand for several rotations, stop and verify the size and pitch. Cross-threading can damage the strut end and leave the fitting insecure under load. On a pressurised gas strut, that is not a repair worth risking.
Some original equipment struts use crimped, swaged or non-standard ends. In that case, matching the whole strut assembly may be more reliable than trying to adapt a replacement fitting.
Measure the strut thread and mounting point
Accurate measurements remove guesswork. A vernier calliper is best, although a thread gauge and a clear photo beside a ruler are also useful when seeking technical advice.
Measure the outside diameter of the threaded section on the gas strut. Then confirm the pitch, which is the distance between thread peaks. An M8 x 1.25 thread and an M8 x 1.0 thread share the same nominal diameter but are not interchangeable.
For a ball socket setup, measure the ball diameter rather than relying on appearance. A 10 mm ball stud is common, but other sizes exist. Also check the ball stud neck and the clearance around it. Some sockets have a deeper body or retaining clip that can contact a nearby panel or bracket.
For eyelets and clevis fittings, measure the hole diameter, the bracket width, the pin or bolt diameter and the available side clearance. The fitting must sit squarely in the bracket without being pinched. If a clevis is too narrow, it will not fit. If it is too wide, it can move sideways and create unnecessary wear.
Take note of fitting orientation as well. Some eyelets and clevis ends can rotate, while others have a fixed alignment. A fixed fitting may be unsuitable where the strut moves through an arc and needs to swivel as the hatch opens.
How to match strut ends to the application
The right end fitting depends on how the mounting point moves, not just on what will physically attach. Ball sockets are generally the most forgiving option because they allow angular movement in several directions. That makes them well suited to hatches, lids and doors where the mounting points do not remain perfectly aligned throughout travel.
Eyelets work well with strong, simple pivot points and are often found on industrial covers, seating mechanisms and fabricated brackets. They require the pivot to be correctly aligned. If the strut is forced to twist or bend around a fixed eyelet, the rod seal can wear prematurely.
Clevis ends suit applications where a pin-through-bracket connection is required and where the movement stays primarily in one plane. They offer a secure mechanical connection but need sufficient bracket spacing and a suitable pin-retention method.
Threaded ends are appropriate where the strut connects directly to a purpose-made mount. They are less forgiving of alignment errors, so they are usually best used on engineered equipment where mounting geometry has already been established.
It is also common to use different ends on the same strut. A toolbox lid, for instance, may have a ball stud on the lid and a bolt-through bracket on the body. Match each end independently, then confirm the completed strut can articulate freely.
Allow for clearance, rotation and load direction
A fitting can be the right size but still fail in service if there is not enough room for it to move. Before final installation, hold the strut in position and open and close the application slowly by hand. Check for contact between the fitting body and the mounting bracket, lid frame, weather seal or surrounding structure.
Pay particular attention near full extension and full compression. These are the positions where fittings are most likely to bind. A ball socket may need to rotate on the ball as the lid rises, while an eyelet may need a spacer to keep it clear of a bracket edge.
Gas struts are designed to work in compression and extension along their centre line. They are not designed to carry significant side load. If the ends are misaligned, the rod may bend slightly on every cycle, reducing seal life and affecting performance. A different fitting style, a swivel bracket or a revised mounting position may be needed rather than simply tightening the existing hardware harder.
Replacement struts versus custom applications
For a direct replacement, match the original ends wherever possible. Record the extended length, compressed length, force rating and both fitting types before ordering. Replacing a strut with the same ends but a different length or force can still create an unsafe installation.
For a new lid, enclosure or custom build, choose the mounting hardware as part of the strut design rather than as an afterthought. The weight of the lid, hinge position, opening angle, mounting distance and desired closing behaviour all affect the correct strut and end selection. Heavy canopy doors, marine hatches, agricultural equipment and machine guarding often need a purpose-matched solution.
A custom setup may benefit from ball joints where tolerances are variable, while a fixed industrial assembly may require eyelets or clevises for controlled movement. The best choice depends on the application, its duty cycle and the environment it works in.
Common fitting mistakes to avoid
The most frequent mistake is matching by appearance alone. Two black ball sockets can look identical but suit different ball diameters or thread sizes. Another common issue is assuming both ends of a strut use the same thread. Measure both, particularly on older automotive and imported equipment.
Avoid installing a fitting with damaged threads, a cracked socket body or a loose retaining clip. Do not weld directly onto a gas strut, drill into its body or attempt to release the gas pressure. Gas struts are high-pressure components and should be replaced, not modified internally.
Also avoid using excessive force to compensate for poor geometry. A higher-force strut will not fix a binding end fitting. It may make the lid harder to close, overload hinges or create a sudden opening action.
When details are unclear, provide the strut’s measurements, force marking, clear photos of both ends and the mounting points, plus the application type. A strut specialist can then identify whether a standard fitting will work or whether an adapter or custom arrangement is required.
A correctly matched end fitting is a small part of the assembly, but it determines whether the strut can do its job safely over thousands of cycles. Measure both ends, check movement before putting the load back on, and replace questionable hardware before it becomes the weak point in an otherwise sound installation.