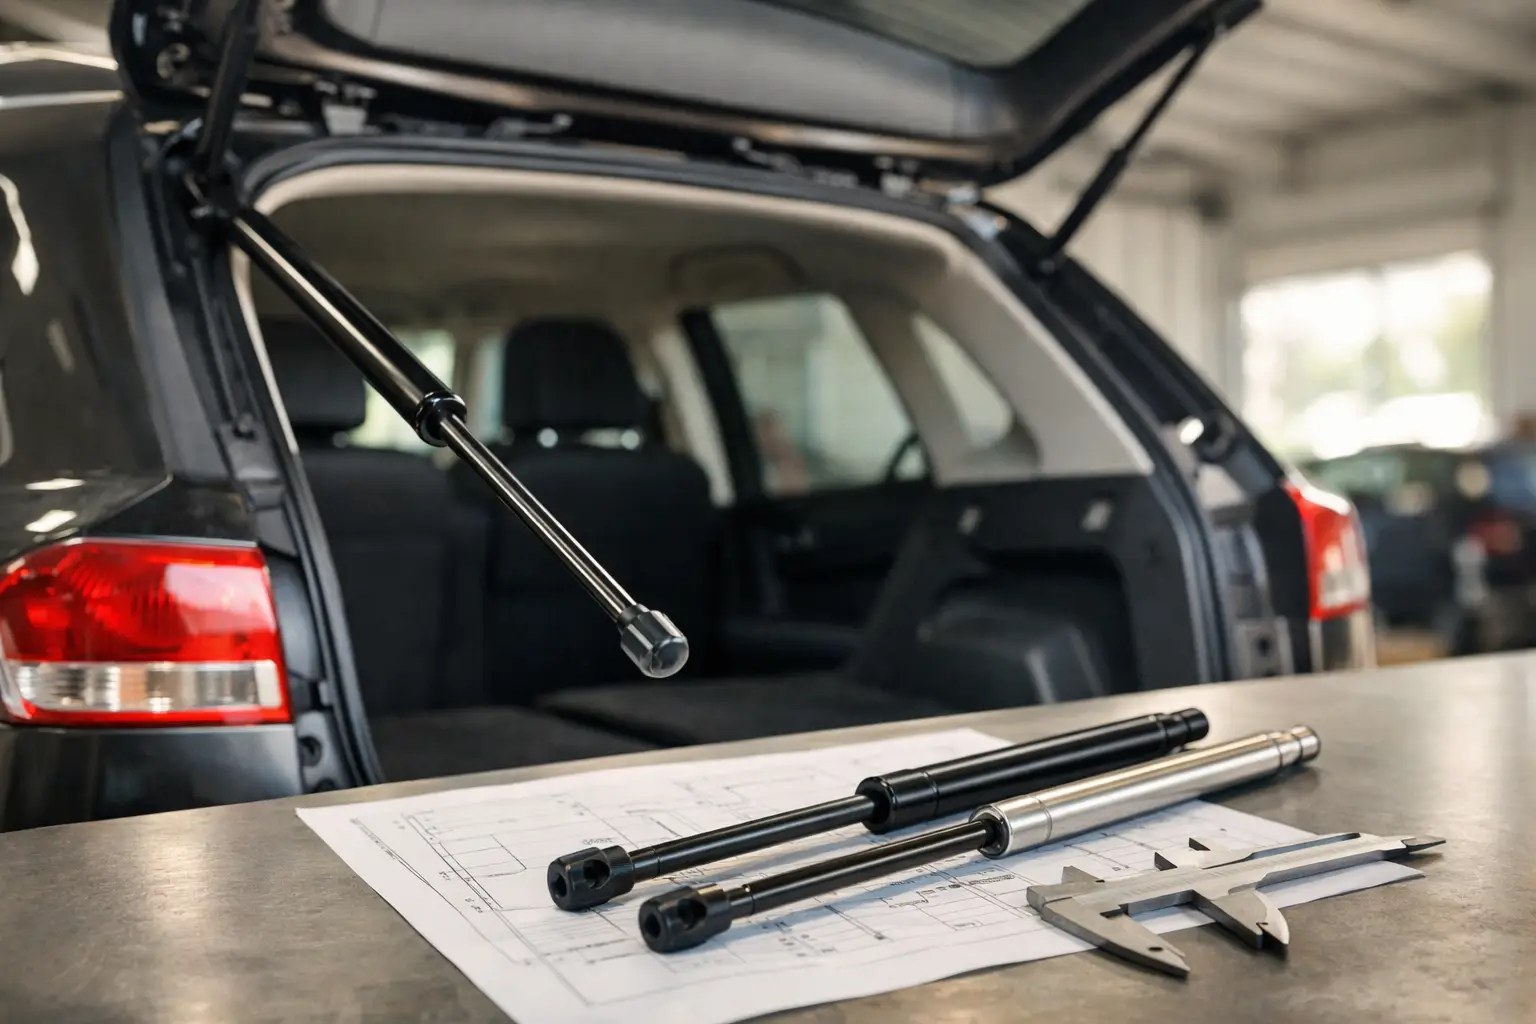
A lift support that is only slightly wrong can cause more trouble than a failed one. Too long, and it can bottom out before a lid closes. Too short, and it may not hold the lid at a useful opening angle. Too much force can twist hinges or make a toolbox lid difficult to pull down; too little force leaves a bonnet, hatch or cabinet door unsafe to use. Knowing how to size lift supports means matching the strut to the load, mounting geometry and required range of movement – not simply choosing the closest-looking replacement.
Start by deciding: replacement or new design?
The quickest way to size a replacement gas strut is to read the markings on the existing unit. Most struts carry a part number, force rating in Newtons (N), and sometimes the extended length and stroke. If those details are legible and the original application worked correctly, matching them is usually the right approach.
Do not assume an existing strut is correct simply because it fits. A vehicle bonnet may have been fitted with an overly strong aftermarket strut, or a trailer hatch may have been modified with added weight. If the lid has changed, the mounting brackets have moved, or the original struts never performed well, measure the application as though it is a new installation.
For a new design, you need to establish three things: the physical length the strut must cover, the stroke it needs to move through, and the force required to safely lift and hold the load. All three matter. A force rating alone does not identify the correct support.
How to size lift supports: the core measurements
Measure with the lid, door or hatch fitted to its actual hinges and with all normal hardware installed. This includes spare wheels, lining, locks, handles, windows, tool trays and anything else that affects weight or balance.
Measure extended length at the open position
Open the lid to the angle you want it to stop and support it securely. Measure from the centre of one mounting point to the centre of the other. On ball-joint fittings, measure centre-to-centre of the balls, not from the outside edge of the sockets.
This is the required extended length. The selected lift support should reach this dimension without being pulled hard against its internal extension stop. Allowing a small margin helps prevent the strut from acting as a rigid stop for the lid, particularly on heavy doors and equipment covers.
The desired opening angle is a practical decision. A ute canopy window may only need to clear the user’s head, while a machinery guard may need a wider opening for service access. Opening farther generally changes the geometry and can alter the force requirement.
Measure compressed length at the closed position
With the lid fully closed, measure between the same mounting-point centres. This is the compressed length required in service.
The strut must compress to this dimension without bottoming out. If it is too long when closed, it can load the hinges, brackets or panel before the lid reaches its latch. This is one of the most common fitting errors on toolboxes, cabinets and caravan hatches.
Check clearance as well. A strut that has the correct closed length can still foul on framework, wiring, seals or stored equipment as it folds through its travel.
Confirm the stroke
Stroke is the difference between the extended and compressed length. For example, a support measuring 500 mm open and 300 mm closed requires roughly 200 mm of stroke.
Select a strut with enough stroke to cover the travel, while keeping sensible margin at each end. Do not choose a longer-stroke unit just because it is available. Its closed length, extended length and body clearance still have to suit the installation.
Calculate the force rating from the load and geometry
Gas strut force is stated in Newtons. A rough guide is that 100 N is close to 10 kg of force, but this is not a sizing method on its own. A 20 kg hatch does not automatically need a 200 N strut. The location of the hinge, centre of gravity and mounting points all change the real force needed.
A lid is effectively a lever. The farther its centre of gravity sits from the hinge, the more turning force is required to lift it. The strut then applies force at its own mounting position and angle. When the strut is nearly parallel to the lid or frame, it has less lifting leverage. When it pushes more directly across the hinge line, it has greater leverage.
This is why two hatches with the same weight can need very different supports. A shallow aluminium toolbox lid may require modest force, while a similar-weight canopy door with a window and a centre of gravity farther from the hinge can need considerably more.
For most lids, supports are installed as a pair. The total required force is shared between both struts, but not always perfectly. Uneven hinges, flexing panels and off-centre loads can place more demand on one side. For heavy or wide doors, it is better to account for real-world variation than size to a narrow theoretical minimum.
The support needs enough force at the weakest point of the opening cycle, usually near the closed position. It must also hold the lid safely at the open position without making it excessively hard to close. That balance is the reason force selection should be checked against the installation geometry, rather than guessed from lid weight.
Factor in orientation, temperature and operating conditions
Most standard gas struts should be installed with the rod pointing downward when the lid is closed. This keeps the internal seal lubricated and supports service life. Some specialised designs are different, so follow the product specification where applicable.
Temperature changes gas pressure. A support can feel stronger on a hot day and weaker in cold conditions. This matters for outdoor applications such as caravans, marine hatches, farm equipment and site toolboxes. Avoid selecting a force that is only just adequate in ideal workshop conditions.
Use conditions also matter. A light cabinet door used occasionally can tolerate a different margin than a heavy service hatch opened repeatedly on a mining vehicle. Consider vibration, dust, corrosion exposure, opening frequency and whether the lid might carry added accessories later.
Match the end fittings and mounting hardware
Correct length and force will not help if the fittings do not match the brackets. Common options include ball sockets, eyelets, clevis ends and threaded fittings. Ball stud diameter, thread size, bracket offset and socket angle all need to be compatible.
Measure mounting centres from the actual pivot points after the selected end fittings are fitted. An eyelet and a ball socket can add different effective lengths, even where the strut body itself is the same. If replacing a strut, retain or accurately identify the end fittings before ordering.
Bracket strength is equally important. A high-force strut transfers substantial load into its brackets, fasteners and mounting surface. Thin aluminium skins, fibreglass panels and lightweight cabinet sides may need reinforcement plates or a revised bracket position. Never rely on self-tapping screws alone where the structure cannot carry the opening and closing loads.
Test the installation before calling it finished
Fit the supports with the lid securely restrained, then operate the assembly slowly through its full movement. Check that it closes and latches without excessive effort, opens to the required angle, and remains stable when open. Watch the strut body, rod and end fittings for contact with surrounding parts.
Pay close attention to the first part of opening. If the lid will not lift from closed without a hard pull, the struts may be too weak or mounted with poor leverage. If it springs upward violently or takes two hands to close, the force is likely too high. Moving brackets can improve geometry, but even a small relocation changes the loading significantly, so recheck the full travel after any adjustment.
Do not test a new installation by standing under an unsupported hatch or relying on gas struts as a permanent safety prop during maintenance. Where people will work beneath a heavy lid or guard, use an appropriate mechanical stay, locking support or isolation procedure.
Information that makes sizing faster
For a replacement enquiry, provide the strut’s part number, extended length, compressed length, force in Newtons, fitting type and a photo of the label if available. For a new application, provide the lid weight, hinge-to-centre-of-gravity distance if known, lid dimensions, desired open angle, mounting-point measurements and photos from the side with the lid open and closed.
That information gives a strut specialist enough detail to identify whether a stocked option will work or whether the application needs a custom force, length or fitting arrangement. It also avoids the costly cycle of ordering a close match, fitting it, and finding it does not close or hold correctly.
A properly sized lift support should feel unremarkable in use: controlled opening, secure hold and a closing effort that suits the application. Measure the full movement, allow for the real load and conditions, and treat the mounting geometry as part of the strut selection. That is how a bonnet, hatch, toolbox or machinery cover stays useful and safe over the long run.