
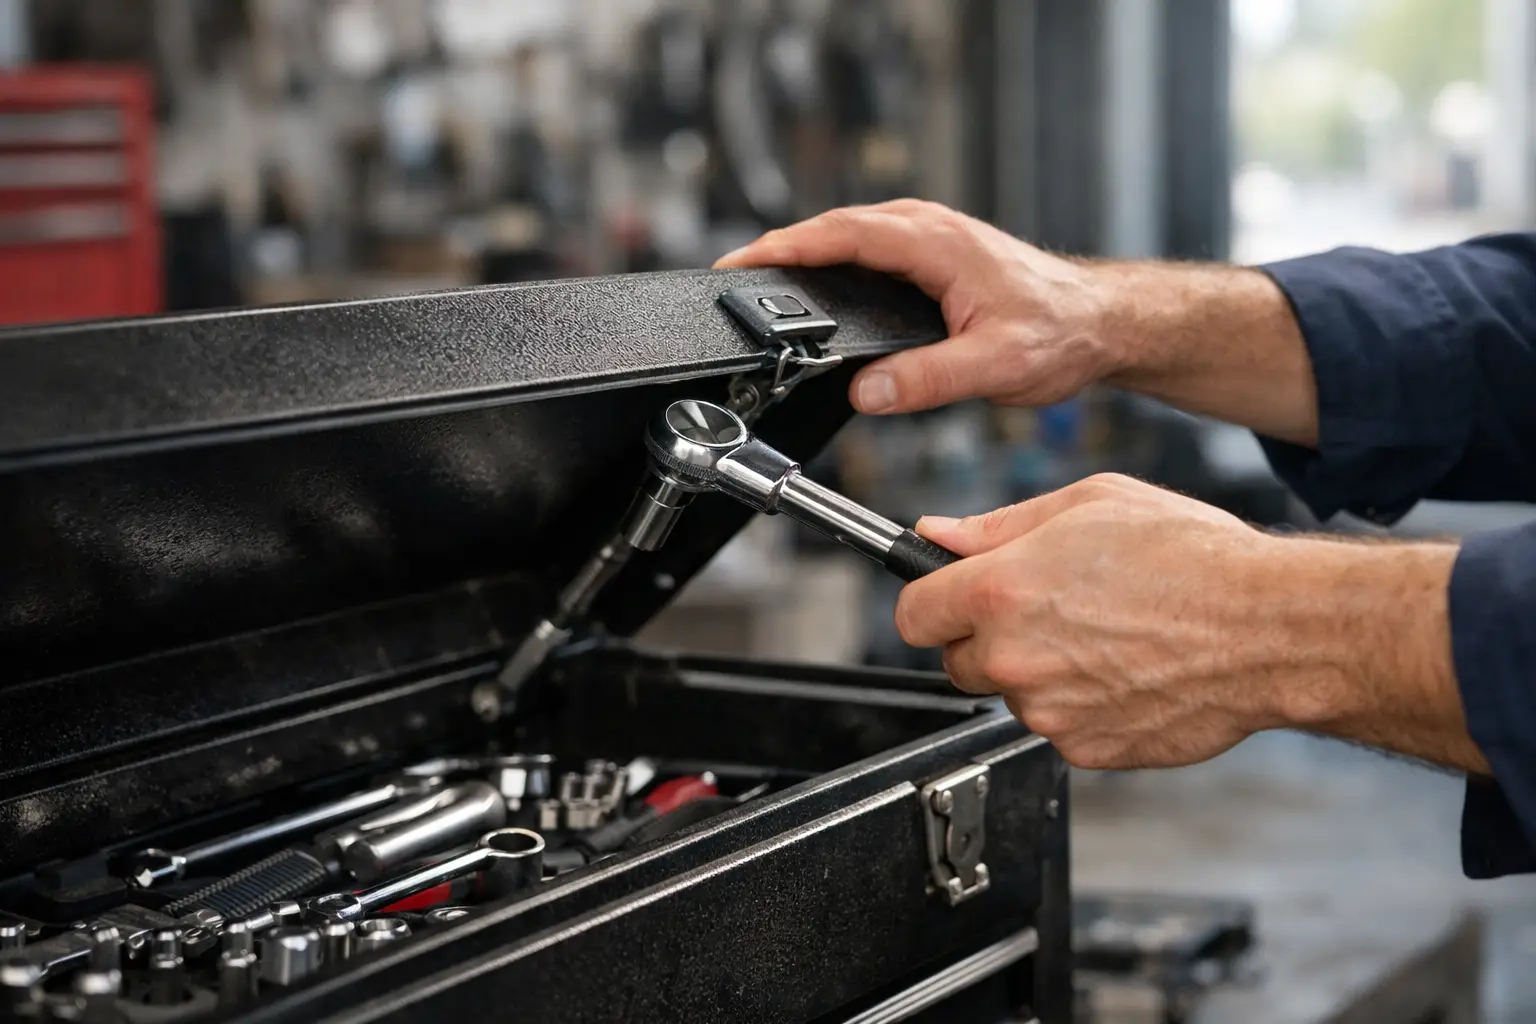
A toolbox lid that drops, sits crooked or will not stay open is more than an annoyance on site. It can damage the lid, strain the body of the toolbox and create a hand-crush hazard. Knowing how to fix sagging toolbox lid issues starts with identifying whether the problem is in the hinges, mounting points, lid structure or gas struts. Fitting stronger struts before checking the rest of the system can make the fault worse.
Start by finding what is actually sagging
Open the lid carefully and support it with a prop before inspecting anything. Do not rely on weak gas struts, worn hinges or a mate holding the lid while you work. A loaded steel lid can be heavier than it looks, particularly on ute toolboxes, service bodies and trailer boxes.
Look at the lid when it is closed. If one corner sits lower than the other, the issue is often a hinge that has worn unevenly, loose hinge fasteners, distorted mounting material or a bent lid frame. If the lid closes square but falls shut when opened, the gas struts are more likely at fault.
These faults can occur together. A lid that has been repeatedly forced open with underpowered struts may pull on the hinges and mounting brackets. Likewise, a bent hinge can change the lid’s opening angle and place the struts under side load, shortening their service life.
Check the hinges and fasteners first
With the lid supported, inspect every hinge pin, bolt, rivet and weld. Look for enlarged holes, cracked welds, movement around rivet heads, corrosion and bent hinge leaves. Have someone gently lift and lower the unsupported side of the lid while you watch the hinge line. Excess up-and-down movement usually points to worn pins or loose fixings.
Tighten loose bolts where the thread and surrounding material are sound. If bolts keep loosening, inspect the holes rather than simply applying more torque. An oversized or torn hole will need proper repair, such as a backing plate, larger engineered fastener or replacement bracket. Thin aluminium toolbox skins can deform around a loose fixing, so spreading the load with a suitable plate is often necessary.
Replace worn hinges rather than trying to pack out a badly worn pin. On a continuously hinged toolbox lid, check whether the hinge is pulling away from the lid or box body at one end. On separate butt hinges, compare each hinge for wear and alignment. A replacement hinge must suit the lid weight, opening angle and outdoor exposure.
Inspect the lid and toolbox body for distortion
Place a straightedge along the lid frame and the top edge of the toolbox. A bowed lid, twisted corner or damaged body flange can prevent the lid from sitting correctly even when the hinges are in good condition. This is common after a toolbox has been overloaded, used as a work surface or struck by shifting equipment.
Minor alignment issues may be corrected by repositioning the hinge or adding an appropriate spacer at the mounting point. Do not force a badly distorted lid into line with gas struts. The struts are designed to assist controlled lifting, not pull a bent lid straight. A damaged frame may require fabrication repair or lid replacement before new struts are fitted.
Test the existing gas struts
Gas struts lose pressure over time, and seals can fail sooner in high-heat, dusty, wet or heavily used environments. A weak strut may still look fine externally, so assess its operation rather than judging it by appearance alone.
With the lid supported, check both struts for oil around the rod seal, dented cylinders, bent rods, corrosion and damaged end fittings. Oil on the rod or cylinder is a strong sign the internal seal has failed. A scored or rusty rod can quickly destroy a new seal, so replace the strut rather than trying to clean up severe damage.
Lower the lid and lift it through its full travel. Weak struts usually show one or more of these symptoms: the lid is hard to begin lifting, it will not stay open, it opens unevenly, or it drops during the final part of travel. If one strut has failed, replace both as a matched pair. A new strut working alongside an old weak one creates uneven loading and unreliable operation.
Do not assume a higher-force strut is the answer. Excess force can make the lid difficult to close, stress the hinge line and tear out light-duty mounts. The correct force depends on lid weight, centre of gravity, strut mounting position, opening angle and the number of struts fitted.
Measure before ordering replacement struts
The most reliable way to source replacements is to read the markings on the existing struts, then confirm the measurements and fittings. Part numbers can identify the extended length, stroke and force rating, often shown in newtons as N. If the label is worn, measure the strut with the lid safely supported.
Measure from the centre of one mounting point to the centre of the other when the strut is fully extended. Then measure the same centre-to-centre distance when fully compressed. The difference is the stroke. Also record the diameter of the cylinder and rod, the style of end fitting, and the size of the ball stud or mounting hole.
For a custom toolbox installation or a modified lid, the strut force calculation requires more than the lid’s total weight. Measure the lid weight, the distance from the hinge to its centre of gravity, the distance from the hinge to the strut mounting point, and the intended open angle. The further the strut mount sits from the hinge, the more leverage it has, although physical clearance and strut travel still need to be correct.
A practical test is useful too. Check whether the lid will be fitted with drawers, racks, solar gear, spare parts or other items that change its weight. Consider wind exposure on a service body or trailer. A lid that stays open in a sheltered workshop may need more holding capacity in exposed conditions, but it should still close without excessive effort.
Fit new struts without damaging them
Before installation, make sure the lid is fully supported independently. Gas struts are usually fitted with the rod pointing down when the lid is closed. This keeps the internal seal lubricated and supports longer service life. There are exceptions where fitment geometry requires another orientation, so follow the specifications for the application.
Match the new end fittings to the mounting hardware. Ball sockets should snap firmly onto compatible ball studs, while eye ends and brackets need correctly sized pins or bolts. Retaining clips must be seated properly. Never drill, heat, weld, clamp or puncture a gas strut. It is a pressurised component and is not repairable.
Once both struts are installed, cycle the lid slowly several times. Check that the struts do not bottom out before the lid closes or reach full extension before the lid reaches its intended open position. Either condition transfers damaging force into the strut, mounts and hinges.
Watch the struts through the complete movement. They should not rub on the toolbox body, bend sideways or contact stored gear. If they bind, revisit the mounting position rather than accepting a poor fit. A slight adjustment to the bracket location can improve leverage, clearance and opening control, but both sides must remain symmetrical.
When a hinge repair is the better fix
Gas struts cannot correct a lid that has dropped at the hinge side. If the lid catches on the toolbox edge, leaves an uneven gap or has visible play when open, repair the hinge system first. New struts may temporarily mask the issue by holding the lid higher, but they will place more load into the damaged area.
For work vehicles and high-use toolboxes, consider the duty cycle as well as the initial repair. A lightweight domestic-style hinge may not hold up on a ute box opened dozens of times each day. Stainless components can improve corrosion resistance in coastal, marine and wash-down environments, while heavier steel hinges may be better suited to large industrial lids where strength is the priority.
Avoid the common quick fixes
Adding a second pair of struts, using oversized force ratings or moving brackets without measuring can create a lid that launches open or will not shut properly. Timber props and ratchet straps are acceptable temporary safety measures, not a permanent repair. They leave the toolbox awkward to use and do not address the underlying fault.
If the lid is heavy, custom-built or fitted to a service body, take clear measurements and photos of the mounting layout before selecting parts. Gas strut specialists can help confirm a replacement or specify a custom arrangement when standard sizes do not suit.
A toolbox lid should open smoothly, stay where it is meant to stay and close without a fight. Repair the alignment first, match the struts to the actual load and mounting geometry, and the lid will be safer and more dependable for the work it needs to do.