A toolbox lid that drops without warning is more than annoying – it is a hand injury waiting to happen. If you are working out how to replace toolbox struts, the job itself is usually straightforward. The part that causes trouble is choosing the right replacement, because a strut that is close enough on paper can still lift poorly, bind at the mounts, or force the lid out of alignment.
Toolbox struts work hard in rough conditions. Dust, vibration, weather exposure and repeated opening cycles all shorten service life, especially on ute toolboxes, trailer boxes and site storage fitted outside. Once the gas charge weakens or the seals start to fail, the lid becomes heavy, unstable or unable to stay up on its own. Replacing them early keeps the box safer to use and helps avoid damage to hinges, mounts and lid frames.
How to replace toolbox struts without guesswork
Before you remove anything, confirm that the struts are actually the problem. A bent hinge, cracked bracket or twisted lid can mimic a failed gas strut. If one side of the lid sits higher than the other, or the brackets are pulling away from the toolbox body, fitment needs attention before new struts go on.
If the lid and hardware are sound, start by checking whether both struts are fitted as a pair. On most toolbox lids, both should be replaced together. When one has failed, the other is usually not far behind. Mixing a new strut with an old weak one can leave the lid lifting unevenly and put extra load on one side.
Next, support the lid properly. Do not rely on the remaining strut to hold it up while you work. Use a prop, have another person hold it, or secure it in a way that keeps hands clear if the lid drops unexpectedly.
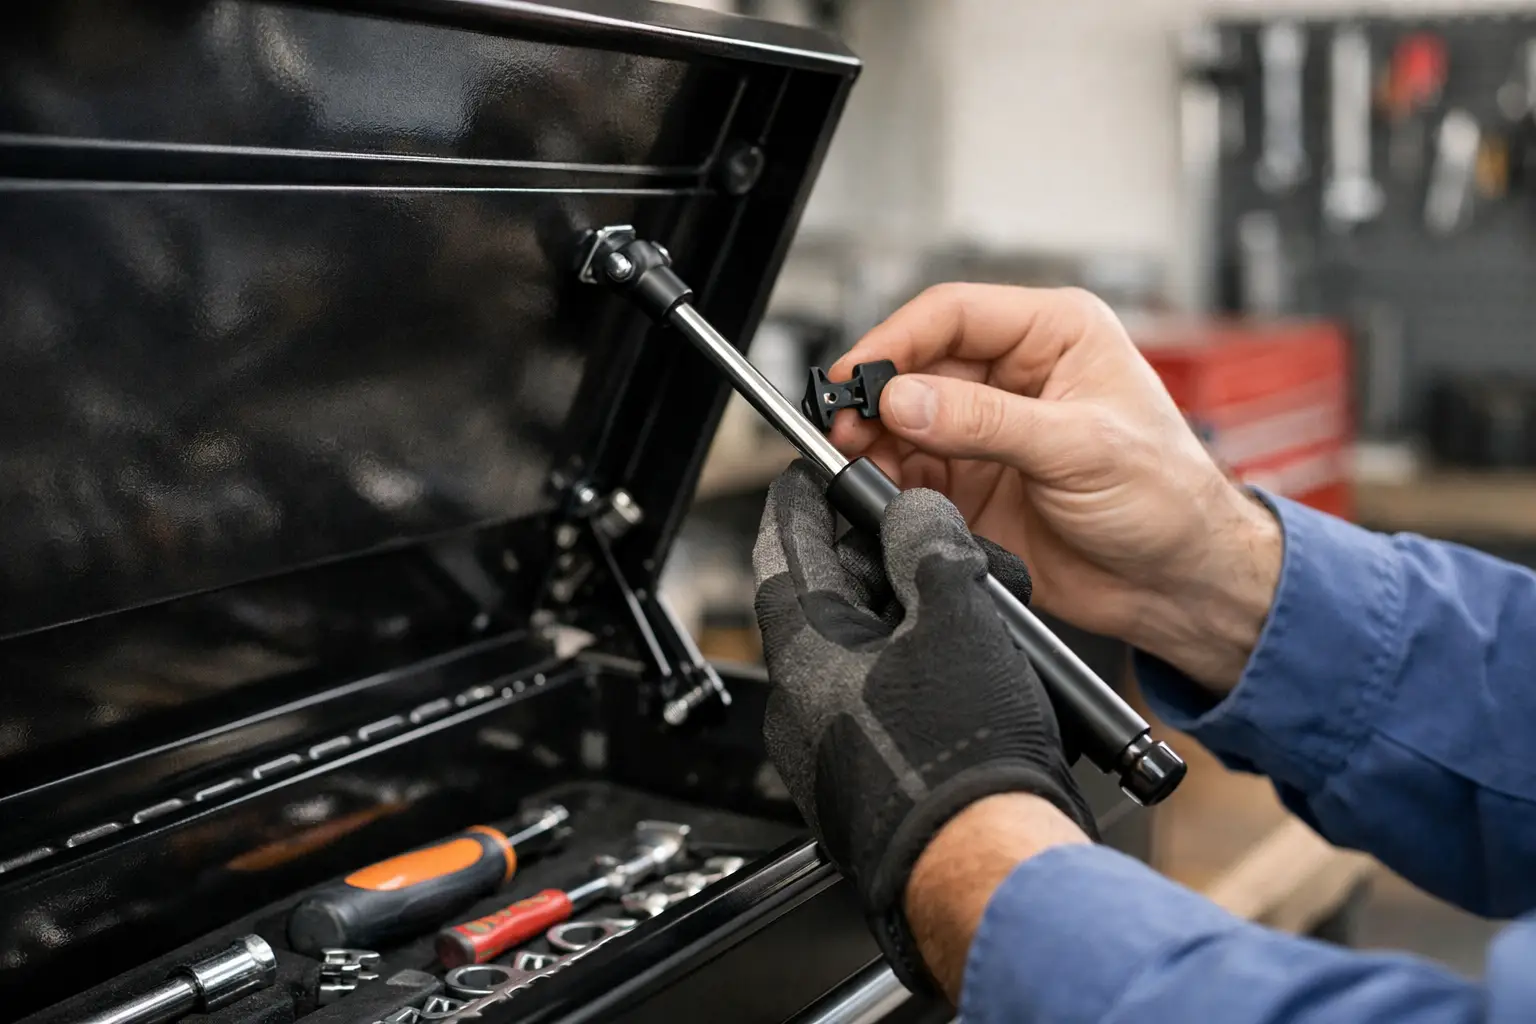
Most toolbox struts use ball socket ends with a retaining clip. In many cases you do not need to remove the clip fully. A small flat screwdriver can be used to lift the clip slightly, then the socket will slide off the ball stud. Remove one end first, then the other, while keeping the lid supported.
When fitting the new strut, match the orientation of the old one unless there is a clear reason it was incorrect. In most applications, the cylinder body sits at the top and the rod points down when the lid is closed. That position helps lubrication stay where it is needed inside the strut and can improve service life.
Push each socket firmly onto the ball stud until it clicks into place. Check that the strut can move through the full opening arc without twisting, rubbing or reaching the end of stroke before the lid is fully open. If it binds anywhere in the movement, stop there and recheck dimensions and mounting geometry.
Measuring a toolbox strut the right way
The fastest way to get the right replacement is to read the details printed on the old strut, if they are still legible. Part numbers, force rating and extended length are often marked on the body. That said, old labels fade, and not every installed strut is the correct original part.
If you need to measure manually, take three key measurements. The first is the extended length from the centre of one end fitting to the centre of the other with the strut fully open. The second is the compressed length when closed. The third is the stroke, which is the difference between those two lengths. End fittings matter as well, because a strut with the right body length but the wrong socket or thread type will not install properly.
Force rating is the measurement many people miss. This is usually shown in Newtons, often marked as N on the strut body. If the replacement force is too low, the lid will not stay open reliably. If it is too high, the lid can spring up too aggressively, stress the hinge line, or become hard to close.
Toolbox lids vary more than people expect. Aluminium checker plate lids, steel-framed lids, double-skin lids and boxes with added racks or seals all change the load. Two boxes that look similar can use different struts. That is why matching length alone is not enough.
Choosing the correct replacement strut
When deciding how to replace toolbox struts properly, think in terms of fitment and application, not just dimensions. The right strut needs the correct length, stroke, force, end fittings and mounting alignment. If any one of those is off, performance suffers.
Temperature can also affect how a strut behaves. Gas pressure changes with ambient conditions, so a lid that feels acceptable in warm weather may be sluggish on a cold morning. For vehicles and equipment used across varying Australian conditions, it pays to select a strut that is suited to real operating temperatures rather than ideal workshop conditions.
Material quality matters too. Toolbox struts are commonly exposed to dust, rain, vibration and regular washdowns. A better seal package and quality rod finish make a difference over time. For trade vehicles and hard-use storage, cheap generic replacements often become a repeat job sooner than expected.
If your existing strut size is unusual, or the lid has been modified, a standard off-the-shelf part may not be the best answer. In those cases, supplying measurements, mounting details and lid weight gives a specialist supplier enough information to recommend the right option rather than guessing from appearance alone.
Common mistakes when replacing toolbox struts
The most common mistake is replacing by eye. A strut that looks similar can be several millimetres out in length or have a force rating that changes how the lid behaves. That small mismatch is often enough to create poor opening angles, overextension or mounting stress.
Another mistake is ignoring the brackets. Worn ball studs, loose rivets or bent mounting tabs will shorten the life of the new struts and can make a correct strut appear faulty. If the socket feels sloppy on the ball or the bracket moves under load, replace or repair that hardware at the same time.
People also run into trouble by fitting only one new strut, mounting the strut upside down where it should not be, or forcing a strut into position when the lid geometry does not line up. Gas struts are not there to pull a twisted lid back into shape. If the lid needs to be pushed hard to make the sockets reach the ball studs, something is wrong with the specification or the installation setup.
One more issue is using a stronger strut to compensate for a heavy or poorly balanced lid. That can work briefly, but it transfers more load into the hinge area and mounting points. If the lid design has changed, the proper fix may be a revised force calculation or altered mounting position, not just a heavier strut.
When a standard replacement is not enough
Some toolbox applications are simple. Others are not. Gullwing boxes, large service body compartments, under-tray boxes and lids carrying extra accessories can need more than a one-for-one swap. If the lid opens too far, not far enough, or the leverage feels wrong throughout the movement, the issue may be mounting geometry rather than strut failure alone.
That is where application support becomes useful. A supplier that deals with gas struts every day can work from the actual dimensions, mounting centres, lid weight and opening angle to identify whether a stocked replacement will do the job or whether a custom specification is the safer option. For operators who cannot afford trial and error, that saves time and avoids repeated fitment problems.
Gas Struts supports this type of replacement work with standard and custom-fit options, which is particularly useful when the original part number is missing or the box has been altered after purchase.
How to replace toolbox struts and know the job is finished properly
Once the new struts are installed, test the lid through several open and close cycles. It should move smoothly, hold safely in the open position and close without excessive force. Watch both sides of the lid for even movement. If one side leads or lags, check that the brackets are square and the struts are matched.
Leave the lid open for a few minutes and confirm it stays stable. Then check closed fitment, latch alignment and seal compression. A good replacement should support the lid without changing how the box shuts or causing the latch to fight against pressure.
If you are unsure between two force ratings or you are replacing struts on a non-standard toolbox, it is worth getting the specification checked before ordering. Accurate measurements and a clear photo of the mounting setup usually answer more questions than a rough description.
A toolbox strut is a small part, but it carries a safety job every time that lid goes up. Get the dimensions right, match the force properly, and the replacement should feel uneventful – which is exactly what you want from hardware that gets used every day.