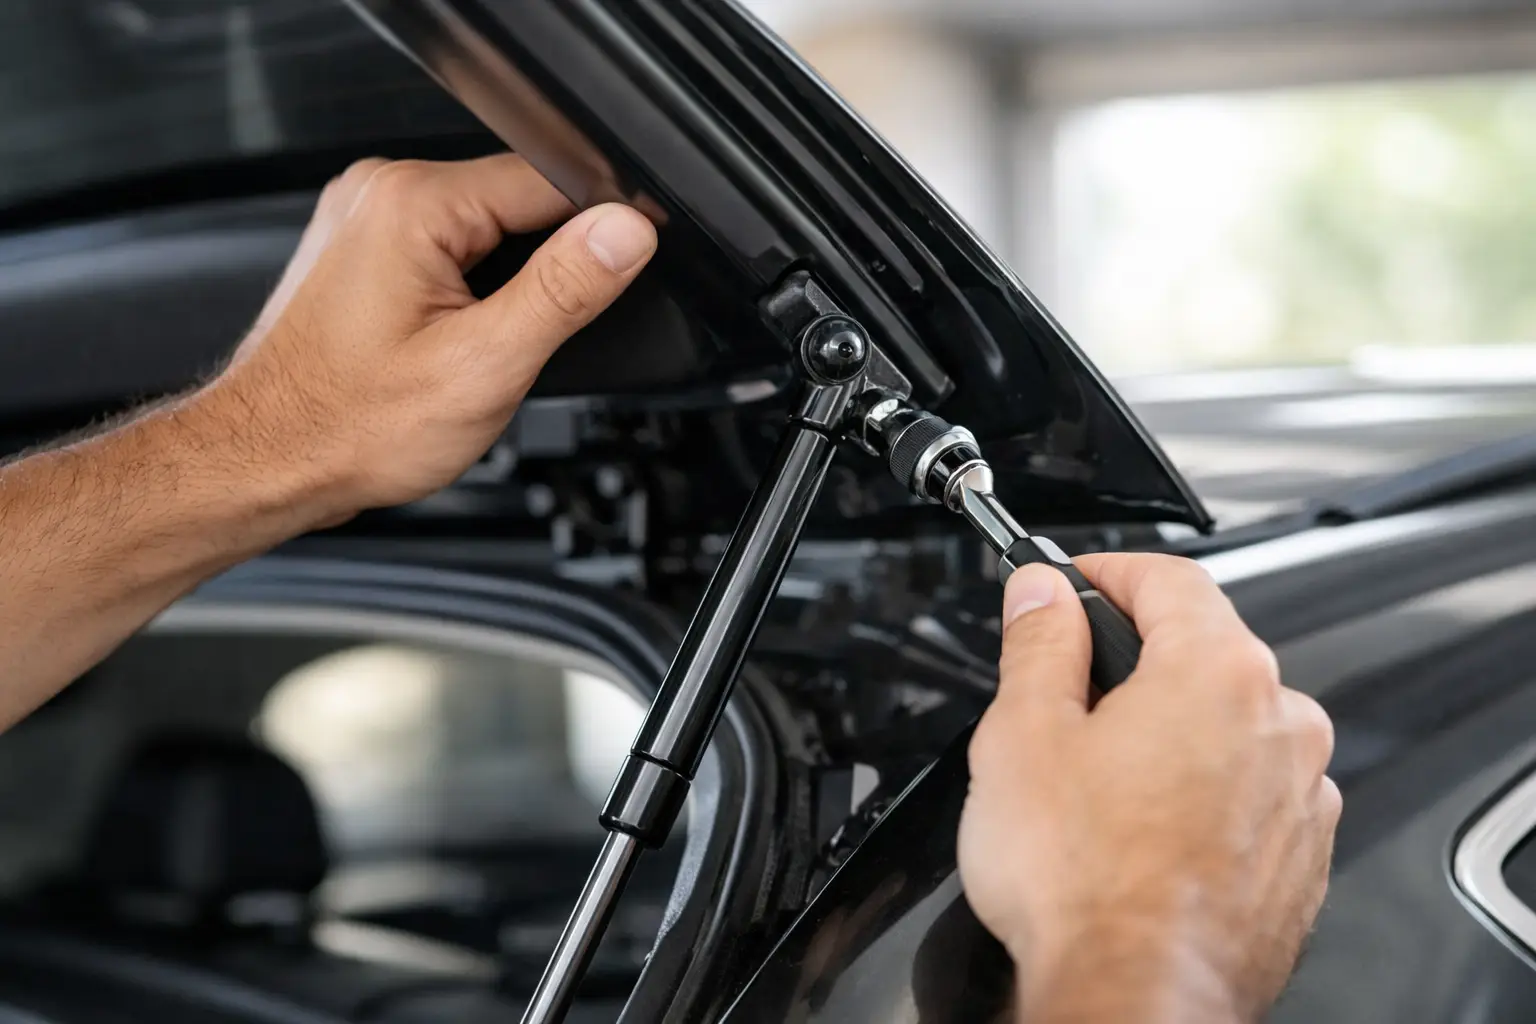
A hatch that drops without warning is more than annoying – it is a safety problem. If you are working out how to install hatch supports on a toolbox, canopy, boat hatch, caravan locker or machinery cover, the job starts well before you pick up a drill. Good fitment depends on the right strut force, correct mounting geometry and solid fixing points.
Get those three things right and the hatch will lift smoothly, stay open and close without fighting you. Get them wrong and even a quality gas strut can feel weak, overpowered or wear out early. That is why installation is not just about bolting parts on. It is about setting the system up to work under load.
What matters before you install hatch supports
The biggest mistake is treating all hatch supports as interchangeable. They are not. A strut that works on a light aluminium toolbox lid will not necessarily suit a heavy steel canopy door or a long marine hatch exposed to wind load.
Before installation, check the closed length, extended length, stroke and force rating. You also need to confirm the end fittings and mounting brackets match the application. If you are replacing an existing setup, measure the old strut centre-to-centre when closed and extended if possible, and check any force marking on the body, usually shown in Newtons.
If this is a new installation, you need a bit more planning. Hatch weight, lid dimensions, hinge position and opening angle all affect where the brackets should go and what force the supports need. In many cases, the strongest strut is not the best option. Too much force can twist hinges, distort lighter panels and make the hatch hard to close.
Tools and parts you will usually need
For most jobs, you will need the gas struts, suitable brackets, fixings, a drill, drill bits matched to the material, a tape measure, marker, spanners or sockets and safety gear. If the hatch is large or awkward, have a second person hold it in position while you mark out and test fit.
On thinner sheet metal lids or lightweight aluminium panels, consider reinforcement plates or backing washers. A strut places repeated load into a small mounting area. If the panel flexes, the bracket can loosen over time even if the first install feels solid.
How to install hatch supports step by step
1. Support the hatch in the open position
Open the hatch to the angle you want it to hold at and support it securely. Timber props, adjustable stands or a helper can do the job. Do not rely on an old failing strut while you work.
This position matters because your mounting points are based on the desired open angle. If you prop the lid too high or too low, the finished travel may not suit the application.
2. Confirm the strut orientation
In most standard installations, the cylinder body sits at the top and the rod points down when the hatch is closed. This helps keep the internal seal lubricated and supports longer service life.
There are exceptions, particularly on unusual angles or tightly packaged equipment, but as a general rule rod-down in the closed position is the safe starting point.
3. Mark the upper bracket position on the hatch
Start with the bracket on the moving panel. This is usually mounted a set distance in from the hinge line and a set distance in from the side edge. Exact measurements vary by strut length and hatch geometry, so there is no one-size-fits-all dimension.
What you are aiming for is controlled leverage. If the upper bracket is too close to the hinge, the strut may not generate enough lifting force. Too far away, and you can overload the hatch skin or create harsh closing pressure near shut.
If you are replacing an existing setup that worked well, use the original bracket centres as your guide unless the old mounting showed signs of tearing, misalignment or poor operation.
4. Position the lower bracket on the fixed frame
Clip the strut onto the upper bracket, then swing the lower end down towards the fixed frame or body. With the hatch still propped open, move the lower bracket until the strut sits naturally without binding.
At full open, the strut should be near its extended length but not hard against its internal stop. You want a small margin so the hatch load is carried through the geometry, not by bottoming the strut out.
Also check the closed position before drilling. The strut must compress fully enough for the hatch to shut, again without forcing it against the end of stroke. This is where many installs go wrong. A setup can look perfect when open but stop the hatch closing by 10 or 20 mm.
5. Test the movement before final drilling
If possible, tape or clamp the brackets in place and slowly move the hatch through its travel. Watch for fouling on frames, seals, hinges and internal contents. On toolboxes, for example, the strut can interfere with trays or stored gear if it is placed too far inward.
This dry run also shows whether the support angle is doing the work you expect. If the hatch feels unstable near closed or too aggressive near open, adjust the bracket positions before committing.
6. Drill and fasten the brackets properly
Once the positions are confirmed, drill the mounting holes and secure the brackets with hardware suited to the material and load. Bolts with washers and nyloc nuts are generally better than light self-tappers for anything heavy-use, high-cycle or safety-critical.
If the substrate is thin, use reinforcement. This is especially relevant for caravan hatches, canopies, marine lockers and fabricated aluminium lids where repeated opening can fatigue the panel around the bracket.
7. Fit the struts and check operation
Snap or bolt the struts onto the brackets according to the fitting type. Open and close the hatch several times. It should move smoothly, hold securely in the open position and shut without excessive force.
A little resistance is normal, particularly with new gas struts, but the hatch should not need to be wrestled down. If it does, the force may be too high or the bracket geometry may be off.
Common problems after installing hatch supports
If the hatch will not stay open, there are three likely causes. The strut force is too low, the mounting points do not give enough leverage, or the hatch weight is higher than expected because of accessories, lining or uneven loading.
If the hatch flies open too fast, the struts may be over-specced or the brackets may be mounted too far from the hinge. On a boat or work vehicle, this can be a real issue because wind can add to the opening force.
If the hatch closes but needs too much effort in the last part of travel, the lower bracket may need repositioning. Often a small adjustment changes the closing feel significantly.
If one side wears faster than the other on a twin-strut setup, check alignment. Both supports need to share the load evenly. Twisted brackets or uneven hatch framing can force one strut to do more work than the other.
When one strut is enough and when you need two
Small centred hatches can sometimes run on a single support, especially where the lid is narrow and rigid. Wider lids, heavier panels and off-centre hinge arrangements usually need two. The point is not just lifting force. It is load control and reducing twist through the hatch and hinge line.
For toolboxes, canopies, service bodies and industrial covers, two supports are often the better long-term option even if one could technically lift the panel. The hardware lasts better when the load is balanced.
Replacement install versus new design
Replacing like-for-like is usually straightforward if the original setup was correct. Measure carefully, match the end fittings and confirm the force rating before ordering. Do not assume the old strut was right just because it fits. If the hatch always sagged, slammed or bent the bracket area, it may have been the wrong specification from the start.
New installations need a more deliberate approach. This is where application details matter – hatch size, weight, hinge position, required opening angle and available bracket space. For trade and industrial jobs, getting specialist advice upfront can save a lot of rework later.
Safety and service life
Never heat, drill or modify a gas strut body. If a support is faulty or incorrectly specified, replace it. Also avoid using the strut as a stop to limit hatch travel unless the setup is designed for it. Mechanical stops or hinge limits should control the final position where needed.
Keep the rod clean and avoid paint, grease or impact damage on the shaft. Contamination at the seal is a common cause of early failure. If the application is exposed to dust, salt or heavy moisture, material selection and seal quality matter even more.
For anyone fitting hatch supports in demanding Australian conditions – from marine spray to red dust and hard daily cycles – proper specification is every bit as important as proper installation.
A well-installed hatch support should feel boring in the best way. It opens when needed, holds where it should and gets out of the way while the job gets done.